1. Introduzione
Grazie per l'acquistoasing the VASAGLE Custos Collection LBC401K01 Bookcase. This manual provides detailed instructions for the safe assembly, operation, and maintenance of your new furniture. Please read all instructions carefully before beginning assembly and retain this manual for future reference.
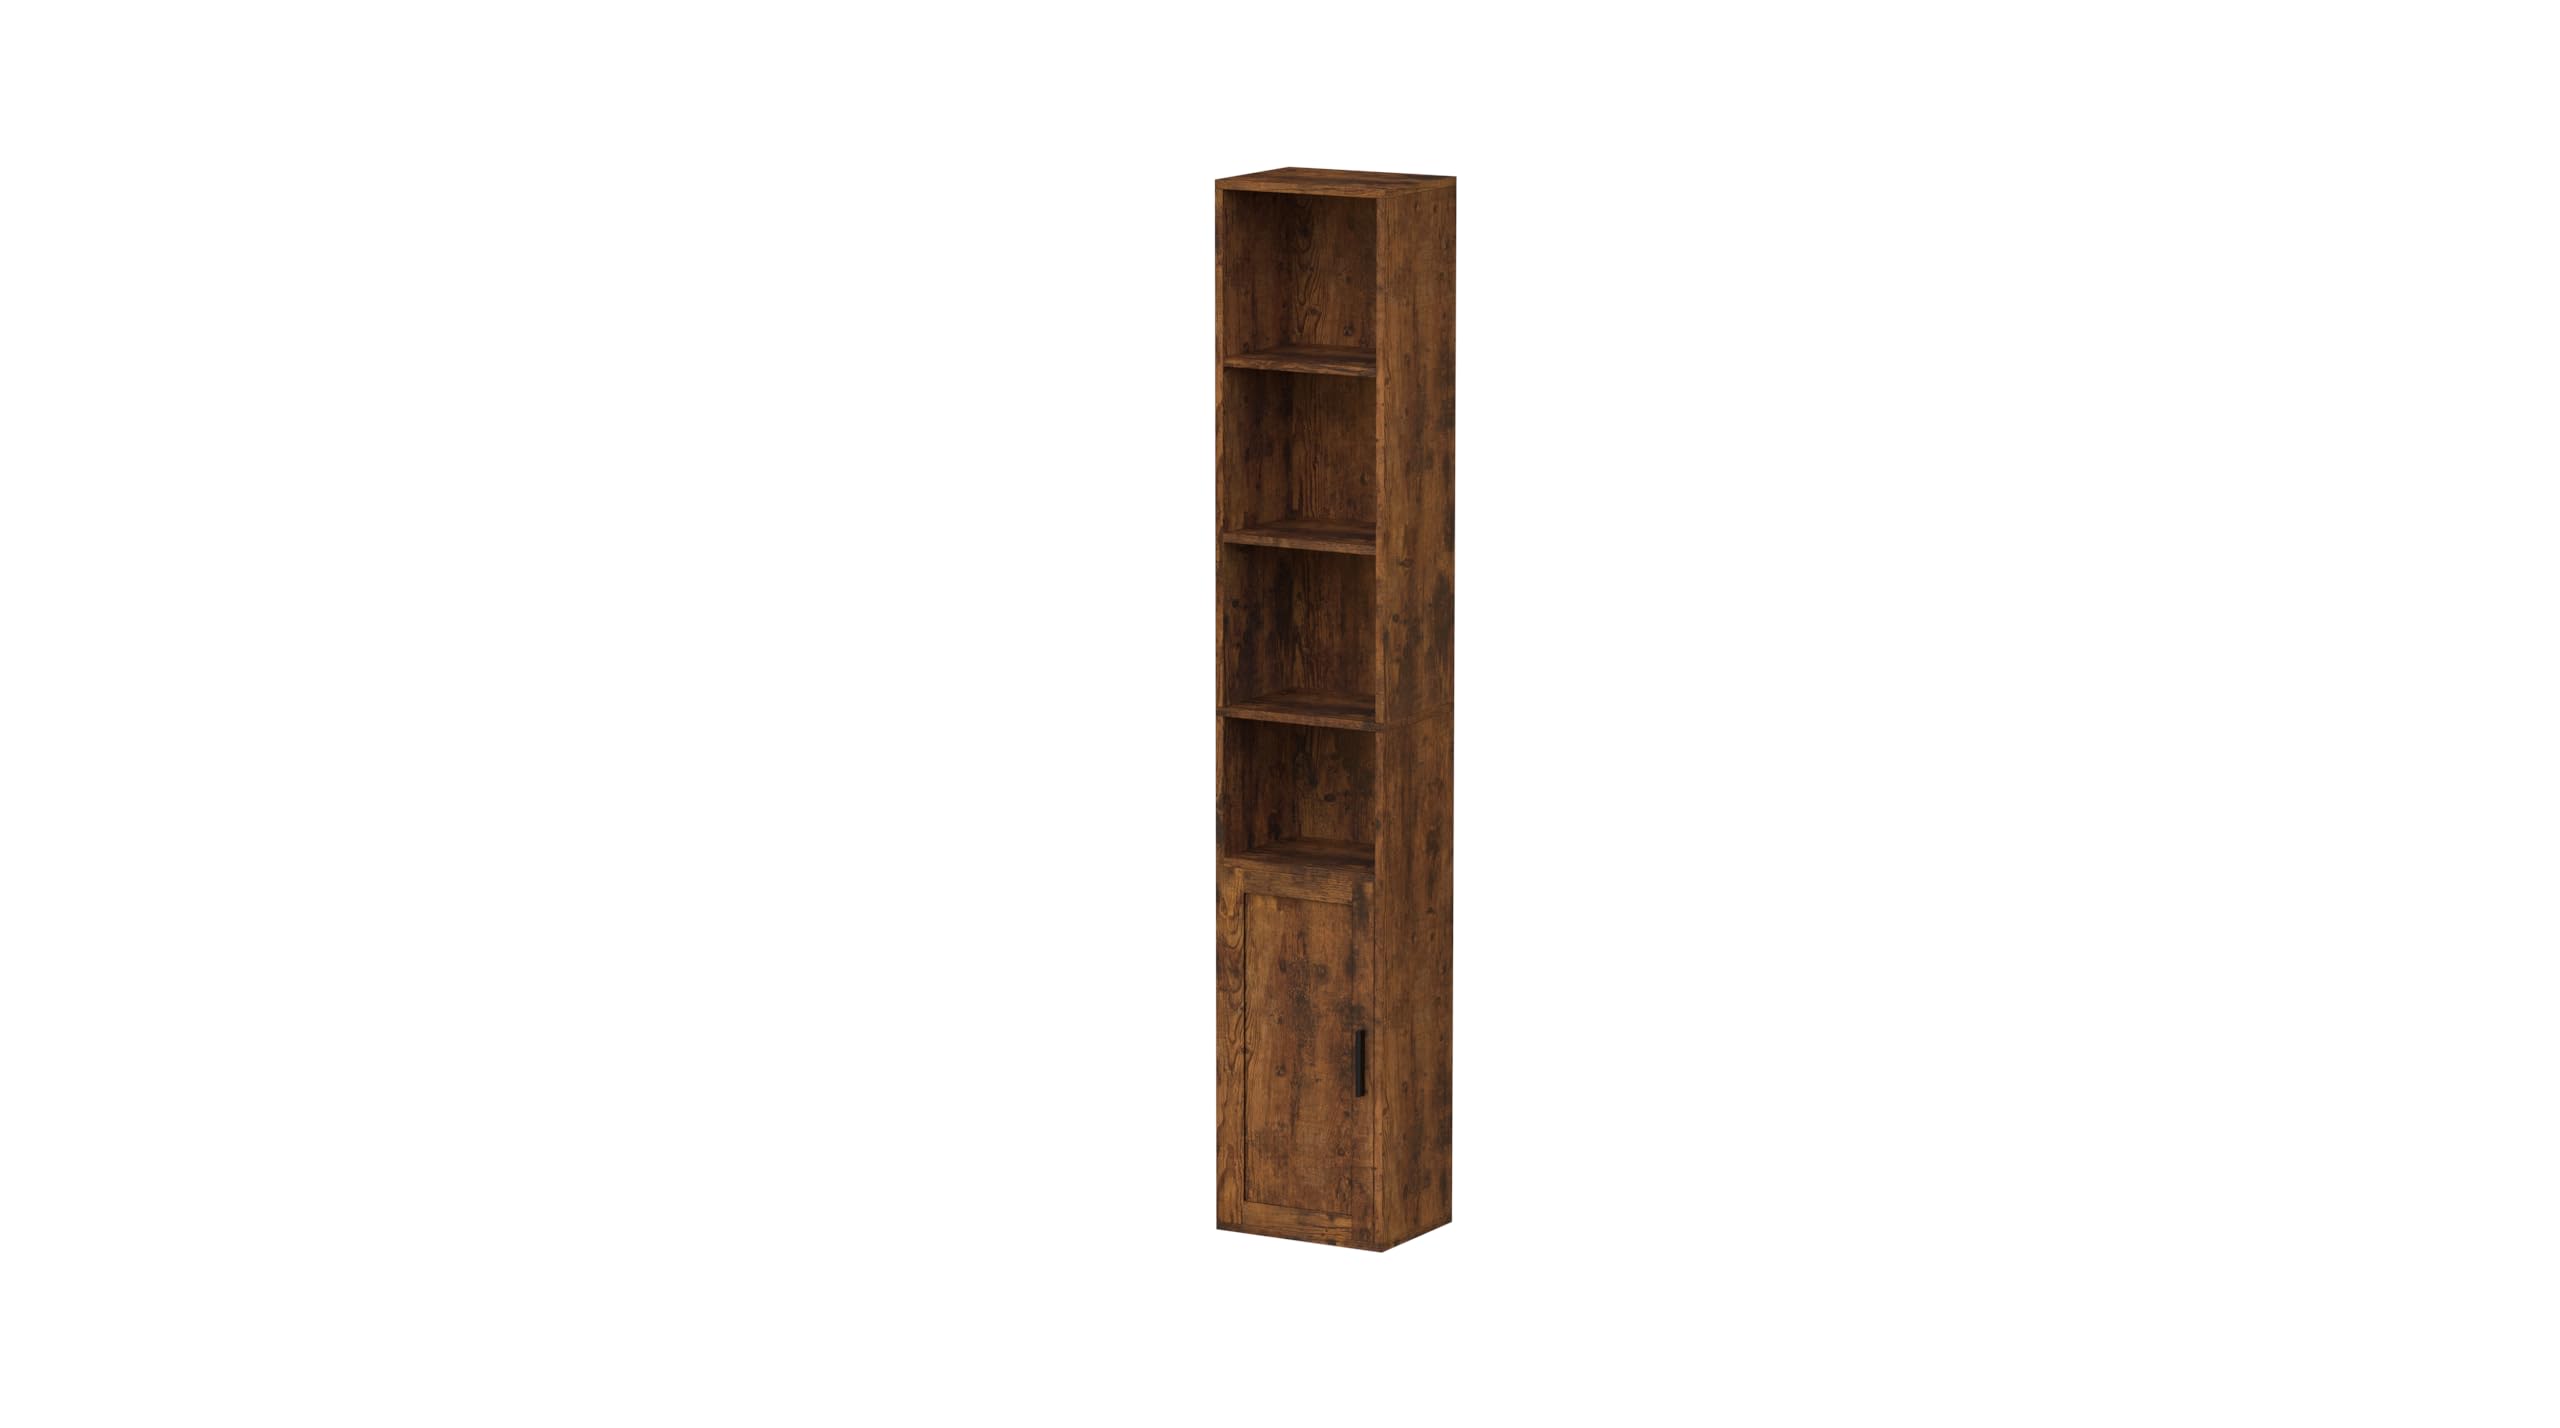
Image 1.1: The VASAGLE Custos Collection LBC401K01 Bookcase, featuring a rustic brown finish, six tiers, and a lower cabinet door.
2. Istruzioni di sicurezza
Per garantire un utilizzo sicuro di questo prodotto, si prega di osservare le seguenti linee guida:
- Leggi tutte le istruzioni: Prima del montaggio e dell'uso, leggere attentamente e comprendere tutte le istruzioni fornite nel presente manuale.
- Tenere lontani bambini e animali domestici: During assembly, keep children and pets away from the work area. Small parts can be a choking hazard.
- Assemble on a clean, flat surface: Assemble the unit on a soft, clean, and flat surface to prevent scratches and damage.
- Utilizzare gli strumenti corretti: Assicuratevi di avere tutti gli strumenti necessari come specificato nella sezione di montaggio.
- Non stringere eccessivamente le viti: Overtightening screws can damage the material. Tighten until snug.
- Install anti-tip kit: Always install the included anti-tip kit to prevent the unit from tipping over, especially in households with children.
- Distribuire il peso in modo uniforme: Non sovraccaricare i ripiani. Distribuire il peso in modo uniforme per mantenere la stabilità.
- Do not climb or stand on the unit: This unit is not designed for climbing or standing.
- Controllare regolarmente gli elementi di fissaggio: Controllare periodicamente tutti i dispositivi di fissaggio per assicurarsi che siano sempre ben serrati.
3. Contenuto della confezione
Before assembly, verify that all parts listed below are present and undamaged. If any parts are missing or damaged, do not proceed with assembly. Contact customer support for assistance.
- Pannelli laterali (sinistro e destro)
- Pannelli posteriori
- Fixed Shelves
- Ripiani regolabili
- Pannello inferiore
- Pannello superiore
- Pannello della porta
- Hardware Pack (screws, dowels, cam locks, hinges, shelf pins, anti-tip kit)
- Strumento di montaggio (ad esempio, chiave a brugola)
Note: The exact number and type of fasteners are detailed in the included hardware pack diagram.
4. Istruzioni di montaggio (installazione)
Seguire attentamente questi passaggi per un corretto montaggio. Si consiglia di essere in due per alcune fasi.
- Passaggio 1: preparare i componenti
Unpack all components and lay them out on a clean, soft surface. Identify each part by its label (if provided) and cross-reference with the parts list. Separate all hardware into individual groups.
Image 4.1: Illustration showing all components laid out and identified.
- Fase 2: assemblare il telaio di base
Attach the bottom panel to the side panels using the specified fasteners (e.g., cam locks and dowels). Ensure the grooves for the back panel are facing the correct direction.
Image 4.2: Diagram illustrating the connection of the bottom panel to the side panels.
- Step 3: Install Fixed Shelves
Insert the fixed shelves into the pre-drilled holes in the side panels. Secure them with the appropriate fasteners. Ensure all connections are snug.
Image 4.3: Visual guide for installing fixed shelves into the main frame.
- Step 4: Attach Back Panels
Slide the back panels into the grooves on the rear of the unit. Secure them with small nails or screws as indicated in the hardware pack. Ensure the unit is square before securing.
Image 4.4: Step-by-step image showing how to slide and secure the back panels.
- Fase 5: installare il pannello superiore
Place the top panel onto the assembled frame and secure it using the designated fasteners. Ensure it aligns perfectly with the side panels.
Image 4.5: Illustration of attaching the top panel to complete the main structure.
- Passaggio 6: installare la porta
Attach the hinges to the door panel and then to the designated side panel of the bookcase. Adjust the hinges as needed to ensure the door opens and closes smoothly and aligns correctly.
Image 4.6: Detailed diagram for hinge and door installation, including adjustment points.
- Fase 7: installare ripiani regolabili
Insert the shelf pins into the desired holes for the adjustable shelves. Place the adjustable shelves onto these pins. The 1st, 4th, and 5th shelves are adjustable up to 3cm up and down.
Image 4.7: Visual guide for placing shelf pins and adjustable shelves.
- Fase 8: installare il kit antiribaltamento
Secure the anti-tip kit to the top rear of the bookcase and to a wall stud using the provided hardware. This step is crucial for safety and must not be skipped.
Image 4.8: Diagram showing proper installation of the anti-tip kit to the wall.
5. Istruzioni per l'uso
This bookcase is designed for storing books, decorative items, and other household goods. The lower cabinet provides discreet storage.
- Ripiani di carico: Place items on shelves, distributing weight evenly. Avoid placing heavy items exclusively on one side or on the very edge of a shelf.
- Ripiani di regolazione: To adjust the height of the adjustable shelves, carefully remove all items from the shelf, lift the shelf, remove the shelf pins, reposition the pins to the desired height, and then replace the shelf. Ensure all four pins are securely in place before reloading the shelf.
- Operazione della porta: The lower door opens and closes manually. Avoid forcing the door if it feels stiff; check hinges for alignment.
6. Manutenzione
Proper maintenance will extend the life of your bookcase.
- Pulizia: Pulire le superfici con un panno morbido, damp cloth. Avoid harsh chemicals or abrasive cleaners, which can damage the finish. Dry immediately with a clean cloth.
- Spolverare: Spolverare regolarmente con un panno asciutto e morbido.
- Controllo del dispositivo di fissaggio: Periodically (e.g., every 6 months) check all screws, bolts, and cam locks to ensure they are tight. Retighten if necessary, but do not overtighten.
- Evitare la luce solare diretta e l'umidità: Prolonged exposure to direct sunlight or excessive moisture can cause fading, warping, or damage to the material.
7. Risoluzione Dei Problemi
If you encounter issues with your bookcase, refer to the following common problems and solutions:
| Problema | Possibile causa | Soluzione |
|---|---|---|
| Bookcase is wobbly or unstable. | Elementi di fissaggio allentati; pavimento irregolare; kit antiribaltamento non installato. | Ensure all screws and cam locks are tightened. Place shims under legs if floor is uneven. Install the anti-tip kit securely to a wall stud. |
| La porta non si chiude correttamente o è disallineata. | Le cerniere sono allentate o regolate in modo errato. | Tighten hinge screws. Adjust hinge screws to align the door. Refer to hinge adjustment instructions if available. |
| Gli scaffali cedono o sembrano deboli. | Ripiano sovraccarico; distribuzione non uniforme del peso. | Reduce weight on the shelf. Distribute items more evenly. Ensure shelf pins are fully inserted. |
8. Specifiche
- Modello: LBC401K01
- Marca: VASAGLE
- Dimensioni del prodotto: 9.45 x 12.52 x 68.9 pollici (24 x 31.8 x 175 cm)
- Peso dell'articolo: 35 libbre (15.9 chilogrammi)
- Materiale: Chipboard and MDF board
- Colore: Marrone rustico
- Numero di livelli: 6 (including lower cabinet)
- Ripiani regolabili: 1st, 4th, and 5th shelves (adjustable up to 3cm up/down)
- Capacità di peso per ripiano: Fino a 10 kg (22 libbre)
- Assemblaggio richiesto: SÌ
9. Garanzia e supporto
For warranty information or technical support, please refer to the documentation included with your purchase or contact VASAGLE customer service. Ensure you have your model number (LBC401K01) and proof of purchase available when contacting support.


