Introduzione
Thank you for choosing the Aroma360 Mini Pro Scent Diffuser. This cold-air, waterless diffuser is designed to enhance your environment with luxurious, consistent fragrance. It utilizes advanced atomization technology to deliver a mess-free, potent aroma experience, exclusively compatible with Aroma360 Pro Pod fragrance oils. Please read this manual carefully before operating your device to ensure proper use and maintenance.
Informazioni importanti sulla sicurezza
Per ridurre il rischio di scosse elettriche, incendi o lesioni, osservare le seguenti precauzioni di sicurezza:
- Do not immerse the diffuser in water or any other liquid.
- Utilizzare solo l'alimentatore fornito con il dispositivo.
- Tenere fuori dalla portata dei bambini e degli animali domestici.
- Non ostruire le prese d'aria durante il funzionamento.
- Assicurarsi che il dispositivo sia posizionato su una superficie stabile e piana.
- Unplug the diffuser before cleaning or when not in use for extended periods.
- Non tentare di smontare o riparare da soli il dispositivo. Contatta l'assistenza clienti per assistenza.
- Use only Aroma360 Pro Pod fragrance oils with this diffuser. Using other oils may damage the device and void the warranty.
Contenuto della confezione
Si prega di selezionare la casella per i seguenti elementi:
- Aroma360 Mini Pro Scent Diffuser
- Adattatore di alimentazione
- Manuale dell'utente (questo documento)
- (Optional) Aroma360 Pro Pod Fragrance Oil (may be sold separately)
Impostare
1. Disimballaggio e posizionamento
Carefully remove all components from the packaging. Place the Aroma360 Mini Pro Scent Diffuser on a flat, stable surface in your desired location. Ensure there is adequate space around the diffuser for optimal scent dispersion and ventilation. Avoid placing it near heat sources, direct sunlight, or in areas with high humidity.

Image: The Aroma360 Mini Pro Scent Diffuser in purple, ready for placement.
2. Installing the Pro Pod Fragrance Oil
The Aroma360 Mini Pro Scent Diffuser is designed for exclusive use with Aroma360 Pro Pod fragrance oils. To install a Pro Pod:
- Gently twist the top section of the diffuser counter-clockwise to separate it from the base.
- Locate the fragrance oil compartment.
- Unscrew the cap from your Aroma360 Pro Pod fragrance oil bottle.
- Carefully screw the Pro Pod bottle into the designated port within the diffuser's base until secure. Do not overtighten.
- Align the top section with the base and twist clockwise until it clicks into place, ensuring a secure fit.
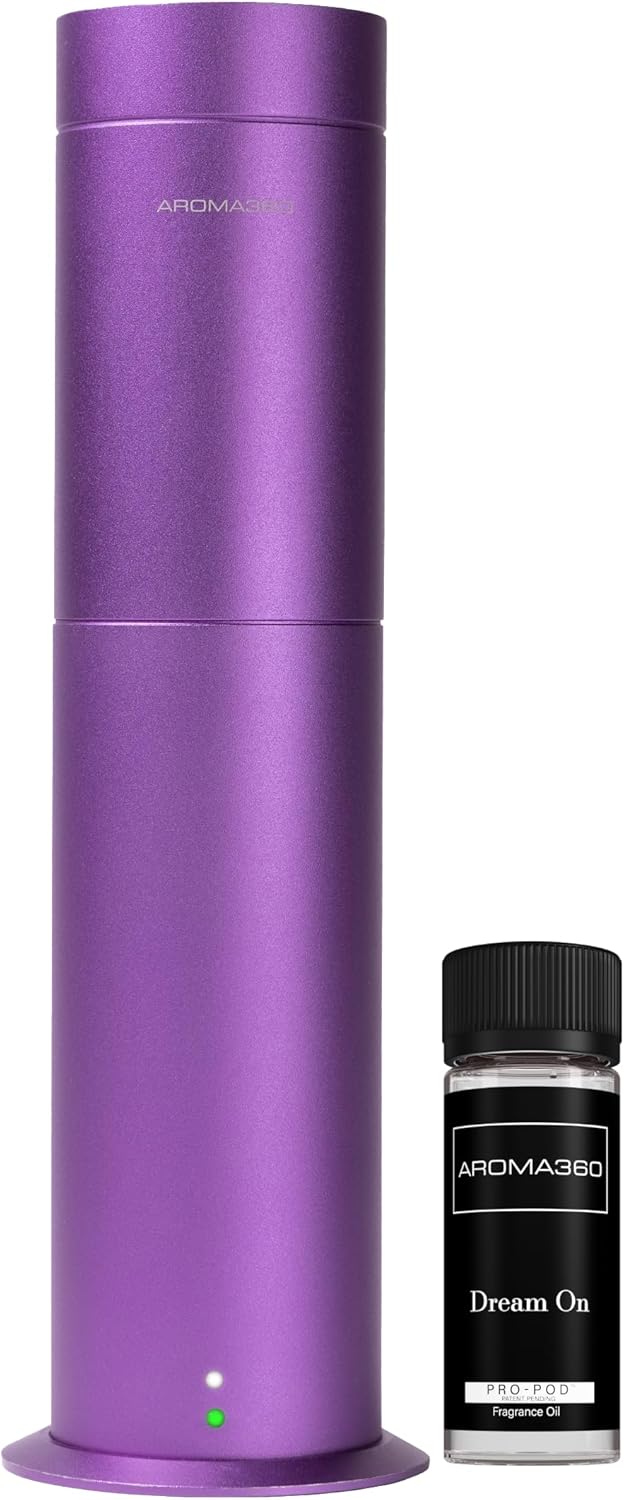
Image: The Aroma360 Mini Pro Scent Diffuser shown with a Pro Pod fragrance oil bottle, illustrating compatibility.
3. Accensione
Connect the power adapter to the DC input port on the back of the diffuser. Plug the other end of the adapter into a standard electrical outlet. The indicator light on the front of the diffuser will illuminate, indicating it is ready for operation.
Istruzioni per l'uso
1. Accensione/spegnimento
To turn the diffuser on, press the power button located on the front of the device. The indicator light will change, and the diffuser will begin to emit fragrance. To turn it off, press the power button again.
2. Adjusting Scent Intensity
The Aroma360 Mini Pro Scent Diffuser offers adjustable scent intensity settings. Refer to the specific controls on your device (e.g., buttons, dial) to cycle through available intensity levels. Higher settings will release more fragrance over a shorter period, while lower settings will provide a subtle aroma for longer durations.
Manutenzione
1. Cleaning the Diffuser
Regular cleaning ensures optimal performance and longevity of your diffuser. Always unplug the device before cleaning.
- Pulire la parte esterna del diffusore con un panno morbido e asciutto.
- Se necessario, leggermente dampPulire il panno con acqua (non utilizzare prodotti chimici aggressivi o detergenti abrasivi).
- Do not allow water or any liquid to enter the internal components or air vents.

Immagine: in alto view of the Aroma360 Mini Pro Scent Diffuser, illustrating the area for cleaning and pod access.
2. Replacing Fragrance Pods
When a Pro Pod fragrance oil bottle is empty or you wish to change scents:
- Scollegare il diffusore dalla presa di corrente.
- Twist the top section of the diffuser counter-clockwise to remove it.
- Unscrew the empty or unwanted Pro Pod bottle from the compartment.
- Dispose of the empty bottle responsibly.
- Screw in a new Aroma360 Pro Pod fragrance oil bottle.
- Reattach the top section, twisting clockwise until secure.
Risoluzione dei problemi
| Problema | Possibile causa | Soluzione |
|---|---|---|
| Il diffusore non si accende. | Nessuna connessione di alimentazione. | Ensure the power adapter is securely plugged into the diffuser and a working electrical outlet. |
| Nessun odore o odore debole. | Empty fragrance pod; incorrect pod installation; diffuser vents blocked. | Check if the Pro Pod is empty and replace if necessary. Ensure the Pro Pod is screwed in correctly. Verify that air vents are clear. Adjust scent intensity setting. |
| Rumore insolito durante il funzionamento. | Improper placement; internal obstruction. | Ensure the diffuser is on a flat, stable surface. If noise persists, unplug the device and contact customer support. |
Specifiche
- Modello: Aroma360 Mini Pro Scent Diffuser
- Diffusion Type: Cold-Air Diffusion, Waterless
- Area di copertura: Fino a 600 mq.
- Compatibilità: Exclusively with Aroma360 Pro Pod Fragrance Oils
- Potenza in ingresso: (Specifics not provided, refer to power adapter)
- Dimensioni: (Specifics not provided)
Garanzia e supporto
The Aroma360 Mini Pro Scent Diffuser comes with a limited manufacturer's warranty. Please refer to the warranty card included with your purchase or visit the official Aroma360 websito per termini e condizioni di garanzia dettagliati.
For technical support, troubleshooting assistance, or to inquire about replacement parts and accessories, please contact Aroma360 Customer Service:
- Websito: www.aroma360.com
- E-mail: support@aroma360.com (example)
- Telefono: (Customer service number not provided)
Quando contatti l'assistenza, tieni a portata di mano il modello del prodotto e la data di acquisto.


