1. Introduzione
Thank you for choosing the CREATE WIND CLEAR STUDIO S Ceiling Fan with Light. This manual provides essential information for the safe installation, operation, and maintenance of your new ceiling fan. Please read it thoroughly before use and retain it for future reference.
The WIND CLEAR STUDIO S is a silent ceiling fan featuring a 40W DC motor, a summer/winter function, and 6 speed settings. It includes retractable blades and an integrated LED light with 3 adjustable color temperatures. A programmable timer allows for automatic shut-off.

Image 1.1: The CREATE WIND CLEAR STUDIO S Ceiling Fan with Light, featuring a white body and light wood trim, with its remote control.
2. Istruzioni di sicurezza
- Prima di procedere all'installazione, alla manutenzione o alla pulizia, assicurarsi che l'alimentazione sia scollegata.
- L'installazione deve essere eseguita da un elettricista qualificato, nel rispetto delle normative locali in materia di cablaggio.
- The mounting structure must be capable of supporting the weight of the fan (minimum 15 kg).
- Maintain a minimum clearance of 2.3 meters (7.5 feet) from the floor to the fan blades.
- Non inserire oggetti nel percorso delle lame rotanti.
- Questo apparecchio è destinato esclusivamente all'uso in ambienti interni.
- Tenere il telecomando fuori dalla portata dei bambini.
3. Contenuto della confezione
Verificare che tutti i componenti siano presenti e integri prima di procedere con l'installazione. Se qualche componente risulta mancante o danneggiato, contattare l'assistenza clienti.
- Ceiling Fan Motor Unit with Integrated LED Light
- Retractable Fan Blades (3 units)
- Telecomando
- Staffa di fissaggio
- Downrods (2 lengths for adjustable height)
- Kit hardware (viti, rondelle, dadi per cavi)
- Manuale utente e guida al montaggio
4. Configurazione e installazione
Detailed installation instructions are provided in the separate assembly guide included with your product. Please follow those instructions carefully. This fan includes two suspension rods, allowing for flexible installation height to suit your space.
Ensure the fan is securely mounted to a ceiling joist or a suitable support structure. All electrical connections must be made correctly and safely.

Image 4.1: The ceiling fan installed in a room, demonstrating its aesthetic integration.

Immagine 4.2: Un altro view of the ceiling fan installed, highlighting its design and lighting capabilities.
5. Istruzioni per l'uso
Your CREATE WIND CLEAR STUDIO S fan is controlled via the included remote control. Ensure batteries are correctly inserted into the remote.
5.1 Funzioni del telecomando
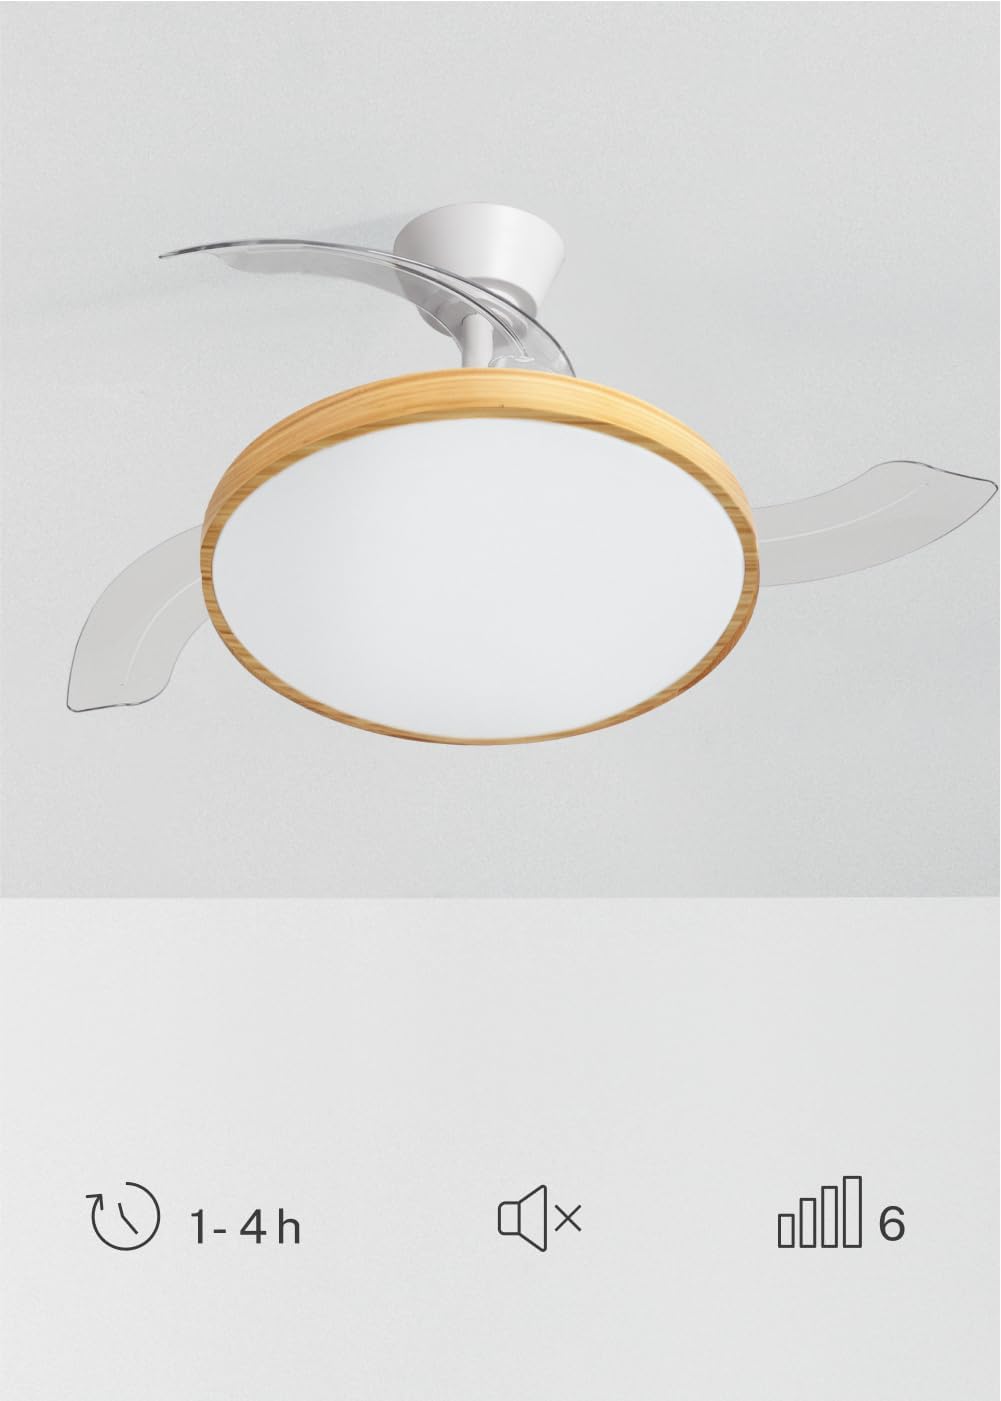
Image 5.1: The remote control for the ceiling fan, illustrating buttons for light control, fan speed adjustment (1-6), timer settings (1H, 2H, 4H), and a mute function.
- Accensione/spegnimento: Premere il pulsante di accensione per accendere o spegnere la ventola e la luce.
- Velocità della ventola: Use the speed buttons (1-6) to adjust the fan's rotation speed. There are 6 available speeds.
- Controllo della luce: Premere il pulsante della luce per accendere o spegnere la luce LED.
- Temperatura del colore della luce: Cycle through the 3 available light color temperatures (Warm White 2700K, Natural White 3300K, Cool White 4000K) by pressing the light temperature button.
- Funzione timer: Imposta lo spegnimento automatico del ventilatore dopo 1, 2 o 4 ore utilizzando i rispettivi pulsanti del timer.
- Funzione muto: Press the mute button to silence operational beeps.
5.2 Funzione estate/inverno
The fan features a reversible motor for year-round use. This function helps optimize air circulation for both cooling and heating.

Image 5.2: Diagram showing air circulation for summer mode (downward airflow for cooling) and winter mode (upward airflow to redistribute warm air).
- Modalità estiva (rotazione in senso antiorario): Crea un flusso d'aria verso il basso, generando una brezza rinfrescante.
- Modalità invernale (rotazione in senso orario): Crea un flusso d'aria verso l'alto, facendo circolare l'aria calda intrappolata vicino al soffitto in tutta la stanza.
Refer to your assembly guide for instructions on how to switch between summer and winter modes, typically via a switch on the fan body or remote control.
5.3 Regolazione della temperatura del colore della luce
The integrated LED light offers three distinct color temperatures to suit different moods and activities.

Image 5.3: Illustration of the three adjustable light color temperatures: 2700K for warm light, 3300K for natural light, and 4000K for cool light.
- 2700K (bianco caldo): Ideale per rilassarsi e creare un'atmosfera accogliente.
- 3300K (bianco naturale): Suitable for general illumination and daily activities.
- 4000K (bianco freddo): Best for tasks requiring clear visibility and concentration.
6. Manutenzione
Una manutenzione regolare garantisce prestazioni ottimali e prolunga la durata del ventilatore da soffitto.
- Pulizia: Spolverare regolarmente le pale del ventilatore e l'alloggiamento del motore con un panno morbido e asciutto.amp panno. Non utilizzare detergenti abrasivi o solventi. Assicurarsi che la ventola sia spenta e che l'alimentazione sia scollegata prima di pulire.
- Ispezione della lama: Controllare periodicamente le pale del ventilatore per verificare che non presentino segni di danneggiamento o squilibrio.
- Tightness of Screws: Over time, screws may loosen. Check and tighten all screws on the mounting bracket and blade attachments annually.
- Sorgente luminosa: La sorgente luminosa a LED integrata è progettata per durare a lungo e generalmente non è sostituibile dall'utente. In caso di guasto della luce, contattare l'assistenza clienti.
7. Risoluzione Dei Problemi
Se riscontri problemi con la ventola, fai riferimento ai seguenti problemi comuni e alle relative soluzioni prima di contattare l'assistenza clienti.
| Problema | Possibile causa | Soluzione |
|---|---|---|
| La ventola non si avvia | Nessuna alimentazione; cablaggio allentato; batteria del telecomando scarica. | Controllare l'interruttore automatico; assicurarsi che tutti i collegamenti siano saldi; sostituire le batterie del telecomando. |
| La luce non funziona | No power supply; loose wiring; LED failure. | Check power; ensure connections are secure; contact support if LED is faulty. |
| La ventola oscilla eccessivamente | Loose mounting screws; unbalanced blades; incorrect installation. | Tighten all mounting screws; ensure blades are securely attached and balanced; re-check installation steps. |
| Il telecomando non funziona | Low or dead batteries; remote not paired (if applicable); obstruction. | Replace batteries; ensure clear line of sight to receiver; refer to assembly guide for pairing instructions. |
8. Specifiche
| Caratteristica | Dettaglio |
|---|---|
| Marca | CREARE |
| Modello | WIND CLEAR STUDIO S |
| Colore | Blanco Y Madera Clara (White and Light Wood) |
| Diametro | 91 centimetri |
| Energia | 40 Watts (DC Motor) |
| Voltage | 240 Volt |
| Numero di velocità | 6 |
| Efficienza energetica | Da A a G |
| Livello di rumore | 40 decibel |
| Tipo di sorgente luminosa | LED (3 Color Temperatures) |
| Metodo di controllo | Telecomando |
| Tipo di installazione | Montaggio semi-incasso |
| Uso interno/esterno | Al chiuso |
| Timer | 1H, 2H, 4H |
| Caratteristiche speciali | Retractable Blades, Summer/Winter Function |

Image 8.1: The fan is suitable for rooms up to approximately 13 square meters.
9. Garanzia e supporto
Your CREATE WIND CLEAR STUDIO S Ceiling Fan with Light comes with a manufacturer's warranty. Please refer to the warranty card included in your package for specific terms and conditions.
For technical assistance, troubleshooting beyond this manual, or to inquire about replacement parts, please contact CREATE customer support. You can find more information and contact details on the official CREATE brand store: