1. Introduzione
Thank you for choosing the Furmax Ergonomic Mesh Office Chair. This manual provides essential information for the safe assembly, operation, and maintenance of your new chair. Please read these instructions carefully before use and retain them for future reference.
Informazioni sulla sicurezza
- Assicurarsi che tutti i componenti siano presenti e integri prima del montaggio. Non utilizzare se alcuni componenti risultano mancanti o rotti.
- Follow assembly instructions precisely. Incorrect assembly can lead to instability and injury.
- Non salire sulla sedia.
- Non utilizzare la sedia come sgabello.
- Peso massimo supportato: 240 libbre. Non superare questo limite.
- Tenere i bambini lontani dalle parti in movimento durante il montaggio e il funzionamento.
- Controllare regolarmente tutti i bulloni e le viti per assicurarsi che siano ben serrati.
2. Contenuto della confezione
Si prega di verificare che tutti i componenti siano inclusi nel pacchetto:
- Schienale (1)
- Cuscino del sedile (1)
- Braccioli (2)
- Cilindro di sollevamento a gas (1)
- Base stellare (1)
- Rotelle (5)
- Piastra del meccanismo (1)
- Pacchetto hardware (viti, rondelle, chiave a brugola)
3. Istruzioni di montaggio
Follow these steps to assemble your Furmax office chair:
- Fissare le rotelle alla base stellare: Inserire ciascuna delle cinque rotelle nei fori all'estremità della base a stella finché non scattano saldamente in posizione.
- Inserire il pistone a gas: Posizionare il cilindro di sollevamento a gas nel foro centrale della base a stella.
- Attach Mechanism Plate to Seat Cushion: Align the mechanism plate with the screw holes on the underside of the seat cushion. Ensure the adjustment lever is on the right side when facing the front of the seat. Secure with screws, but do not fully tighten yet.
- Fissare i braccioli e lo schienale: Install the armrests to the seat cushion and the backrest. Do not tighten the screws completely at this stage. This allows for minor adjustments.
- Connect Seat Cushion and Backrest: Ensure the armrests connect the seat cushion and backrest properly.
- Stringere tutte le viti: Once all components are aligned, tighten all screws securely using the provided Allen wrench.
- Attach Assembled Seat to Gas Lift: Carefully place the assembled seat onto the top of the gas lift cylinder. Press down firmly to secure.

Figura 1: Dimensioni del prodotto per riferimento di assemblaggio
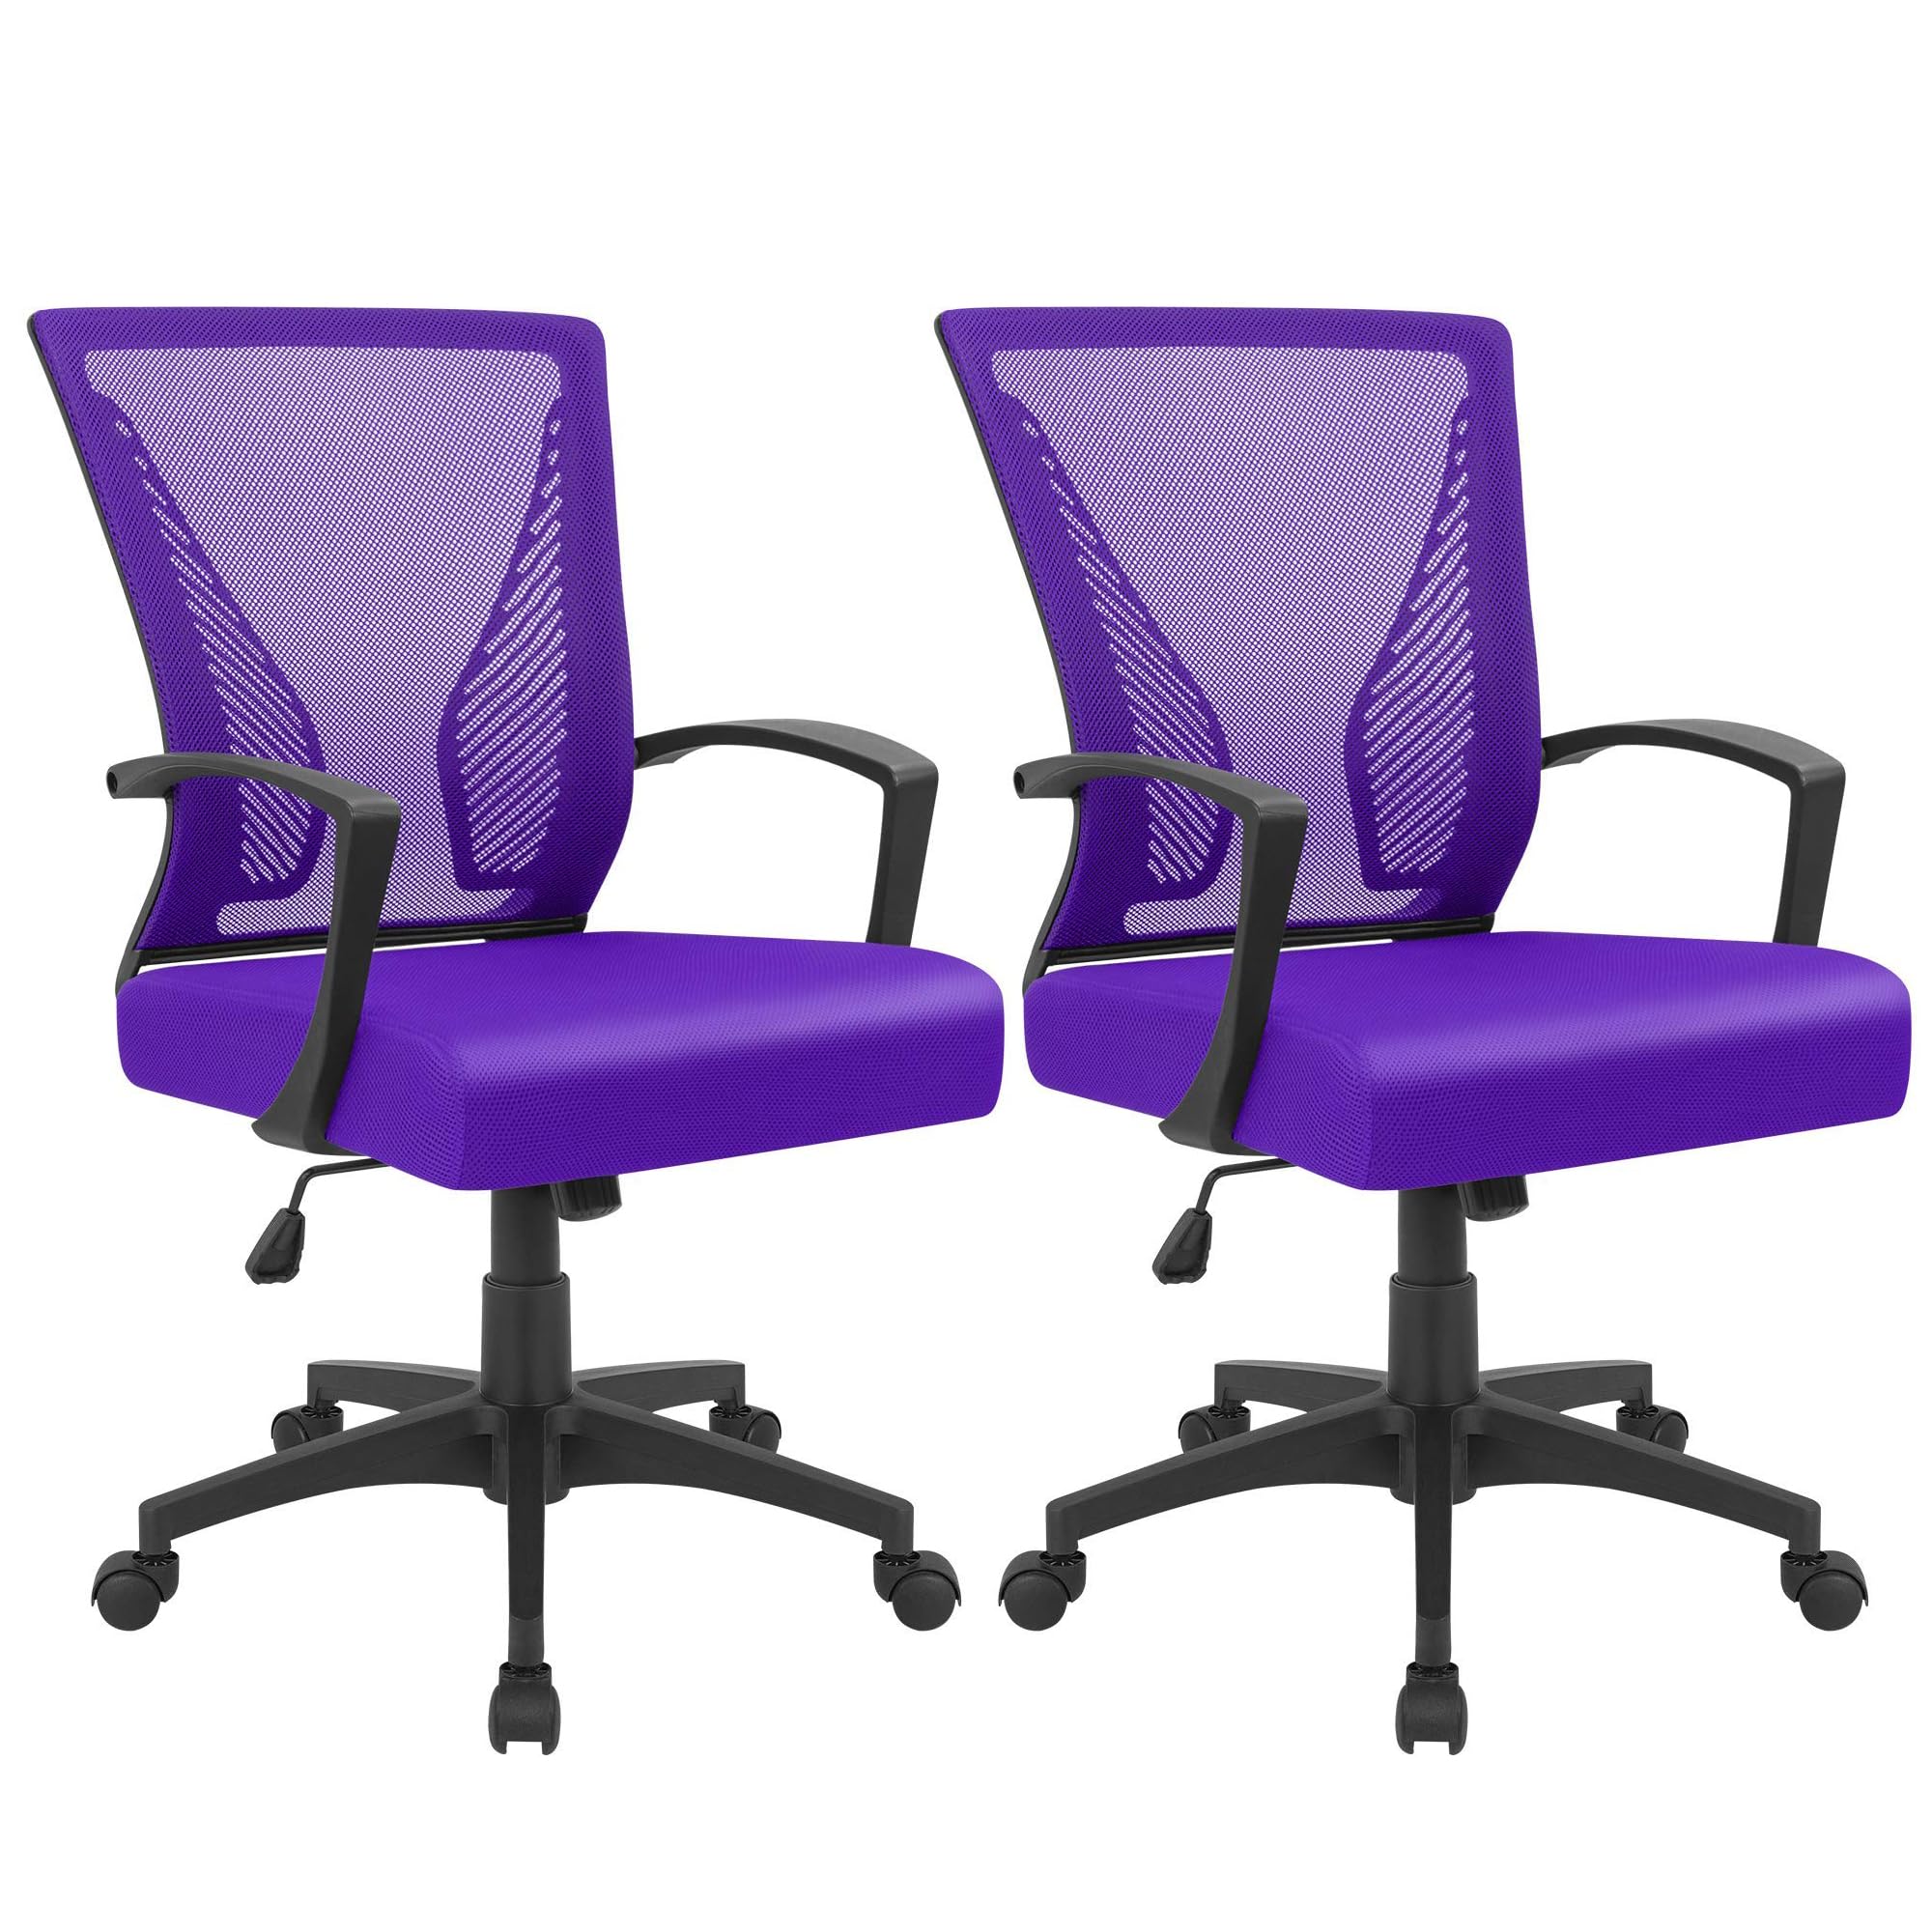
Figure 2: Assembled Furmax Ergonomic Mesh Office Chair
4. Istruzioni per l'uso
Your Furmax office chair is designed with several adjustable features for optimal comfort:
Regolazione dell'altezza
To adjust the seat height, locate the lever on the right side, beneath the seat. While seated, pull the lever up to lower the seat. To raise the seat, lift the lever while standing or with minimal weight on the seat.
Tilt/Rocking Function
The chair features a tilt function for reclining. Pull the same lever outwards to enable the rocking motion. Push the lever inwards to lock the chair in an upright position. The tension of the rocking motion can be adjusted by twisting the round knob located under the seat.

Figure 3: Rocking Function and Adjustment Lever
Girevole a 360 gradi
The chair is equipped with smooth casters and a 360-degree horizontal rotation, allowing for effortless movement and flexibility in your workspace.
Ergonomic Lumbar Support
The chair's backrest is designed with two lumbar supports that conform to your lower back, providing comfortable support and promoting good posture during long sitting periods.

Figure 4: Ergonomic Lumbar Support Detail
Breathable Mesh and Thick Cushion
The backrest features a high-quality, breathable mesh for enhanced airflow, while the seat cushion uses high-density elastic sponge for comfort and durability.
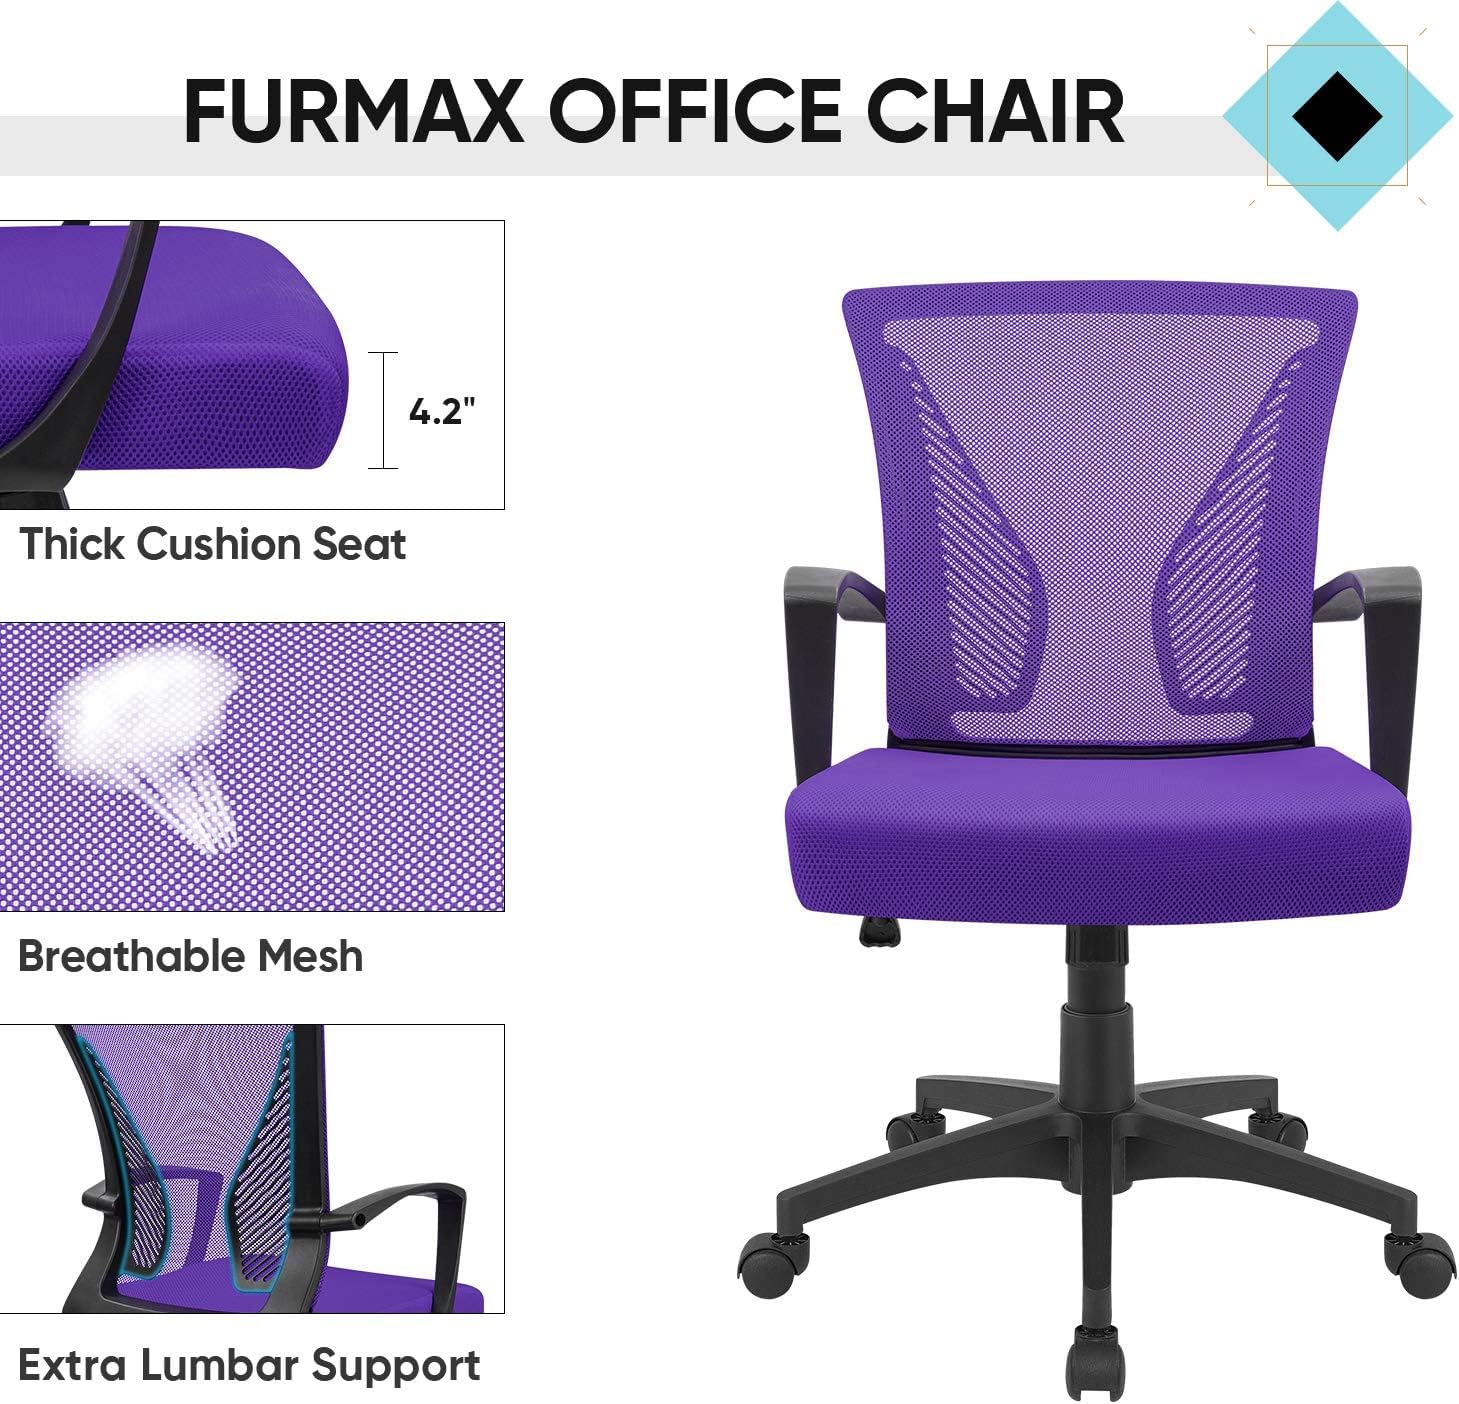
Figure 5: Seat Cushion and Mesh Detail
5. Manutenzione
To ensure the longevity and optimal performance of your Furmax office chair, follow these maintenance guidelines:
- Pulizia: Pulisci le parti in plastica e metallo con un panno morbido eamp cloth. For mesh and fabric areas, use a mild upholstery cleaner or a vacuum with a brush attachment to remove dust and debris. Avoid harsh chemicals.
- Ispezione: Controllare periodicamente tutte le viti, i bulloni e i collegamenti per assicurarsi che siano ben serrati. Serrarli nuovamente se necessario.
- Cura delle rotelle: Per garantire un rotolamento fluido, tenere le rotelle libere da capelli e detriti.
- Evitare il sovraccarico: Non superare la capacità di peso massima di 240 libbre.
6. Risoluzione Dei Problemi
Se riscontri problemi con la tua sedia, fai riferimento ai seguenti problemi comuni e alle relative soluzioni:
- Chair does not stay at desired height: Ensure the gas lift cylinder is correctly installed and not damaged. If the issue persists, the gas lift may need replacement.
- La sedia è instabile o traballante: Check all assembly screws and bolts. Tighten any loose connections. Ensure the star base is fully engaged with the gas lift.
- Le rotelle non girano fluidamente: Inspect casters for trapped debris (hair, lint, etc.) and clean them thoroughly. Ensure they are securely inserted into the star base.
- Lo schienale non si reclina o non si blocca: Verify that the tilt mechanism lever is correctly engaged or disengaged. Adjust the tilt tension knob if the rocking motion is too stiff or too loose.
7. Specifiche
| Caratteristica | Dettaglio |
|---|---|
| Marca | Furmax |
| Nome del modello | OCNC7510 |
| Colore | Viola |
| Dimensioni del prodotto | 19.7"P x 19.7"L x 35.4"A |
| Dimensioni del sedile | 19.7 (L) X 19.7 (W) X 16.5-20.5 (H) inches |
| Larghezza dello schienale della sedia | 18.9 pollici |
| Peso massimo raccomandato | 240 libbre |
| Materiale | Metal, Plastic, Foam |
| Materiale di riempimento | Schiuma |
| Stile posteriore | ala indietro |
| Stile del braccio | Arrotondato |
| Stile gamba | Ruote |
| Conteggio della posizione reclinata | 1 |
| Peso dell'articolo | 20.5 libbre |
8. Garanzia e supporto
For warranty information, product support, or to purchase replacement parts, please contact Furmax customer service through the retailer where the product was purchased. Please have your model name (OCNC7510) and purchase date available.