1. Introduzione
This manual provides detailed instructions for the safe and effective use of your OLIGHT i3E EOS and i3T 2 EOS flashlights. Please read this manual thoroughly before operating the devices and retain it for future reference.
2. Prodotto finitoview
Torcia elettrica OLIGHT i3E EOS
The i3E EOS is a compact, mono-output LED keychain flashlight designed for everyday carry. It features a PMMA TIR lens for a soft, balanced beam.
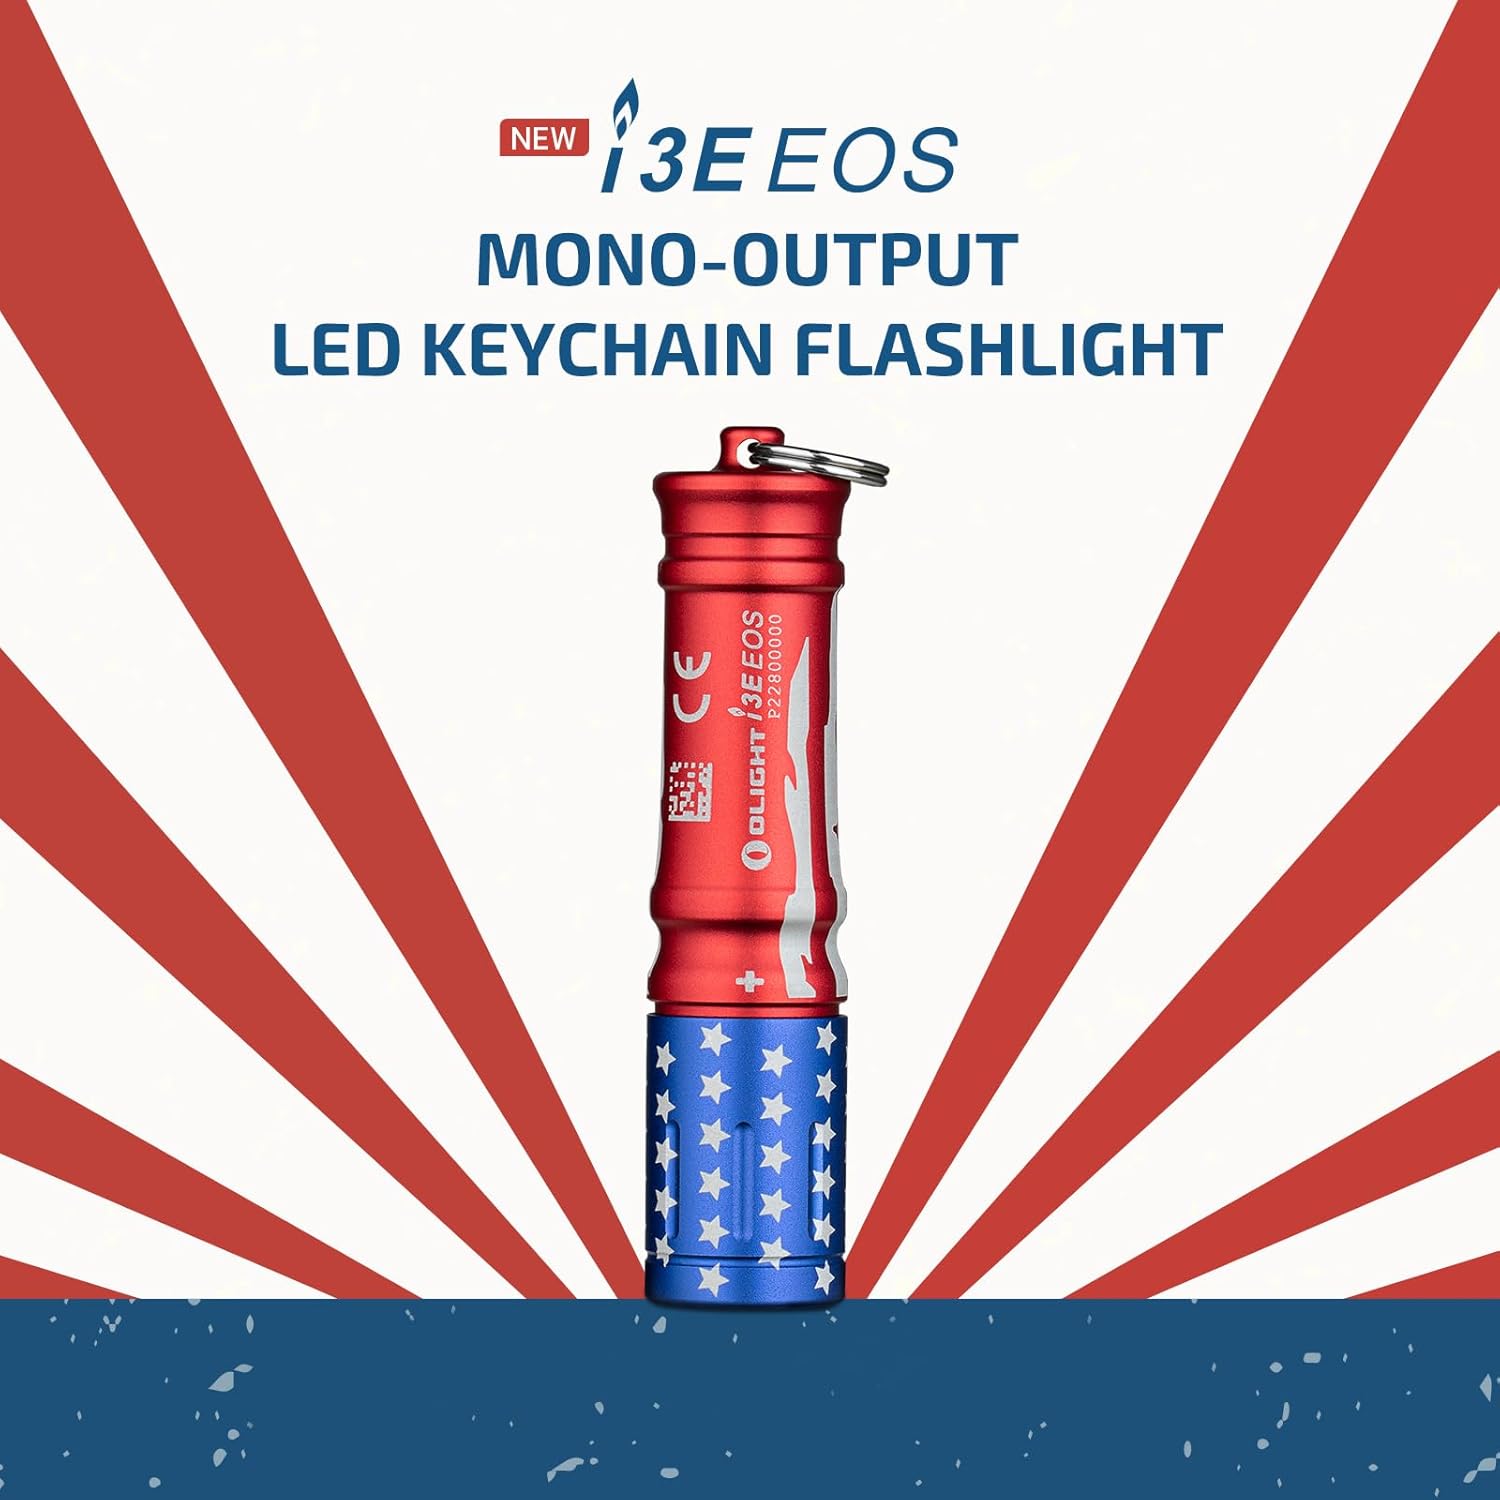
Image: The OLIGHT i3E EOS flashlight, showcasingrazie al suo design compatto e al suo attacco portachiavi.
Key Features (i3E EOS):
- Mono-output: Provides a single, consistent brightness level.
- Compact Size: Miniature, pinkie-sized for easy portability.
- Durable: IPX8 rated for water resistance.
- Power Source: Operates on one AAA battery.
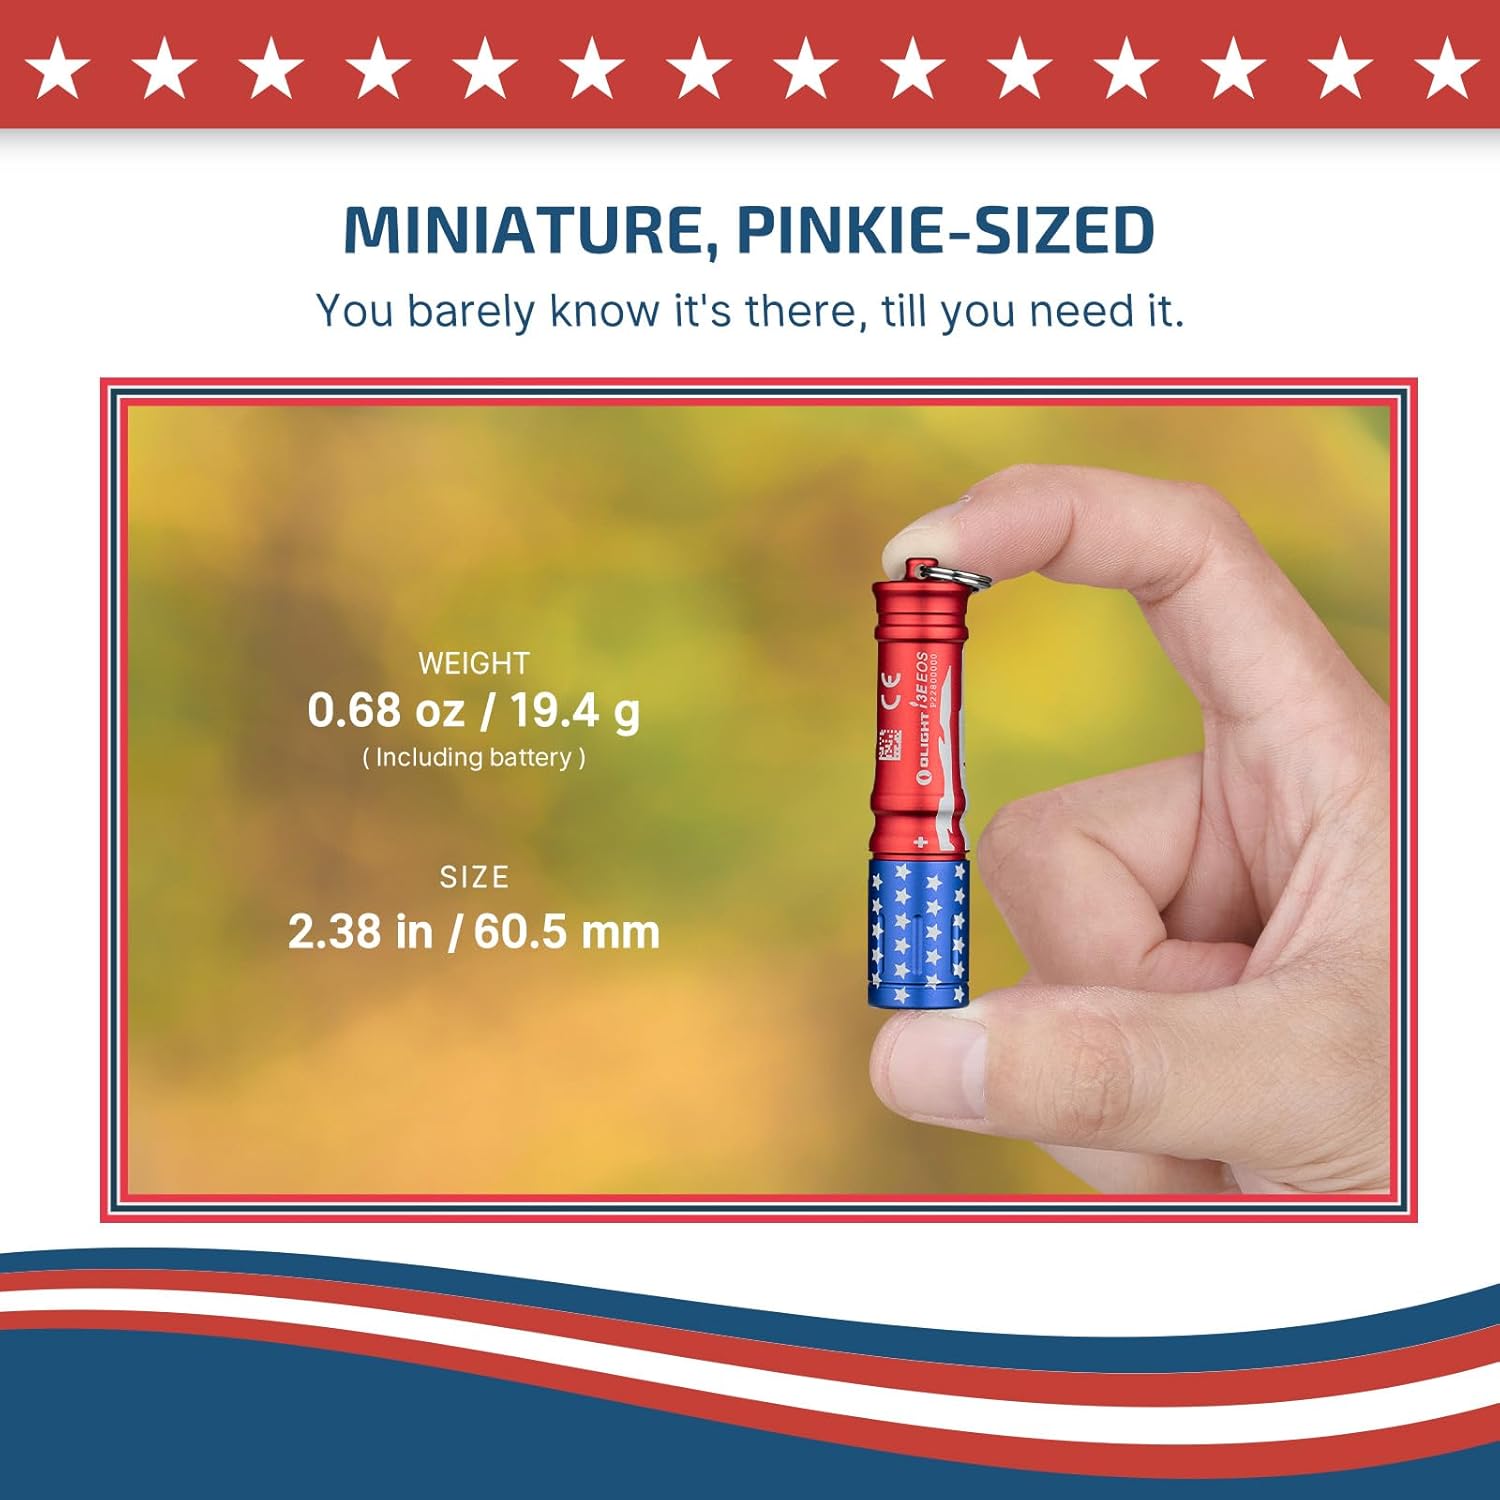
Image: A hand holding the OLIGHT i3E EOS, illustrating its small size (2.38 inches / 60.5 mm) and light weight (0.68 oz / 19.4 g including battery).
OLIGHT i3T 2 EOS Flashlight
The i3T 2 EOS is a compact handheld flashlight offering multiple brightness levels and an improved design for everyday use.

Image: A person using the OLIGHT i3T 2 EOS flashlight outdoors at night, demonstrating its illumination capabilities.
Key Features (i3T 2 EOS):
- Multiple Brightness Levels: Offers both constant and momentary-on options.
- Flexible Battery Options: Compatible with AAA alkaline or rechargeable batteries.
- Extended Runtime: Improved battery life compared to previous models.
- Improved Pocket Clip: Designed for more concealed carry and secure attachment.
3. Impostazione
Installazione della batteria
Both flashlights use a single AAA battery. Ensure correct polarity when inserting the battery.
- Svitare il tappo posteriore della torcia.
- For i3E EOS: Remove the plastic wrapper from the included AAA battery before insertion.
- Inserire una batteria AAA con il polo positivo (+) rivolto verso la testa della torcia.
- Riavvitare saldamente il tappo di coda per garantire un contatto adeguato e la resistenza all'acqua.
Nota: The i3T 2 EOS is compatible with both AAA alkaline batteries and rechargeable AAA batteries. Using a rechargeable battery can boost its maximum output.
4. Funzionamento
OLIGHT i3E EOS
The i3E EOS is a twist-operated flashlight.
- Per attivare: Ruotare la testa della torcia in senso orario finché la luce non si accende.
- Per spegnere: Ruotare la testa della torcia in senso antiorario finché la luce non si spegne.
OLIGHT i3T 2 EOS
The i3T 2 EOS features a tail switch for operation and mode selection.
- momentaneo acceso: Half-press the tail switch. Release to turn off.
- Accensione/spegnimento costanti: Fully press the tail switch until it clicks to turn the light on or off.
- Selezione della modalità: When the light is on, quickly turn it off and on again (within 0.5 seconds) to cycle between low and high brightness modes. The flashlight will initially power on in your preferred low or high mode, depending on the last setting.

Image: The OLIGHT i3T 2 EOS flashlight with its clip attached to a hat brim, demonstrating hands-free use. An exploded view shows the flashlight components and the secure clip attachment.
5. Manutenzione
- Sostituzione della batteria: Replace the AAA battery when the light becomes dim or stops functioning. Always use high-quality batteries.
- Pulizia: Pulisci il corpo della torcia con un panno morbido eamp panno. Non usare detergenti abrasivi o solventi.
- O-ring: Periodically check the O-rings for wear and tear. Lubricate them with silicone grease if necessary to maintain water resistance. Replace damaged O-rings promptly.
- Magazzinaggio: If storing the flashlight for an extended period, remove the battery to prevent leakage and damage.
6. Risoluzione Dei Problemi
| Problema | Possibile causa | Soluzione |
|---|---|---|
| La torcia non si accende. | Battery is dead or inserted incorrectly. Plastic wrapper on i3E EOS battery not removed. Loose tail cap. | Replace battery, ensure correct polarity. Remove plastic wrapper. Tighten tail cap. |
| La luce è fioca o tremolante. | Batteria scarica. Collegamenti allentati. Contatti sporchi. | Replace battery. Ensure tail cap is tight. Clean battery contacts with a cotton swab. |
| Infiltrazioni d'acqua. | Damaged or improperly seated O-rings. Tail cap not fully tightened. | Check and replace O-rings if damaged. Ensure tail cap is securely tightened. |
7. Specifiche
OLIGHT i3E EOS
- Luminosità: Fino a 90 lumen
- Distanza del fascio: 44 metri
- Durata: Fino a 60,000 ore (LED)
- Grado di impermeabilità: Grado di protezione IPX8
- Fonte di energia: 1 batterie AAA
- Peso: 0.68 once / 19.4 g (batteria inclusa)
- Dimensioni: 2.38 in / 60.5 mm (length)
OLIGHT i3T 2 EOS
- Luminosità: Up to 200 lumens (300 lumens with rechargeable battery)
- Modalità: Low, High (constant and momentary-on)
- Fonte di energia: 1 x AAA alkaline battery or rechargeable AAA battery
- Durata: Up to 21 hours (with 1.5V AAA Alkaline Battery)
- Temperatura superficiale: Maintained below 45°C during prolonged use

Image: A graph comparing the maximum runtime of the i3T (16 hours) and i3T 2 (21 hours) with a 1.5V AAA alkaline battery, highlighting the extended battery life of the i3T 2.
8. Garanzia e supporto
For warranty information, product support, or service inquiries, please refer to the official OLIGHT websito o contattare direttamente il servizio clienti. Conservare la ricevuta d'acquisto per eventuali reclami in garanzia.