1. Introduzione
This manual provides essential information for the safe and effective operation of your ComMarker Titan1 60W JPT Mopa Fiber Laser Engraving Machine. Please read this manual thoroughly before operating the device to ensure proper usage and to prevent damage or injury. The ComMarker Titan1 is designed for high-precision engraving and marking on various materials, including metals, plastics, and jewelry, offering advanced features like color marking and 3D engraving capabilities.
2. Informazioni sulla sicurezza
The ComMarker Titan1 is a Class 1 Laser Product (IEC 60825-1 Report Number: 2501Q25848E-SFA1, FDA Accession No.: 2521455-000). Despite being a Class 1 product, proper safety precautions are crucial during operation.
- Quando si utilizza la macchina, indossare sempre occhiali di protezione laser adeguati.
- Assicurarsi che l'area di lavoro sia ben ventilata per dissipare i fumi e le particelle generati durante l'incisione.
- Non guardare mai direttamente il raggio laser o i riflessi delle superfici lucide.
- Tenere i materiali infiammabili lontano dall'area di incisione.
- Non utilizzare la macchina se sono stati rimossi i coperchi o se i dispositivi di sicurezza sono stati bypassati.
- Assicurarsi che la macchina sia adeguatamente messa a terra.
- Familiarizzare con la posizione e la funzione del pulsante di arresto di emergenza.
3. Contenuto della confezione
Verifica che tutti gli articoli elencati di seguito siano inclusi nel pacco. Se alcuni articoli risultano mancanti o danneggiati, contatta l'assistenza clienti.

Immagine: Oltreview of the ComMarker Titan1 60W JPT Mopa Fiber Laser Engraving Machine and its accessories.
- ComMarker Titan1 Laser Engraver Body
- Adattatore di alimentazione
- Cavo dati
- Interruttore a pedale
- Occhiali di sicurezza laser
- Set chiavi a brugola
- USB Drive (containing software and drivers)
- Governate
- Filo di terra
- Placing Helper (material positioning aids)
- Sample Materials (Rings, Metal Pendants, Pendants)
4. Caratteristiche del prodotto
- 60W JPT Mopa Laser Source: Provides high-speed engraving up to 15,000mm/s and supports color marking on stainless steel.
- Alta precisione: Achieves 8K HD accuracy with a precision of 0.01mm.
- Ampia area di incisione: Maximum engraving area of 300mm x 300mm.
- Motorized Elevation: Features electric lifting for precise height adjustment and focusing.
- Dual Focusing Modes: Supports both manual and electric focusing for optimal results.
- Compatibilità software: Compatible with Lightburn and EzCad2 software.
- Ampia compatibilità dei materiali: Engraves stainless steel, aluminum, gold, silver, alloys, most painted products, and non-transparent plastics.
- 3D Engraving & Cutting: Capable of creating depth effects and performing cutting tasks on suitable materials.
- Lunga durata: Designed for durability with a laser source lifespan of 100,000 hours.


5. Guida all'installazione
- Disimballaggio: Rimuovere con cautela tutti i componenti dall'imballaggio. Conservare l'imballaggio per un trasporto o uno stoccaggio futuri.
- Montaggio: Place the laser engraver body on a stable, level surface. Connect the laser head assembly to the main unit, ensuring all fasteners are secure.
- Collegamento elettrico: Connect the power adaptor to the machine and then to a grounded electrical outlet (110V).
- Messa a terra: Attach the provided ground wire to the designated grounding point on the machine and to a suitable ground source.
- Connessione dati: Collegare il cavo dati dalla macchina al computer.
- Installazione del software: Insert the USB drive into your computer. Install the provided EzCad2 software and drivers. If using Lightburn, download and install the latest version from the official Lightburn websito.
- Occhiali di sicurezza: Always put on the laser safety goggles before powering on the machine.
6. Istruzioni per l'uso
- Accensione: Ensure all connections are secure and safety goggles are worn. Press the power button on the machine.
- Lancio del software: Open EzCad2 or Lightburn software on your computer.
- Posizionamento materiale: Place the material to be engraved on the work platform. Use the placing helpers if needed to secure the material.
- Messa a fuoco: Adjust the laser head height using the motorized elevation until the laser is properly focused on the material surface. You can use either manual or electric focusing. Refer to the software's focusing guide for precise adjustment.
- Importazione/creazione del design: Import your design (BMP, GIF, JPG, JPEG, DXF, DST, AI, etc.) or create a new one within the software.
- Impostazioni dei parametri: Set the appropriate laser parameters (power, speed, frequency, passes) based on the material type and desired engraving effect (e.g., color marking, deep engraving, cutting).
- Preview (Semaforo rosso): Utilizzare la luce rossa preview function in the software to verify the engraving area and position on your material.
- Inizia l'incisione: Una volta soddisfatto del preview and parameters, initiate the engraving process from the software. You may use the foot switch for convenient start/stop control.
- Monitoraggio: Supervise the engraving process. In case of any issue, press the emergency stop button immediately.
- Spegni: After engraving is complete, power off the machine and disconnect it from the power source.
7. Manutenzione
- Pulizia delle lenti: Regularly inspect and clean the laser lens with a specialized lens cleaning solution and lint-free wipes to ensure optimal laser performance.
- Area di lavoro: Keep the work platform and surrounding area clean from debris and dust.
- Ventilazione: Ensure the ventilation system is clear and functioning properly to prevent accumulation of fumes and particles.
- Ispezione dei cavi: Periodically check all cables for signs of wear or damage. Replace any damaged cables immediately.
- Aggiornamenti software: Keep your engraving software (Lightburn, EzCad2) updated to the latest version for best performance and compatibility.
8. Risoluzione Dei Problemi
| Problema | Possibile causa | Soluzione |
|---|---|---|
| Il laser non si accende | Power not connected; Emergency stop engaged; Software error; Laser source issue. | Check power connections; Release emergency stop; Restart software/computer; Contact support if laser source is suspected. |
| Scarsa qualità dell'incisione | Incorrect focus; Dirty lens; Incorrect power/speed settings; Material not flat. | Re-focus the laser; Clean the lens; Adjust engraving parameters; Ensure material is flat and secure. |
| La macchina non si connette al computer | Loose data cable; Driver not installed; Software not recognizing device. | Check data cable connection; Install/reinstall drivers from USB drive; Restart software/computer. |
| Unexpected machine shutdown | Overheating; Power fluctuation; Loose power connection. | Ensure proper ventilation; Check power supply stability; Secure power cable. |
9. Specifiche
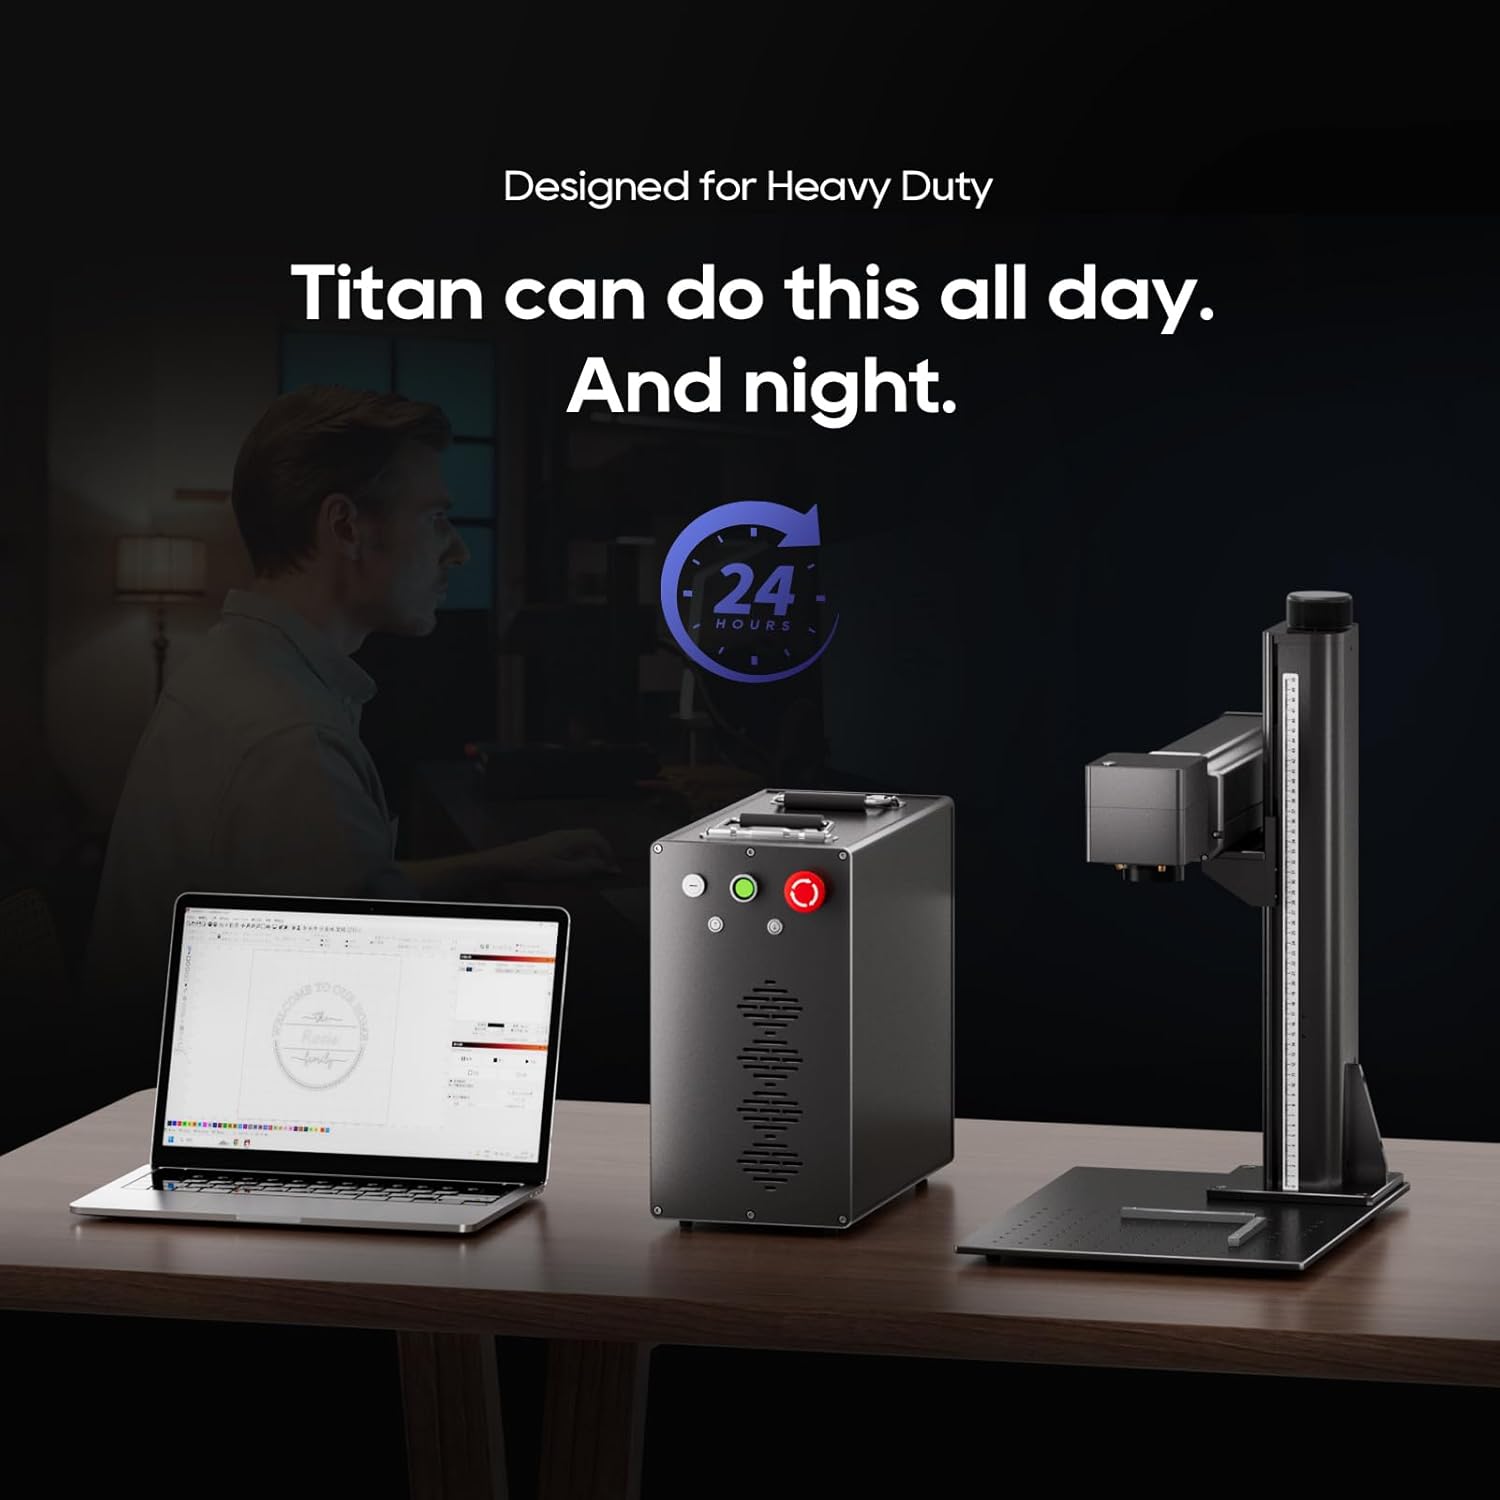
Image: Detailed dimensions of the ComMarker Titan1 60W JPT Mopa Fiber Laser Engraving Machine.
| Caratteristica | Dettaglio |
|---|---|
| Produttore | ComMarker |
| Numero di modello | Titan1 Mopa |
| Sorgente laser | 60W JPT Mopa Fiber Laser |
| Lunghezza d'onda laser | 1064 nm |
| Velocità di incisione | Fino a 15,000 mm/s |
| Precisione dell'incisione | 0.01mm, 8K HD |
| Maximum Engraving Area | 300 mm x 300 mm |
| Fonte di alimentazione | CA/CC, 110 V |
| Compatibilità del sistema | Windows 7/8/10/11, MAC (Lightburn) |
| Formati grafici supportati | BMP, GIF, JPG, JPEG, DXF, DST, AI, etc. |
| Dimensioni del prodotto | 22 x 25.8 x 21.5 pollici (circa 559 x 655 x 546 mm) |
| Classe laser | Class 1 Laser Product (IEC 60825-1) |
10. Garanzia e supporto
For warranty information, please refer to the documentation included with your purchase or contact ComMarker customer support directly. If you encounter any issues not covered in this manual or require technical assistance, please reach out to ComMarker customer service through their official websito o le informazioni di contatto fornite al momento dell'acquisto.
Risorse online: For additional guides, software updates, and community support, visit the official ComMarker websito.


