1. Introduzione
The OSRAM Door LED is a versatile, battery-operated luminaire designed for both indoor and outdoor use. It features an integrated light and motion sensor for automatic illumination, providing targeted downward lighting. Its robust, weather-resistant design and easy installation make it suitable for various applications.
Caratteristiche principali:
- Potenza luminosa: 40 lm, 4000K cool white light, downward emission.
- Flessibilità: Cordless operation with 3 AA batteries (included).
- Durata: High-quality polycarbonate housing with IP54 protection rating, resistant to weather and impact.
- Sensore: Integrated passive infrared (PIR) motion and light sensor for automatic activation in darkness upon motion detection.
- Installazione: Easy and quick mounting with included accessories (screws or adhesive).
2. Informazioni sulla sicurezza
Leggere attentamente tutte le istruzioni di sicurezza prima di utilizzare il prodotto. Conservare il presente manuale per riferimento futuro.
- This product is not a toy. Do not leave it unattended with children or allow children to use it.
- Not designed to replace conventional lighting in a private household.
- Avviso sulla batteria: Keep batteries out of reach of children. Ingestion can lead to chemical burns, perforation of soft tissues, and death. Severe burns can occur within 2 hours of ingestion. Seek immediate medical attention.
- Se il vano batteria (se applicabile) non si chiude in modo sicuro, interrompere l'utilizzo del prodotto e tenerlo lontano dalla portata dei bambini.
- If you suspect batteries may have been swallowed or placed inside any part of the body, seek immediate medical attention.
- Evitare:
- Maximum ambient temperature exceeding +35 °C.
- Replacing a battery with an incorrect type that may defeat a safeguard (e.g., in the case of some lithium battery types).
- Operating at altitudes above 2000 m.
- Disposing of a battery into fire or a hot oven, or mechanically crushing or cutting a battery, which can result in an explosion.
3. Contenuto della confezione
Ensure all components are present before installation:
- 1x OSRAM Door LED Down Sensor 4000K White Luminaire
- 3x batterie AA
- Mounting accessories (screws, adhesive)
4. Specifiche
| Caratteristica | Specificazione |
|---|---|
| Numero di modello | 4099854531439 |
| Dimensioni (L x P x A) | Dimensioni: 10.3 cm x 9.2 cm x 3.7 cm |
| Peso | 154 grammi |
| Colore chiaro | Bianco freddo (4000K) |
| Flusso luminoso | 40 lumen |
| Consumo energetico | 0.95W |
| Fonte di alimentazione | 3x AA Batteries (DC) |
| Grado di protezione | IP54 (impermeabile) |
| Materiale | Policarbonato (PC) |
| Tipo di interruttore | Rilevatore di movimento |
| Protocollo di connettività | Infrarossi |
| Temperatura di esercizio | Massimo +35 °C |
| Altitudine operativa | Massimo 2000 m |
| Applicazioni | Indoor/Outdoor, Entrances, Hallways, Patios, Balconies |
For detailed technical information, please refer to the official product page or contact OSRAM support.
5. Configurazione e installazione
The OSRAM Door LED is designed for quick and flexible installation. It can be mounted using screws or adhesive.
5.1. Installazione della batteria
- Locate the battery compartment on the back of the luminaire.
- Aprire il coperchio del vano batterie.
- Inserire 3 batterie AA, assicurandosi della corretta polarità (+/-).
- Securely close the battery compartment cover. Ensure it clicks into place to maintain IP54 rating.

Figure 1: Technical diagram illustrating battery insertion and product dimensions.
5.2. Opzioni di montaggio
Choose a mounting location that provides optimal coverage for the motion sensor and desired illumination area. Consider entrances, hallways, patios, or balconies.
Option A: Screw Mounting
- Hold the luminaire against the desired mounting surface and mark the screw holes.
- Se necessario, praticare dei fori pilota adatti alle viti fornite.
- Secure the luminaire to the surface using the provided screws.
Option B: Adhesive Mounting
- Clean the mounting surface thoroughly to ensure it is free of dust, grease, and moisture.
- Apply the provided adhesive to the back of the luminaire.
- Press the luminaire firmly against the desired surface for the recommended duration (refer to adhesive instructions if separate).

Figure 2: Product dimensions for mounting reference.

Figura 3: Esample of the Door LED installed above an entrance, providing downward illumination.

Figure 4: The Door LED installed on an outdoor ceiling, demonstrating its discreet profile.
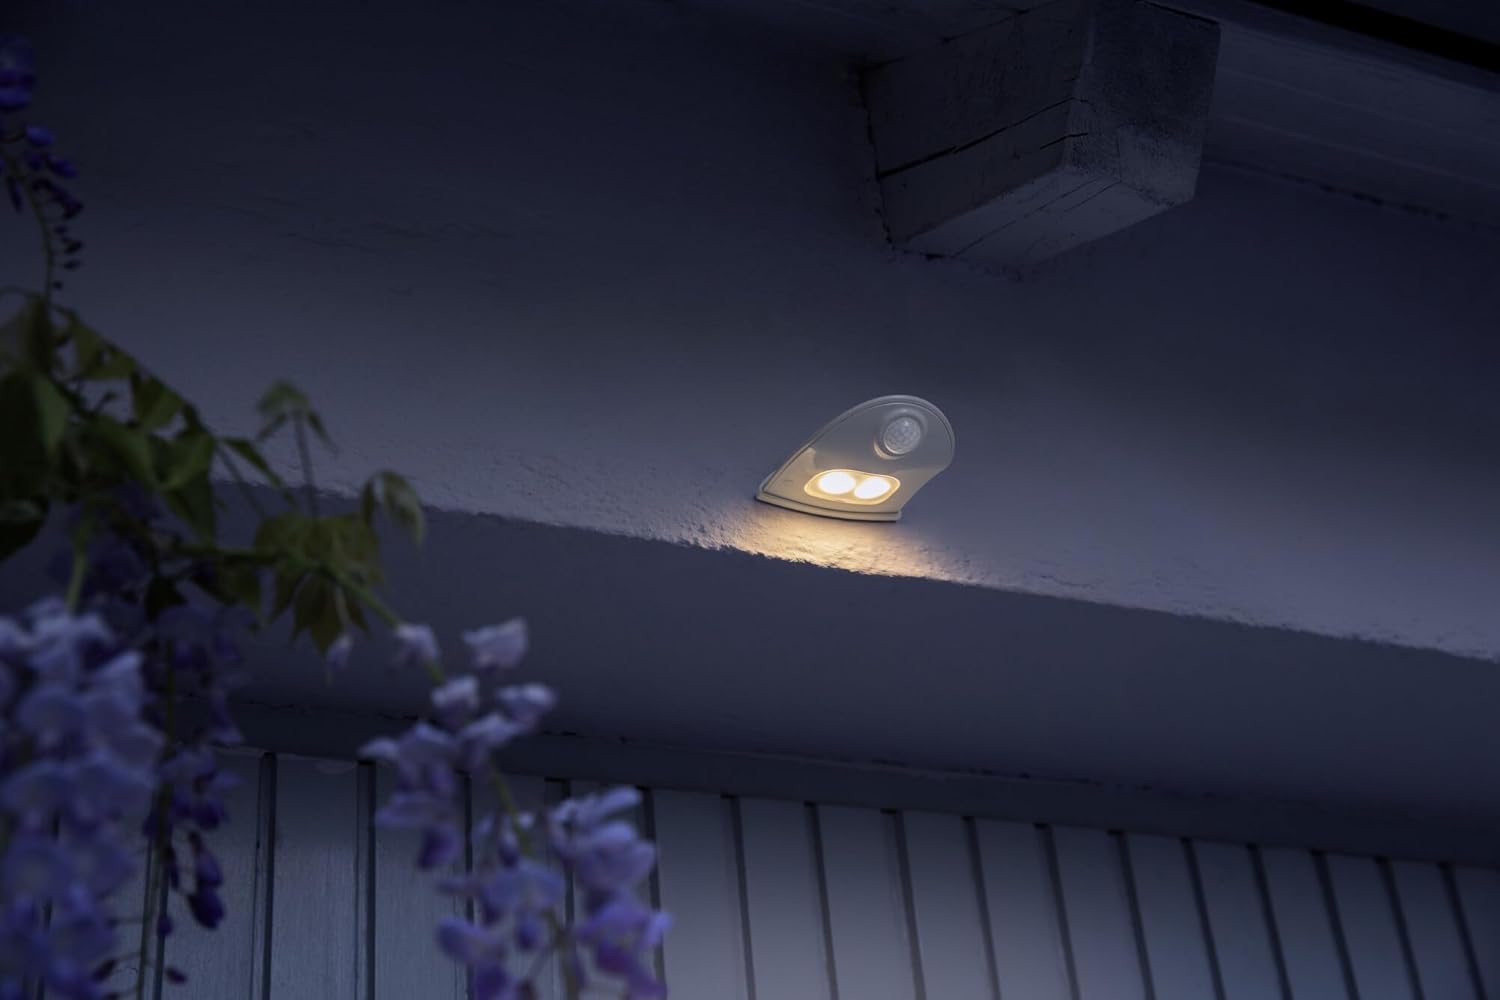
Figura 5: Primo piano laterale view of the Door LED on a wall, highlighting the integrated motion sensor.
6. Istruzioni per l'uso
The OSRAM Door LED operates automatically using its integrated motion and light sensors.
- Attivazione automatica: The luminaire will automatically turn on when motion is detected in its sensing range and the ambient light level is low (darkness).
- Gamma del sensore: The passive infrared (PIR) sensor detects movement within its field of view. Ensure the sensor is not obstructed.
- Disattivazione: The light will turn off automatically after a short delay once no motion is detected and sufficient ambient light is present, or after a preset duration if in darkness.

Figure 6: The Door LED providing illumination on a staircase upon detecting movement.

Figure 7: The Door LED used as a night light in a child's room, demonstrating its versatility.
7. Manutenzione
7.1. Sostituzione della batteria
When the light output diminishes or the device stops responding, it is time to replace the batteries.
- Aprire il vano batteria come descritto nella Sezione 5.1.
- Rimuovere le vecchie batterie e smaltirle in modo responsabile, nel rispetto delle normative locali.
- Inserire 3 batterie AA nuove, rispettando la polarità corretta.
- Chiudere saldamente il coperchio del vano batterie.
Nota: Always use high-quality AA batteries for optimal performance and longevity.
7.2. Pulizia
To maintain the appearance and functionality of your luminaire:
- Pulisci l'esterno con un panno morbido eamp stoffa.
- Do not use abrasive cleaners or solvents, as these can damage the polycarbonate housing.
- Ensure the motion sensor lens is clean and free of obstructions for proper operation.
8. Risoluzione Dei Problemi
| Problema | Possibile causa | Soluzione |
|---|---|---|
| La luce non si accende. | Batterie scariche o installate in modo errato. | Controllare la polarità delle batterie e sostituirle se necessario. |
| La luce si accende durante il giorno. | Sensore di luce ostruito o difettoso. | Ensure the light sensor is clean and not covered. Relocate if ambient light is insufficient. |
| Il sensore di movimento non rileva il movimento. | Sensore ostruito o fuori portata. | Clear any obstructions from the sensor. Adjust mounting position for optimal coverage. |
| La luce tremola o è fioca. | Batteria scarica. | Sostituire le batterie. |
Se il problema persiste dopo aver provato queste soluzioni, contattare l'assistenza clienti.
9. Garanzia e supporto
Per informazioni sulla garanzia e sull'assistenza clienti, fare riferimento al sito ufficiale OSRAM websito o contattare il rivenditore.
Risorse online:
- OSRAM Ufficiale Websito: www.osram.com
- LEDVANCE Product Page (Manufacturer): ledvance.com/docs/4099854531439
Quando contatti l'assistenza, tieni a portata di mano il numero di modello del tuo prodotto (4099854531439) e i dettagli dell'acquisto.


