1. Introduzione
Welcome to the world of miniature crafting with the CUTEBEE Jack’s Bookery DIY Miniature House Kit. This kit allows you to construct a detailed miniature bookstore, complete with intricate elements and LED lighting. Designed for individuals aged 14 and up, this project offers a rewarding experience in model building and creative expression. Please read this manual carefully before beginning assembly to ensure a smooth and enjoyable building process.
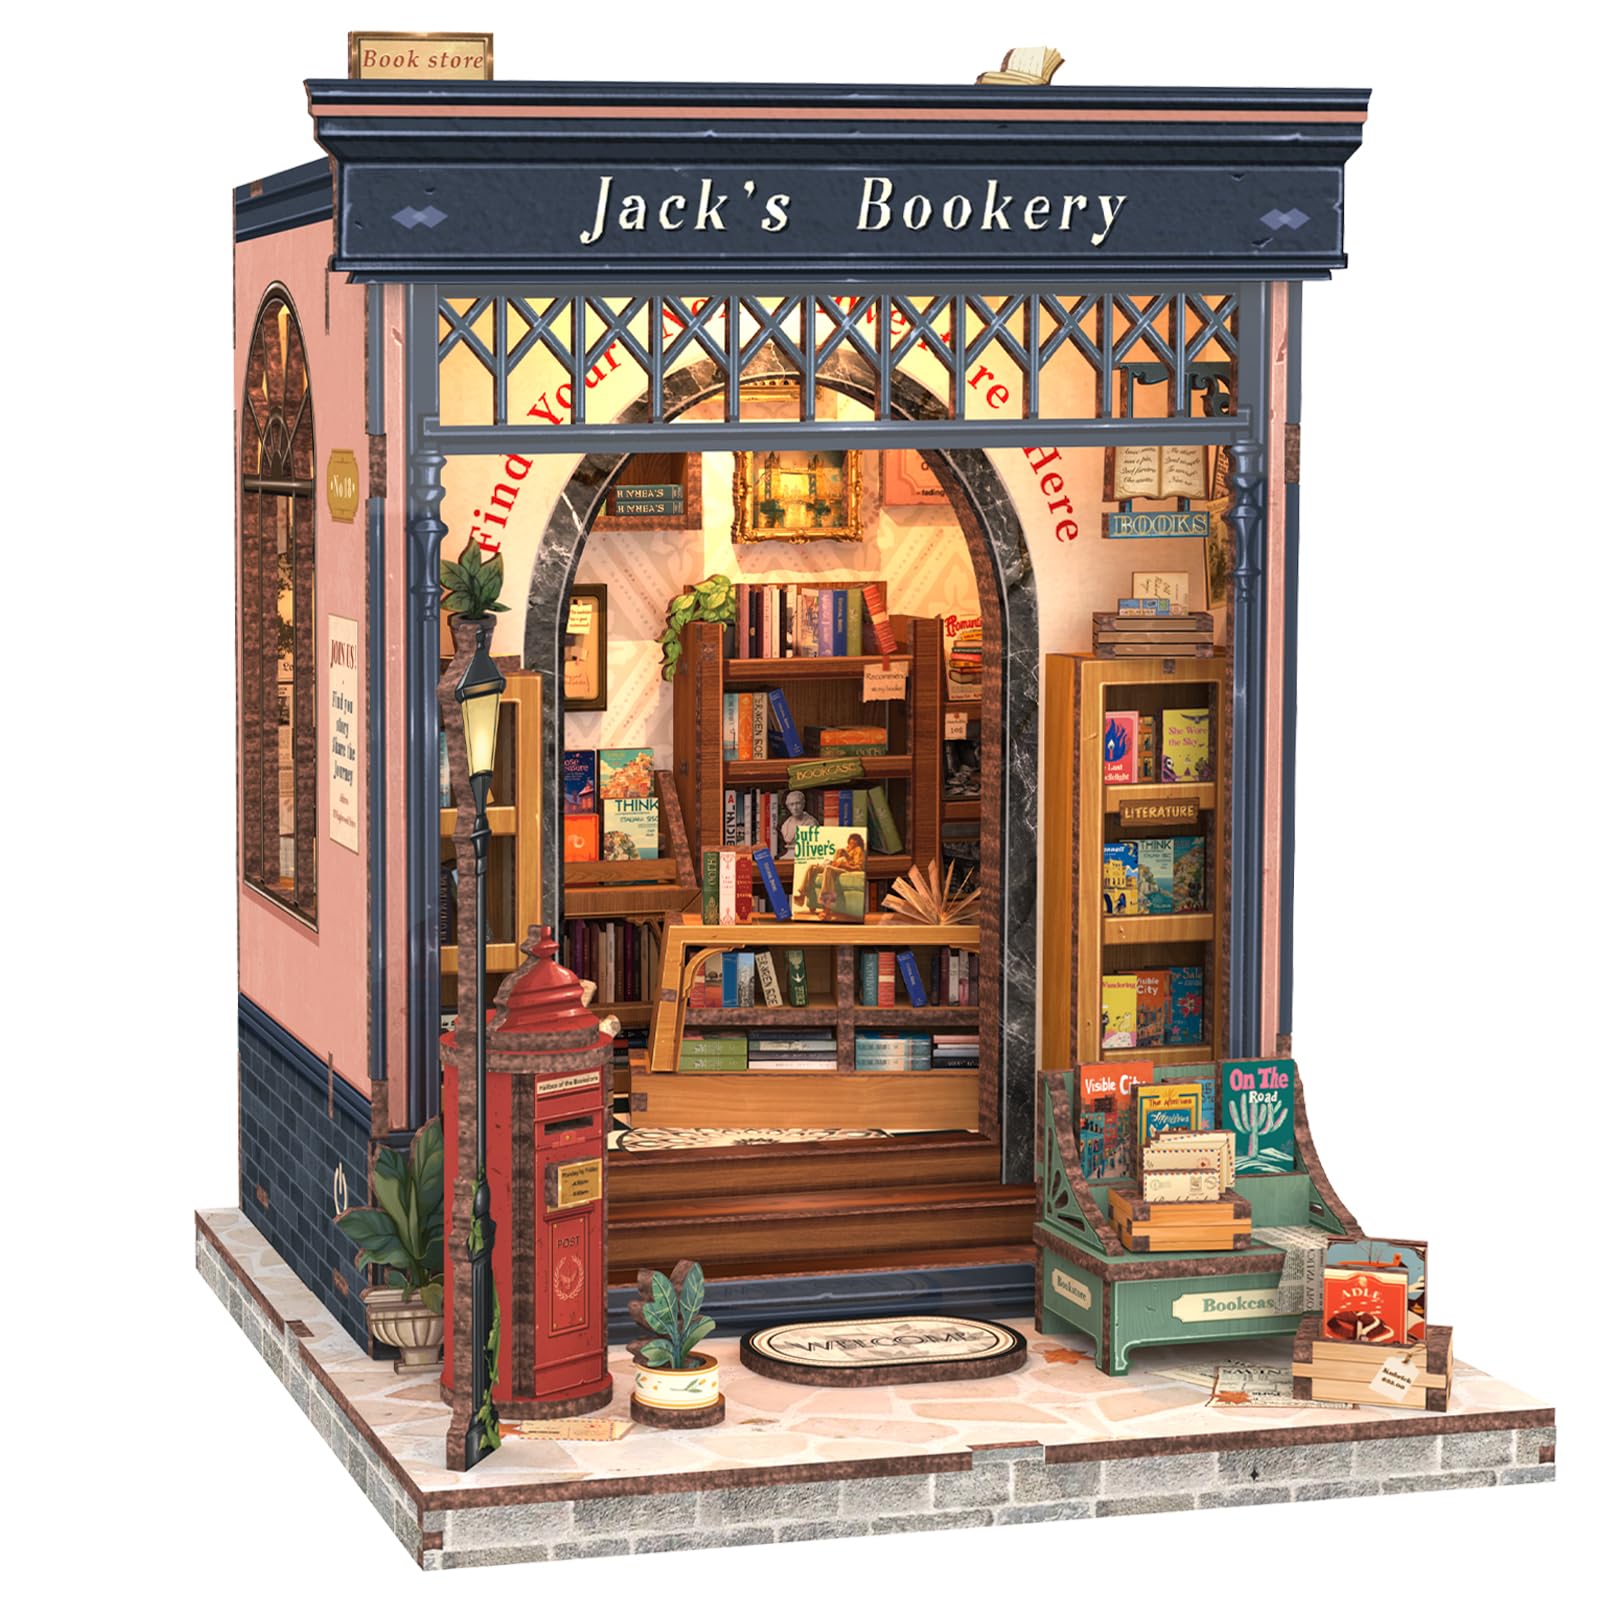
Figure 1: Completed Jack's Bookery Miniature House Kit
2. Informazioni sulla sicurezza
- Questo prodotto contiene piccole parti e non è adatto ai bambini di età inferiore ai 14 anni a causa del rischio di soffocamento.
- Exercise caution when handling sharp tools (e.g., scissors, craft knives) during assembly.
- Keep glue and batteries out of reach of small children.
- Assicurare una ventilazione adeguata durante l'uso degli adesivi.
- Smaltire le batterie usate in modo responsabile.
3. Cosa c'è nella scatola
Your CUTEBEE Jack’s Bookery kit includes the following components:
- Pre-cut wooden sheets (various panels)
- Paper accessories (e.g., book covers, decorative elements)
- Componenti e cablaggi per illuminazione a LED
- Small parts bag (containing electrical components and other tiny accessories)
- Manuale di istruzioni dettagliato (questo documento)
Note: You will need to prepare silicone liquid glue and two AAA batteries, as these are not included in the kit.

Figura 2: Contenuto del kitview
4. Installazione e assemblaggio
The assembly process for the Jack’s Bookery kit involves approximately 330 pieces and typically takes 3-5 hours. Follow the step-by-step instructions provided in the manual for optimal results.
4.1 Preparazione
- Disimballare tutti i componenti e verificarli con l'elenco delle parti riportato nel manuale.
- Gather necessary tools: silicone liquid glue, two AAA batteries, scissors, and possibly tweezers for small parts.
- Work on a clean, well-lit surface.
4.2 Fasi di assemblaggio
- Identify Panels and Pieces: Wooden panels are labeled with letters (e.g., A, G) and individual pieces on each panel are numbered (e.g., G1, G2). The instruction manual will guide you to the correct panel and piece for each step.
- Staccare con cautela i pezzi: Gently push out the pre-cut wooden pieces from their panels. Use a craft knife or tweezers if necessary for delicate parts.
- Apply Stickers and Paper Elements: Many details, such as book covers and wall decorations, are applied using provided stickers or paper cutouts. Refer to the manual for precise placement.
- Assemble Structural Components: Follow the numerical sequence in the manual to connect wooden pieces using glue. Allow sufficient drying time for each section before proceeding.
- Installare l'illuminazione a LED: The kit includes LED lights. The manual provides detailed diagrams for wiring and placement. Ensure the wiring is neatly tucked away to avoid interference.
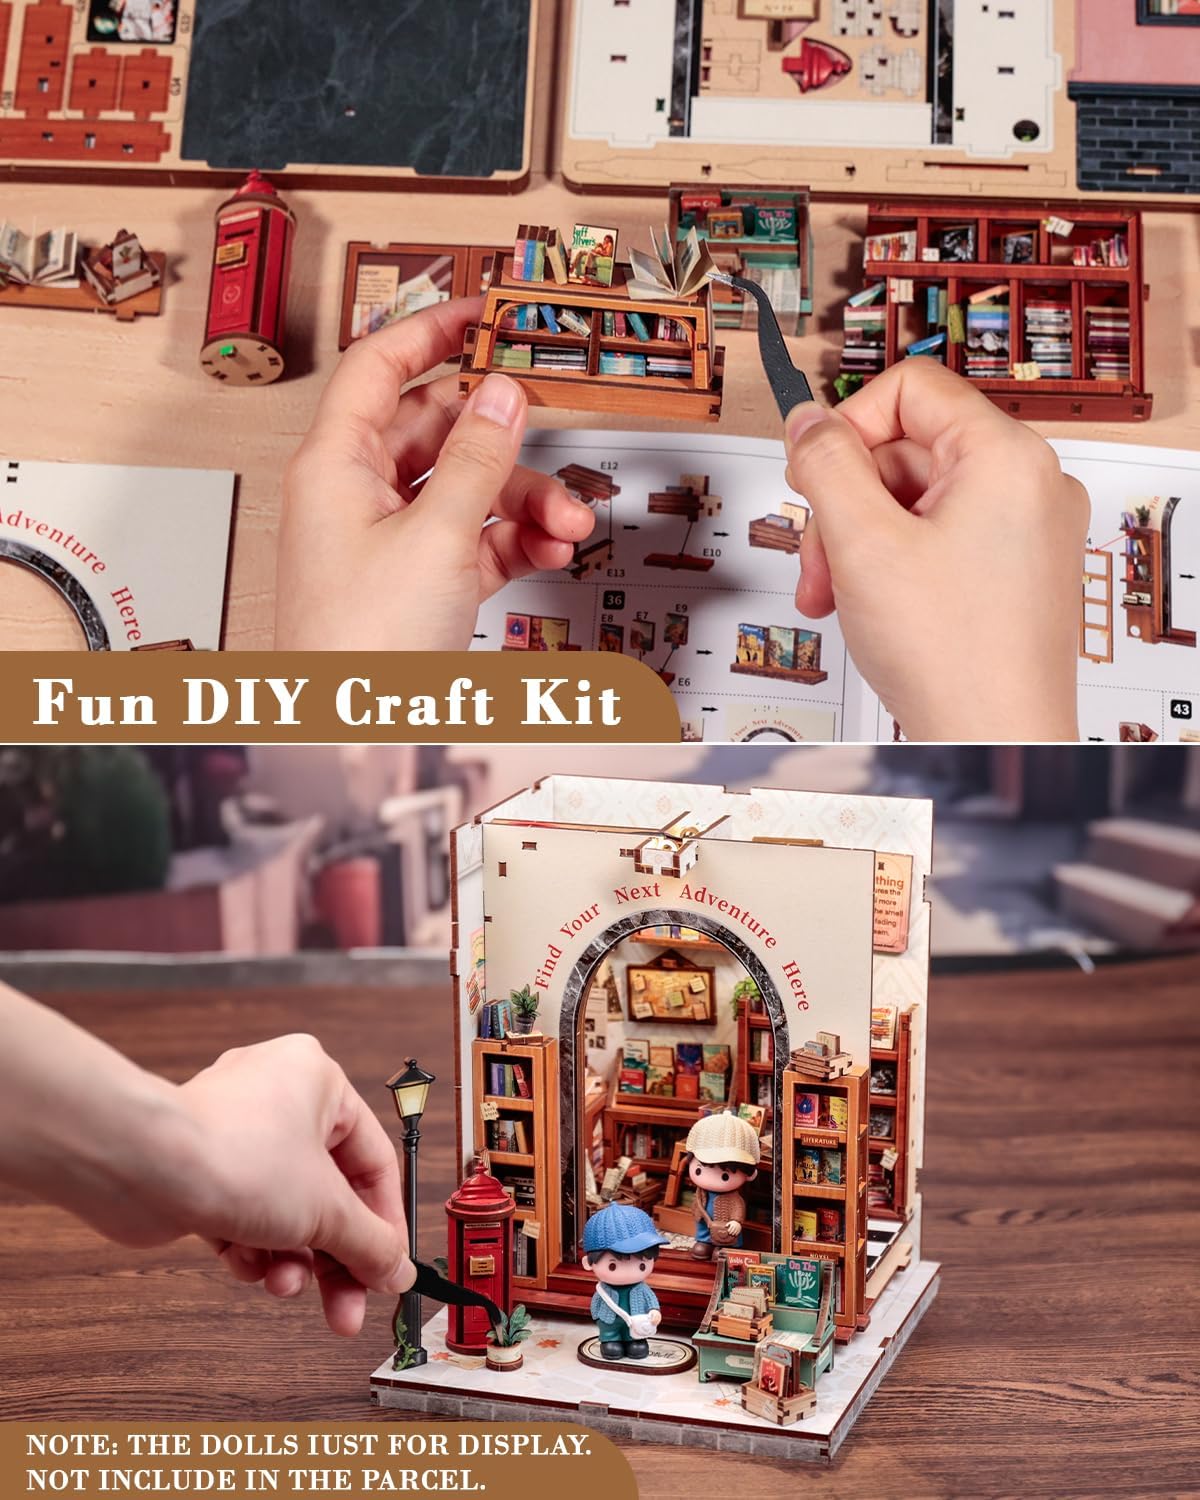
Figure 3: Hands-on Assembly Process
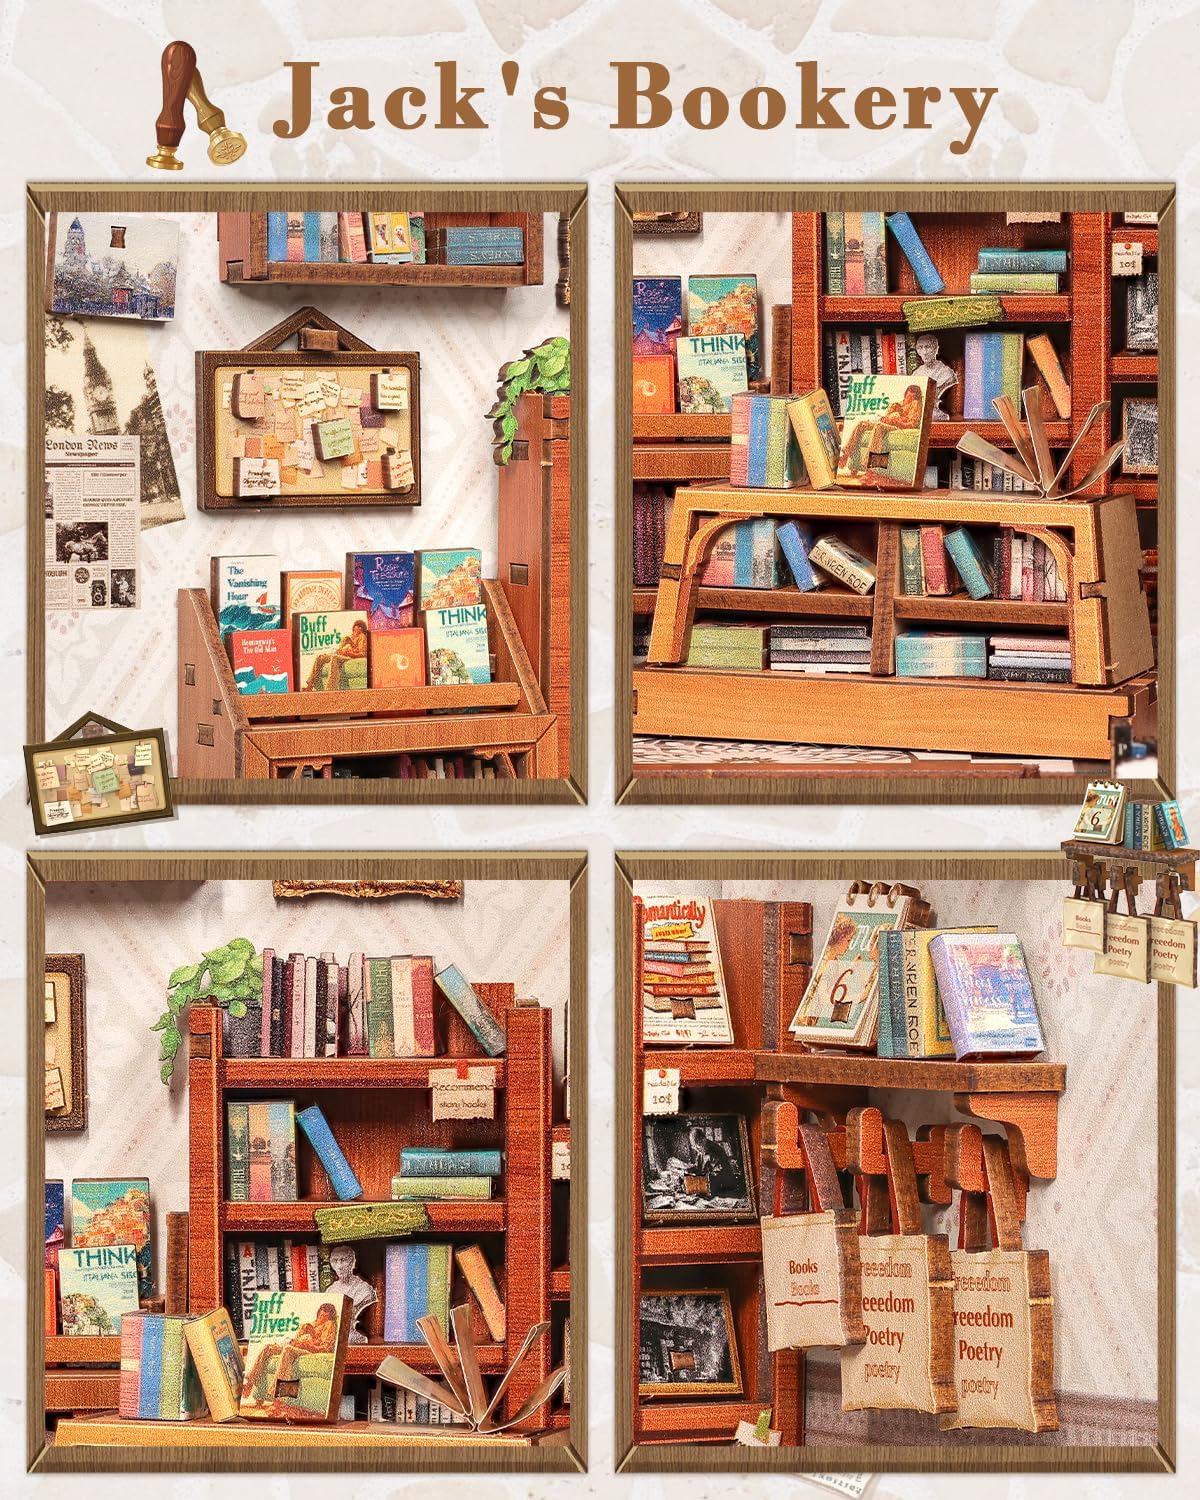
Figure 4: Interior Details of the Book Nook
4.3 Guida video all'assemblaggio
For visual guidance on the assembly process, please refer to the official CUTEBEE video below:
Video 1: CUTEBEE Book Nook Kit - Jack’s Bookery Assembly OverviewQuesto video fornisce una panoramica generaleview of the Jack's Bookery kit, showcasing its features and the final assembled product.
5. Istruzioni per l'uso
Once assembled, your Jack’s Bookery miniature house kit features integrated LED lighting to enhance its display.
5.1 Funzionamento della luce LED
- Insert two AAA batteries into the designated battery compartment (not included).
- Locate the touch switch, typically integrated into the design (e.g., on the exterior wall or base).
- Gently touch the switch to turn the LED lights ON or OFF.

Figura 5: Giorno e notte View con illuminazione a LED
6. Manutenzione
- Keep the assembled kit in a dry environment to prevent damage to the wooden components.
- Dust regularly with a soft, dry cloth or a soft brush to maintain its appearance.
- Avoid direct sunlight exposure for prolonged periods to prevent fading of colors.
- If a dust cover is included or purchased separately, use it to protect the model from dust and environmental factors.
7. Risoluzione Dei Problemi
7.1 Parti mancanti o danneggiate
The kit is carefully checked before delivery. If you find any missing or damaged accessories upon opening the package, please contact CUTEBEE customer support immediately for assistance.
7.2 Le luci LED non funzionano
- Ensure fresh AAA batteries are correctly inserted into the battery compartment.
- Check all wiring connections to ensure they are secure and properly connected according to the manual's diagrams.
- Verify that the touch switch is functioning correctly. If issues persist, contact customer support.
8. Specifiche
| Caratteristica | Dettaglio |
|---|---|
| Dimensioni del prodotto | 3.94 x 1.97 x 10.63 pollici |
| Peso dell'articolo | 1.98 libbre |
| Numero modello articolo | CB-CWGC209-CA |
| Età consigliata dal produttore | 14 anni e oltre |
| Numero di parti | 330 PZ |
| Tempo stimato di assemblaggio | 3-5 ore |
| Materiale principale | Wood, Paper |
9. Garanzia e supporto
CUTEBEE ensures that each DIY book nook kit is carefully checked before delivery to confirm all accessories are complete. While no explicit warranty information is provided, CUTEBEE offers customer support for any questions or issues encountered during assembly.
For assistance, please contact CUTEBEE customer service through the retailer where the product was purchased or visit the official CUTEBEE store online: Negozio CUTEBEE.