Introduzione
This manual provides comprehensive instructions for the setup, operation, and maintenance of your Comfort Direct Bradbury Ceiling Fan Remote Control (Model CDTR214D). Please read this manual thoroughly before use to ensure proper functionality and safety. This remote is designed for use with specific Harbor Breeze Bradbury Ceiling Fan models, including BRD48MBK6LR, BRD48BNK6LR, BRD48OSB6LR, BRD48MWW6LR, BRD60MBK6LR, BRD60BNK6LRS, and BRD60OSB6LR.
Informazioni sulla sicurezza
Always ensure the power to the ceiling fan is turned off at the circuit breaker before performing any installation or maintenance. Do not expose the remote control to water or excessive moisture. Keep batteries out of reach of children. Dispose of used batteries responsibly.
Contenuto della confezione
- 1 x Comfort Direct Bradbury Ceiling Fan Remote Control
- 1 x Wall Mount Holder
- 2 viti di montaggio

Image: The remote control, its wall mount holder, and two mounting screws, illustrating the complete package contents.
Specifiche
| Numero di modello | CDTR214D |
| Dimensioni del prodotto | 2 x 1 x 4 pollici |
| Peso dell'articolo | 6 once |
| Requisiti della batteria | 1 x 23A 12V battery (not included) |
| Caratteristica speciale | Radiofrequency (RF) control |
| Dispositivi compatibili | Harbor Breeze Bradbury Ceiling Fans (BRD48MBK6LR, BRD48BNK6LR, BRD48OSB6LR, BRD48MWW6LR, BRD60MBK6LR, BRD60BNK6LRS, BRD60OSB6LR) |
Impostare
1. Installazione della batteria
- Individuare il vano batterie sul retro del telecomando.
- Per aprire il coperchio della batteria, farlo scorrere verso il basso.
- Inserire una batteria da 23 A 12 V, assicurandosi che la polarità (+/-) corrisponda allo schema all'interno del vano.
- Far scorrere il coperchio della batteria in posizione finché non scatta in modo sicuro.

Immagine: La parte posteriore view of the remote control with the battery cover removed, revealing the battery compartment for a 23A 12V battery.
2. Pairing the Remote Control with Your Ceiling Fan
Importante: Only one remote can be programmed per fan. You cannot use two separate remotes to control the same fan.
- Spegnere la ventola: Assicuratevi che l'alimentazione del ventilatore da soffitto sia completamente interrotta tramite l'interruttore a parete o l'interruttore automatico.
- Riaccendere la ventola: Ripristinare l'alimentazione al ventilatore da soffitto.
- Premere e tenere premuto il tasto "0": Within 30 seconds of restoring power, press and hold the "0" button on your remote control for 5 seconds. The fan light should blink or the fan should briefly turn on to indicate successful pairing.

Image: Visual guide for the remote pairing process, showing the three key steps.
3. Installazione con montaggio a parete
Il supporto da parete incluso consente di riporre comodamente il telecomando.
- Scegliere una posizione adatta su una parete, lontano dalla luce solare diretta o da fonti di calore.
- Use the two provided screws to securely attach the wall mount holder to the wall.
- Place the remote control into the holder for easy access.

Image: The remote control securely placed in its wall mount holder, demonstrating its convenient placement on a wall.
Istruzioni per l'uso
Once paired, your remote control provides full control over your compatible ceiling fan and its light.
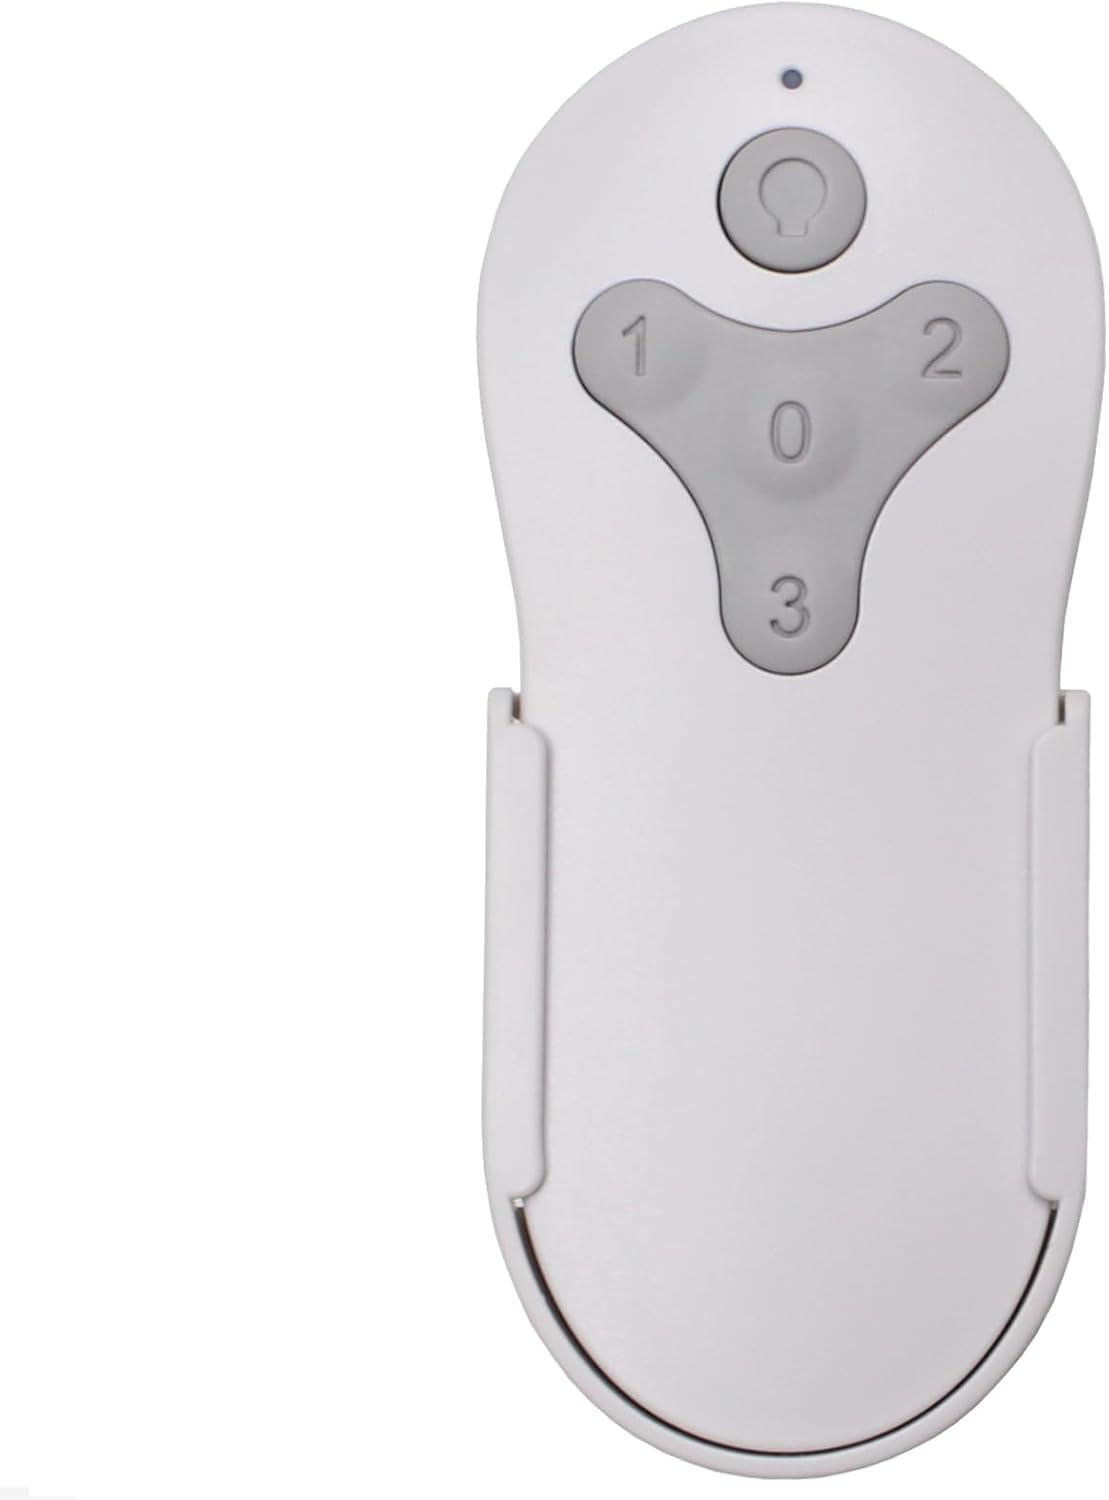
Immagine: Frontale view of the remote control, showing the fan speed buttons (1, 2, 3, 0) and the light control button.
Controllo della velocità della ventola
- Premere "1" for Low fan speed.
- Premere "2" for Medium fan speed.
- Premere "3" for High fan speed.
- Premere "0" per spegnere il ventilatore.
Light Control with Dimming
- Premere il tasto Pulsante luce (usually depicted as a light bulb icon) to turn the fan light On or Off.
- Per attenuare la luce, tenere premuto il tasto Pulsante luce. Release the button when the desired brightness level is reached.
Manutenzione
Sostituzione della batteria
When the remote control's range decreases or it becomes unresponsive, it is likely time to replace the battery. Follow the battery installation steps outlined in the "Setup" section to replace the 23A 12V battery. Ensure proper disposal of the old battery according to local regulations.
Pulizia
Pulisci il telecomando con un panno morbido e asciutto. Non utilizzare detergenti abrasivi o solventi, poiché potrebbero danneggiare la superficie o i componenti interni.
Risoluzione dei problemi
- Il telecomando non risponde:
- Verificare che la batteria sia installata correttamente e abbia una carica sufficiente. Sostituirla se necessario.
- Assicurarsi che il telecomando si trovi nel raggio d'azione del ricevitore del ventilatore.
- Re-attempt the pairing process as described in the "Setup" section.
- La ventola o la luce non rispondono dopo l'associazione:
- Verify that the power to the fan is on at the wall switch or circuit breaker.
- Confirm that the remote was successfully paired (fan light blink or brief fan operation). If not, repeat the pairing steps carefully.
- Ensure no other remote is attempting to control the same fan, as only one remote can be paired per fan.
Garanzia
This Comfort Direct Bradbury Ceiling Fan Remote Control comes with a Garanzia del produttore di 1 anni from the date of purchase. This warranty covers defects in materials and workmanship under normal use. Please retain your proof of purchase for warranty claims. For warranty service, please contact Comfort Direct customer support.
Supporto
For further assistance, technical support, or inquiries regarding your Comfort Direct Bradbury Ceiling Fan Remote Control, please visit the Comfort Direct website or contact their customer service department. Contact information can typically be found on the product packaging or the official Comfort Direct websito.


