Introduzione
Grazie per l'acquistoasing the ROCAM Digital Radio Alarm Clock. This manual provides detailed instructions for setting up, operating, and maintaining your device. Please read this manual thoroughly before use to ensure proper function and longevity of the product.
Informazioni sulla sicurezza
- Assicurarsi che il dispositivo sia collegato a una fonte di alimentazione con il volume correttotage.
- Non esporre il dispositivo all'acqua o a umidità eccessiva.
- Evitare di posizionare il dispositivo vicino a fonti di calore o alla luce diretta del sole.
- Non tentare di smontare o riparare il dispositivo da soli. Contattare personale di assistenza qualificato.
- Tenere fuori dalla portata dei bambini.
Prodotto finitoview
The ROCAM Digital Radio Alarm Clock features a clear display, intuitive controls, and multiple functions including FM radio, Bluetooth speaker, night light, and charging ports.

Davanti view of the ROCAM Digital Radio Alarm Clock, showing the large digital display and speaker grille.
Caratteristiche principali:
- FM Radio (87.5 MHz - 108.0 MHz) with 20 presets.
- Bluetooth 5.0 speaker with 10m wireless range.
- Adjustable night light.
- Porte di ricarica USB e Type-C.
- Large, dimmable LED display (5 brightness levels).
- Dual alarm modes with classic beep or radio sound.
- 12/24 hour format and DST function.
- Battery backup for time and settings during power outages.
Impostare
1. Collegamento elettrico:
Connect the provided power adapter to the DC input port on the back of the alarm clock and plug it into a wall outlet. The clock requires plug power to operate. The internal battery serves as a backup for settings during power interruptions.
2. Accensione iniziale:
Once connected, the display will light up. You may need to set the time manually if it's the first use or after a prolonged power disconnection without battery backup.
Istruzioni per l'uso
Impostazione di ora e data:
- Premere e tenere premuto il tasto Ora impostata button (or similar button, usually indicated by a clock icon). The hour digits will start flashing.
- Ruotare il Time/Volume knob per regolare l'ora.
- Premere il tasto Ora impostata nuovamente il pulsante per confermare l'ora e passare ai minuti.
- Ruotare il Time/Volume knob per regolare i minuti.
- Premere il tasto Ora impostata ancora una volta per salvare il tempo.
- Per passare dal formato 12 ore a quello 24 ore, premere il tasto 12/24H pulsante.
Impostazione degli allarmi:
L'orologio supporta due sveglie indipendenti.
- Premere e tenere premuto il tasto Allarme 1 or Allarme 2 pulsante. Le cifre dell'ora della sveglia lampeggeranno.
- Ruotare il Time/Volume knob per impostare l'ora della sveglia desiderata.
- Premere il corrispondente Allarme nuovamente il pulsante per confermare l'ora e passare ai minuti.
- Ruotare il Time/Volume knob per impostare i minuti desiderati per la sveglia.
- Premere il tasto Allarme button again to select the alarm sound: classic beep or FM radio.
- Premere il tasto Allarme button one last time to save the alarm setting.
- Per attivare/disattivare un allarme, premere brevemente il tasto corrispondente Allarme pulsante. Un'icona di allarme apparirà/scomparirà sul display.
The alarm clock display showing the time and an active alarm icon, indicating the alarm function is set.
Funzione snooze:
Quando suona un allarme, premere il tasto Posticipa/Luce button to temporarily silence the alarm for a few minutes (default snooze time). The alarm will sound again after the snooze period.
Funzionamento della radio FM:
- Premere il tasto Modalità pulsante per passare alla modalità Radio FM.
- To perform an automatic scan for stations, press and hold the Scansione button. The radio will search for and save up to 20 available stations (87.5 MHz to 108.0 MHz).
- Per sintonizzare manualmente, premere brevemente il tasto Precedente/Successivo pulsanti per regolare la frequenza.
- Ruotare il Time/Volume knob per regolare il volume della radio (16 livelli).

The alarm clock display showing an FM radio frequency, indicating it is in radio mode.
Accoppiamento Bluetooth:
- Premere il tasto Modalità button to switch to Bluetooth mode. The display will show a Bluetooth icon, usually flashing to indicate pairing mode.
- On your mobile device or computer, enable Bluetooth and search for "ROCAM Alarm Clock" (or similar device name).
- Select the device to pair. Once connected, the Bluetooth icon on the clock's display will stop flashing.
- Ora puoi trasmettere in streaming l'audio dal tuo dispositivo alla sveglia.
- Ruotare il Time/Volume knob to adjust the playback volume.

Un interno view of the ROCAM alarm clock highlighting its Bluetooth 5.0 capabilities and speaker components, demonstrating its audio features.
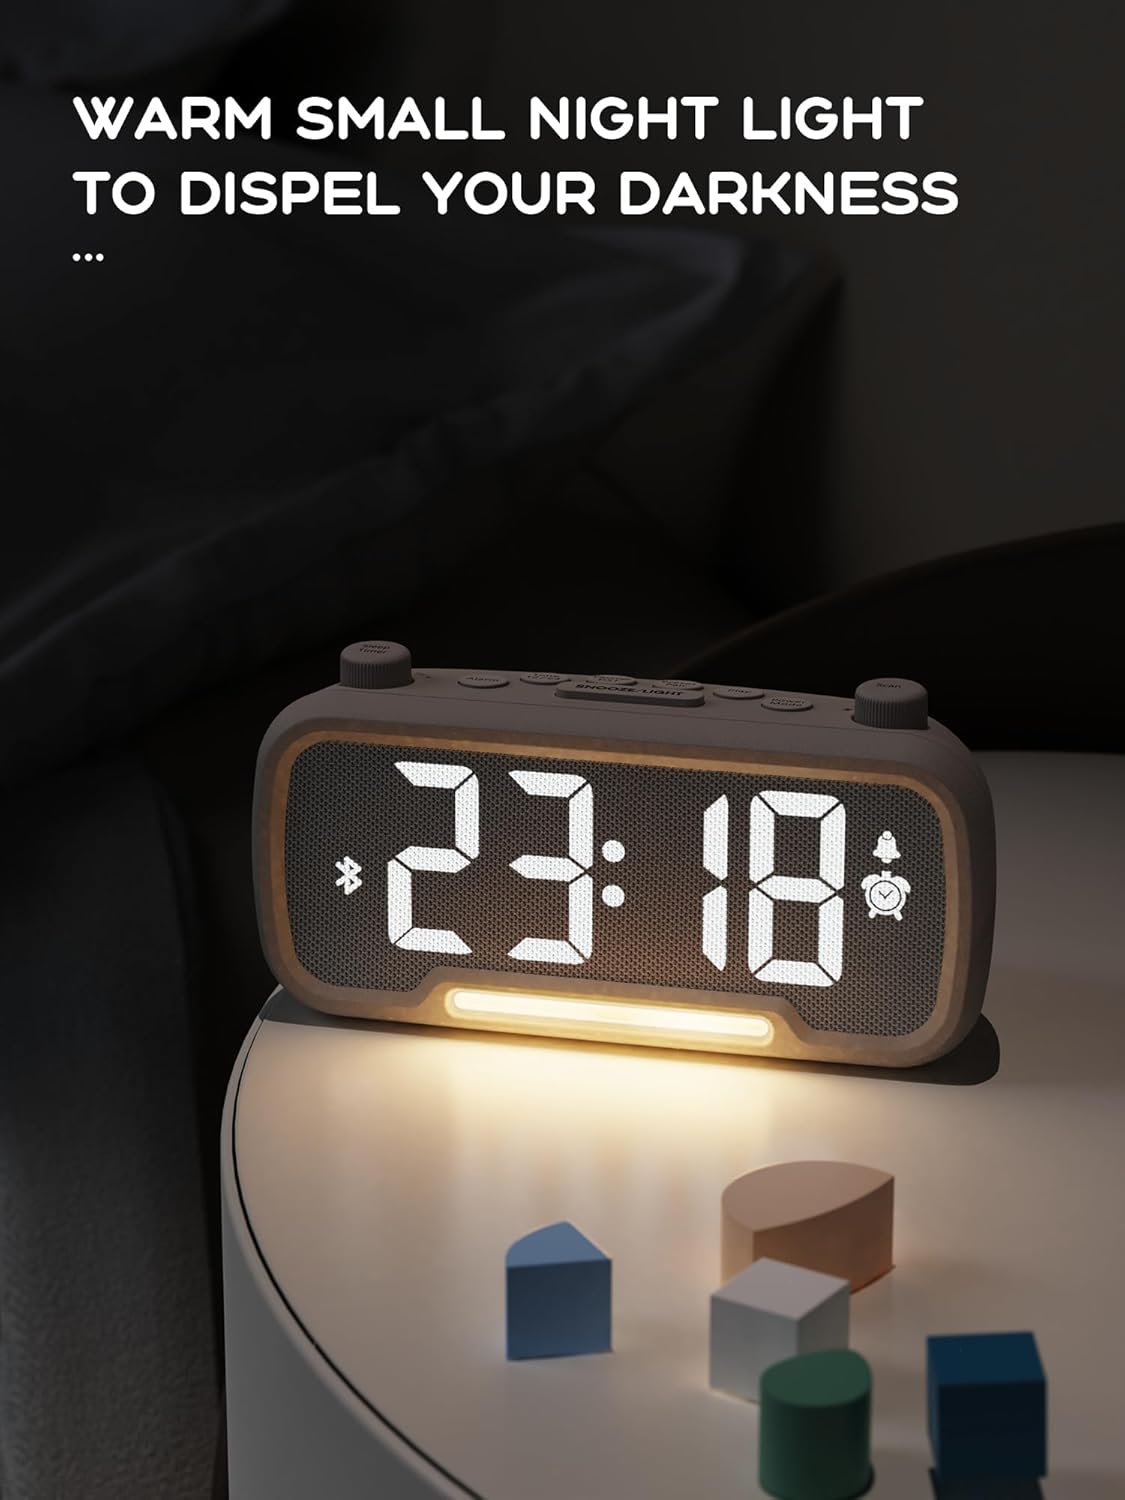
Funzione luce notturna:
The alarm clock features an integrated night light.
- Premere brevemente il tasto Posticipa/Luce pulsante per accendere o spegnere la luce notturna.
- The night light has adjustable brightness levels. Press and hold the Posticipa/Luce button to cycle through the brightness options.

The ROCAM alarm clock on a bedside table, with its warm night light illuminated, providing ambient lighting.
Regolazione della luminosità del display:
The main display has 5 adjustable brightness levels.
- Premere il tasto Luminosità button (or similar, often combined with Snooze/Light) to cycle through the display brightness levels.
- Seleziona il livello più confortevole per il tuo ambiente.
Daylight Saving Time (DST) Function:
Per regolare l'ora legale:
- Premere brevemente il tasto Ora legale button (or similar, often indicated by a sun icon). The time will automatically adjust forward or backward by one hour.
- Press it again to revert the change.
Porte di ricarica USB e Type-C:
The alarm clock includes USB and Type-C ports for charging external devices.
- Connect your device's charging cable to the appropriate USB or Type-C port on the back of the alarm clock.
- Ensure the alarm clock is powered on for the charging ports to function.
Manutenzione
- Pulire il dispositivo con un panno morbido e asciutto. Non utilizzare detergenti liquidi o materiali abrasivi.
- Per garantire una corretta ventilazione, tenere il dispositivo libero da polvere e detriti.
- Se il dispositivo non verrà utilizzato per un periodo prolungato, scollegarlo dalla presa di corrente.
Risoluzione dei problemi
| Problema | Possibile causa | Soluzione |
|---|---|---|
| Il display dell'orologio è spento. | Nessuna potenza, potenza spentatage, or device is off. | Check power connection. Ensure the power adapter is securely plugged in. If there was a power outage, the battery backup should maintain settings, but the display requires main power. |
| L'allarme non suona. | Alarm is not activated, volume is too low, or incorrect time set. | Ensure the alarm icon is visible on the display. Increase alarm volume. Verify alarm time is set correctly. |
| La ricezione della radio FM è scarsa. | Segnale debole, antenna non estesa o interferenza. | Adjust the position of the device. Extend the FM antenna fully. Try auto-scanning for stations again. Avoid placing near other electronic devices. |
| Il dispositivo Bluetooth non riesce ad associarsi. | Clock not in Bluetooth mode, device too far, or already paired with another device. | Ensure the clock is in Bluetooth mode (flashing icon). Move your device closer to the clock. Disconnect from other Bluetooth devices. |
| La ricarica tramite USB/Type-C non funziona. | Clock not powered, cable faulty, or device not compatible. | Ensure the alarm clock is plugged into a wall outlet. Try a different charging cable. Verify your device is compatible with standard USB charging. |
Specifiche
| Caratteristica | Dettaglio |
|---|---|
| Marca | ROCAM |
| Modello | B0FNWB172Z |
| Colore | Grigio |
| Dimensioni | 16.8 x 3.81 x 8.4 cm (6.6 x 1.5 x 3.3 pollici) |
| Peso | 350 g (0.77 libbre) |
| Fonte di alimentazione | Elettrico con cavo |
| Batteria | 1 Lithium-metal battery (included, for backup) |
| Gamma di frequenza FM | 87.5 MHz - 108.0 MHz |
| Versione Bluetooth | 5.0 |
| Luminosità dello schermo | 5 livelli regolabili |
| Livelli di volume | 16 livelli regolabili |
Garanzia e supporto
For warranty information or technical support, please refer to the contact details provided with your purchase or visit the official ROCAM websito. Conservare la prova d'acquisto per eventuali reclami in garanzia.


