1. Introduzione
This manual provides essential information for the safe and effective operation, setup, and maintenance of your ComMarker X 6W UV Engraving Machine Omni X. Please read this manual thoroughly before using the device to ensure optimal performance and safety.
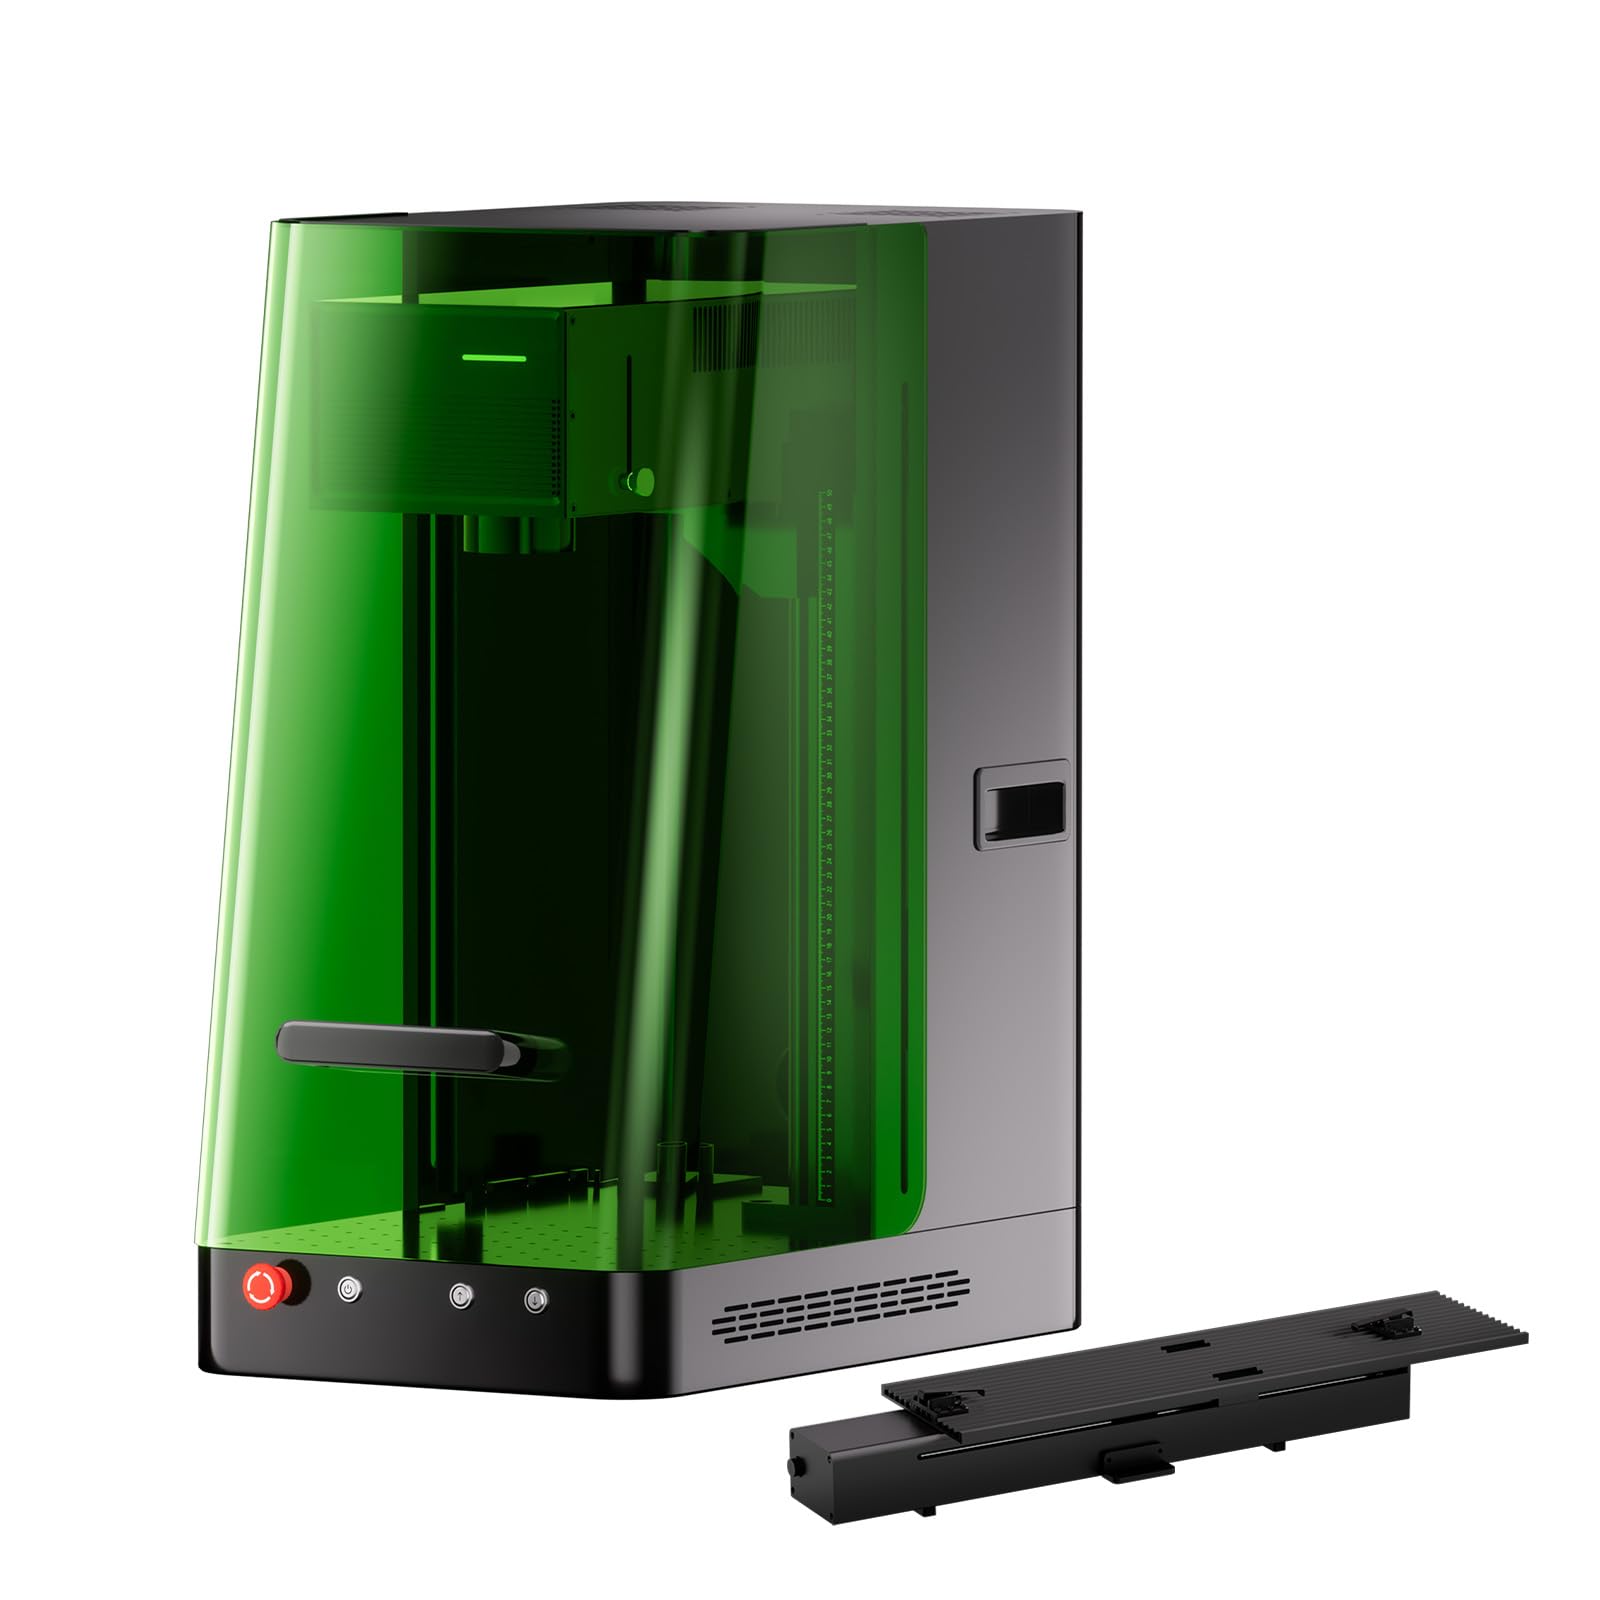
Figure 1: ComMarker X 6W UV Engraving Machine Omni X with included slider bundle components.
2. Informazioni sulla sicurezza
The ComMarker X 6W UV Engraving Machine is a Class 1 Laser Product. Adherence to safety guidelines is paramount to prevent injury and ensure proper operation.
2.1 Precauzioni generali di sicurezza
- Quando si utilizza la macchina, indossare sempre occhiali di protezione laser adeguati.
- Assicurarsi che la macchina sia posizionata su una superficie stabile e piana.
- Mantenere l'area di lavoro pulita e libera da materiali infiammabili.
- Do not attempt to bypass safety features such as the smart cover sensor or emergency stop button.
- Operate the machine in a well-ventilated area to dissipate any fumes produced during engraving.
2.2 Laser Classification and Output
Questo dispositivo è classificato come a PRODOTTO LASER DI CLASSE 1 according to IEC 60825-1 (Report Number: 2501Q25848E-SFA1, FDA Accession No.: 2521455-000). The maximum power output is 1.95mW.

Figure 2: Safety features of the ComMarker Omni X, including the OD 5+ laser light proof enclosure, smart cover with sensor, and emergency stop button.
2.3 Arresto di emergenza
In case of any malfunction or emergency, immediately press the red emergency stop button located on the front of the machine. This will cut power to the laser and stop all operations.
3. Prodotto finitoview e componenti
The ComMarker X 6W UV Engraving Machine Omni X comes with several components to facilitate various engraving tasks.

Figure 3: All included components for the ComMarker X UV Engraving Machine.
3.1 Componenti inclusi
- ComMarker X Laser Engraver Unit
- Interruttore a pedale
- Cavo dati
- Adattatore di alimentazione
- Lift Motor Cable
- Leggero
- Governate
- Flangia
- 70x70mm Field Lens
- 150x150mm Field Lens
- Adattatore OTG
- Unità USB
- Placing Helper
- Set chiavi a brugola
- Goggles (Laser Safety Glasses)
- Preview Aiutante
- Piattaforma elevatrice
- Viti assortite
4. Istruzioni per l'installazione
Follow these steps for the initial setup of your ComMarker X UV Engraving Machine.
4.1 Disimballaggio e posizionamento
- Rimuovere con cautela tutti i componenti dall'imballaggio. Conservare l'imballaggio per un trasporto o uno stoccaggio futuri.
- Place the main engraver unit on a sturdy, flat, and level surface in a well-ventilated area.
- Ensure there is adequate space around the machine for operation and heat dissipation.
4.2 Collegamento di alimentazione e dati
- Connect the Power Adaptor to the machine and then to a suitable power outlet (110V).
- Connect the Data Cable from the engraver to your computer or control device.
- If using the Foot Switch, connect it to the designated port on the machine.
- Attach the Lift Motor Cable if using the electric lifting column.
4.3 Installazione del software
Install the ComMarker software (ComMarker App or ComMarker Studio) from the provided USB Drive or download it from the official ComMarker website. The machine is also Lightburn compatible.
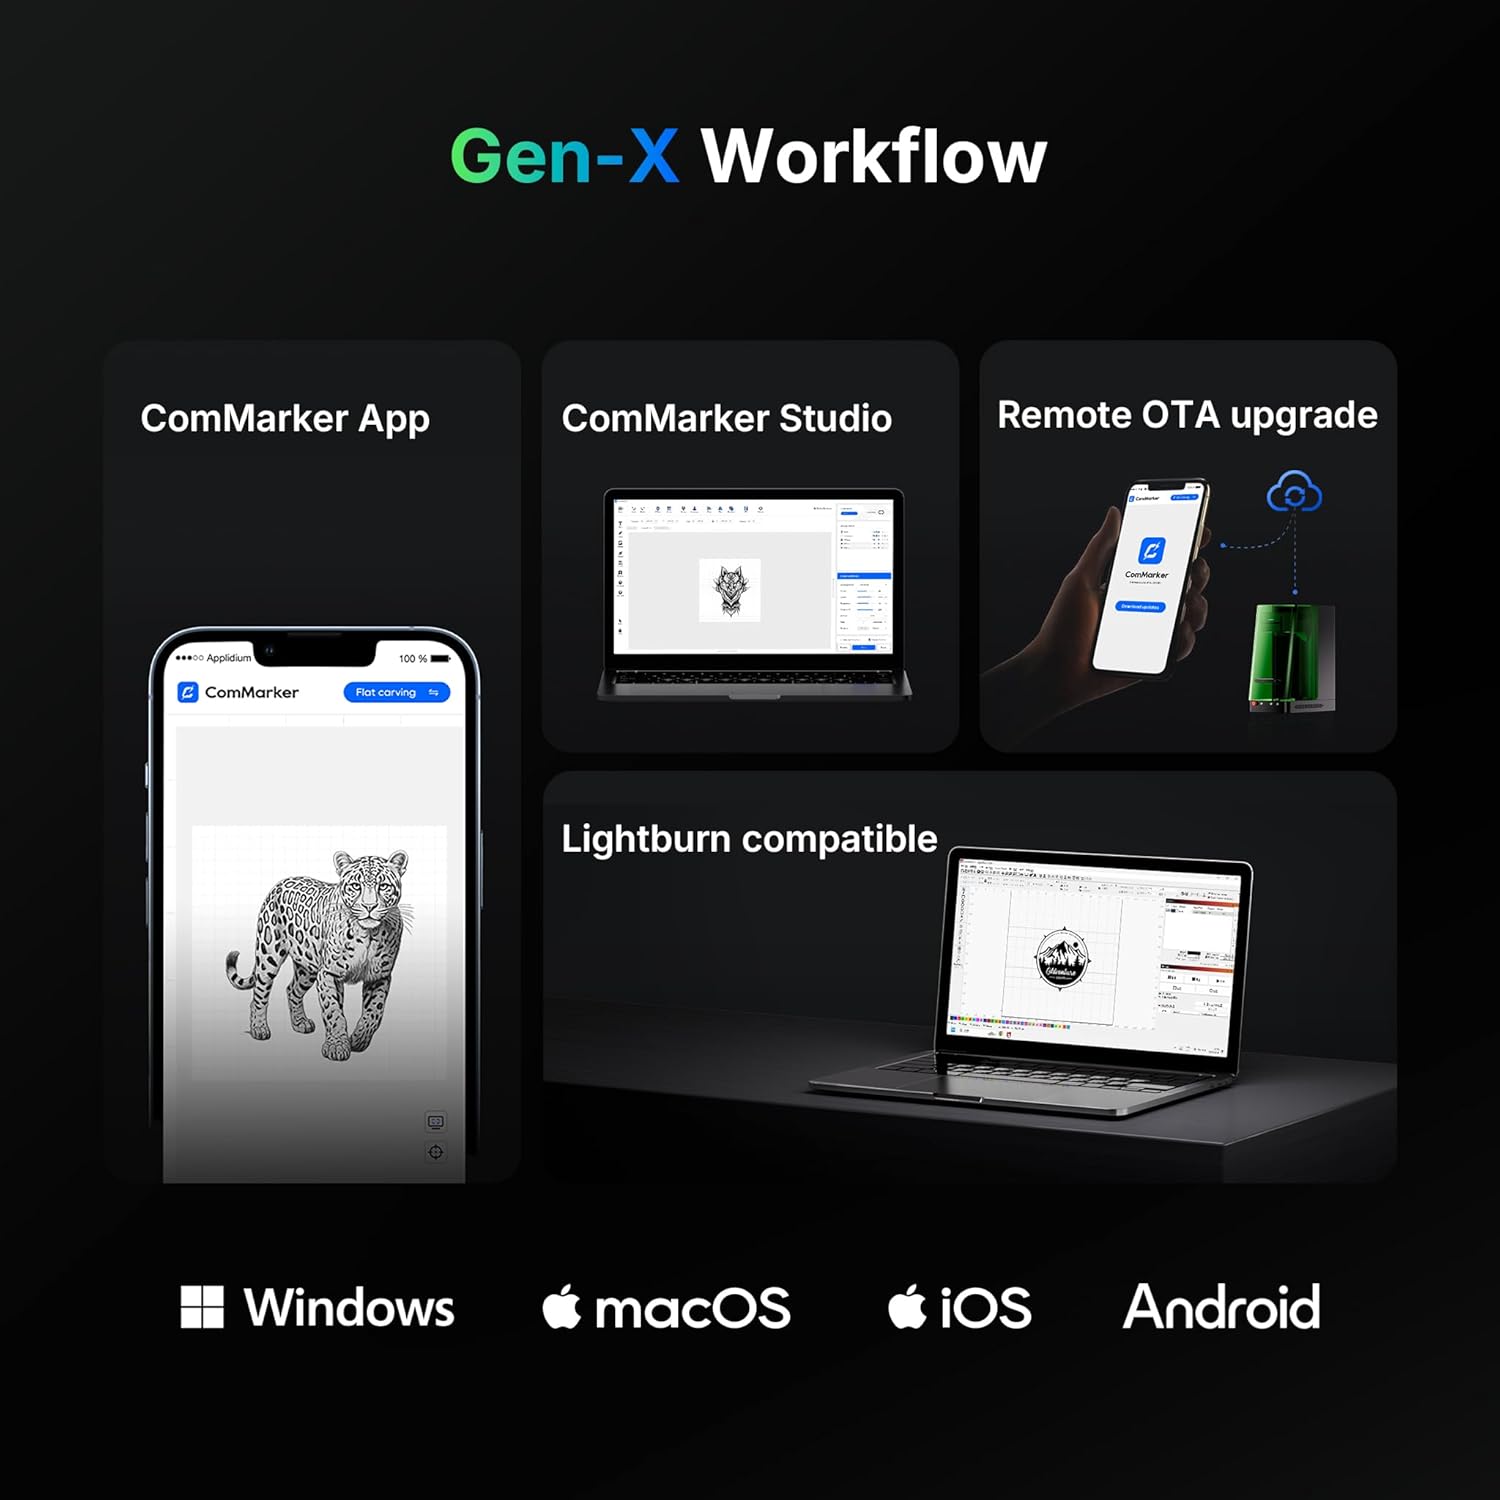
Figure 4: ComMarker Gen-X Workflow, illustrating software compatibility across Windows, macOS, iOS, and Android platforms.
5. Istruzioni per l'uso
This section outlines the basic steps for operating your ComMarker X UV Engraving Machine.
5.1 Accensione e inizializzazione
- Assicurarsi che tutti i collegamenti siano sicuri.
- Press the power button on the machine.
- Launch the ComMarker software on your computer or mobile device.
5.2 Material Placement and Auto-Focus
- Place the material to be engraved on the work platform. For precise positioning, use the Placing Helper.
- The ComMarker X features an auto-focus system with LiDAR ranging. Activate the auto-focus function via the software or the one-button control on the electric lifting column. The machine will automatically adjust the laser height for optimal focus (0.0019mm accuracy).
- Utilize the dual red light positioning for accurate alignment of your engraving design.

Figure 5: The ComMarker X UV Engraving Machine in operation, demonstrating precise laser marking on a metal surface.
5.3 Design and Engraving Process
- Import or create your design within the ComMarker software.
- Select the appropriate material settings and engraving parameters (e.g., speed, power). The UV laser supports a wide range of materials including PE, PVC, PP, PS, PLA, PC, PMMA, polyoxymethylene (POM), nylon, ABS, aluminum, gold, platinum, silver, titanium, brass, stainless steel, wood, cloth, glass, and cardboard.
- Usa il Preview Helper to visualize the engraving area before starting.
- Initiate the engraving process. The machine's smart cover sensor will ensure operation only when the cover is closed.
- For 3D internal engraving, follow specific software instructions for depth and layer settings.
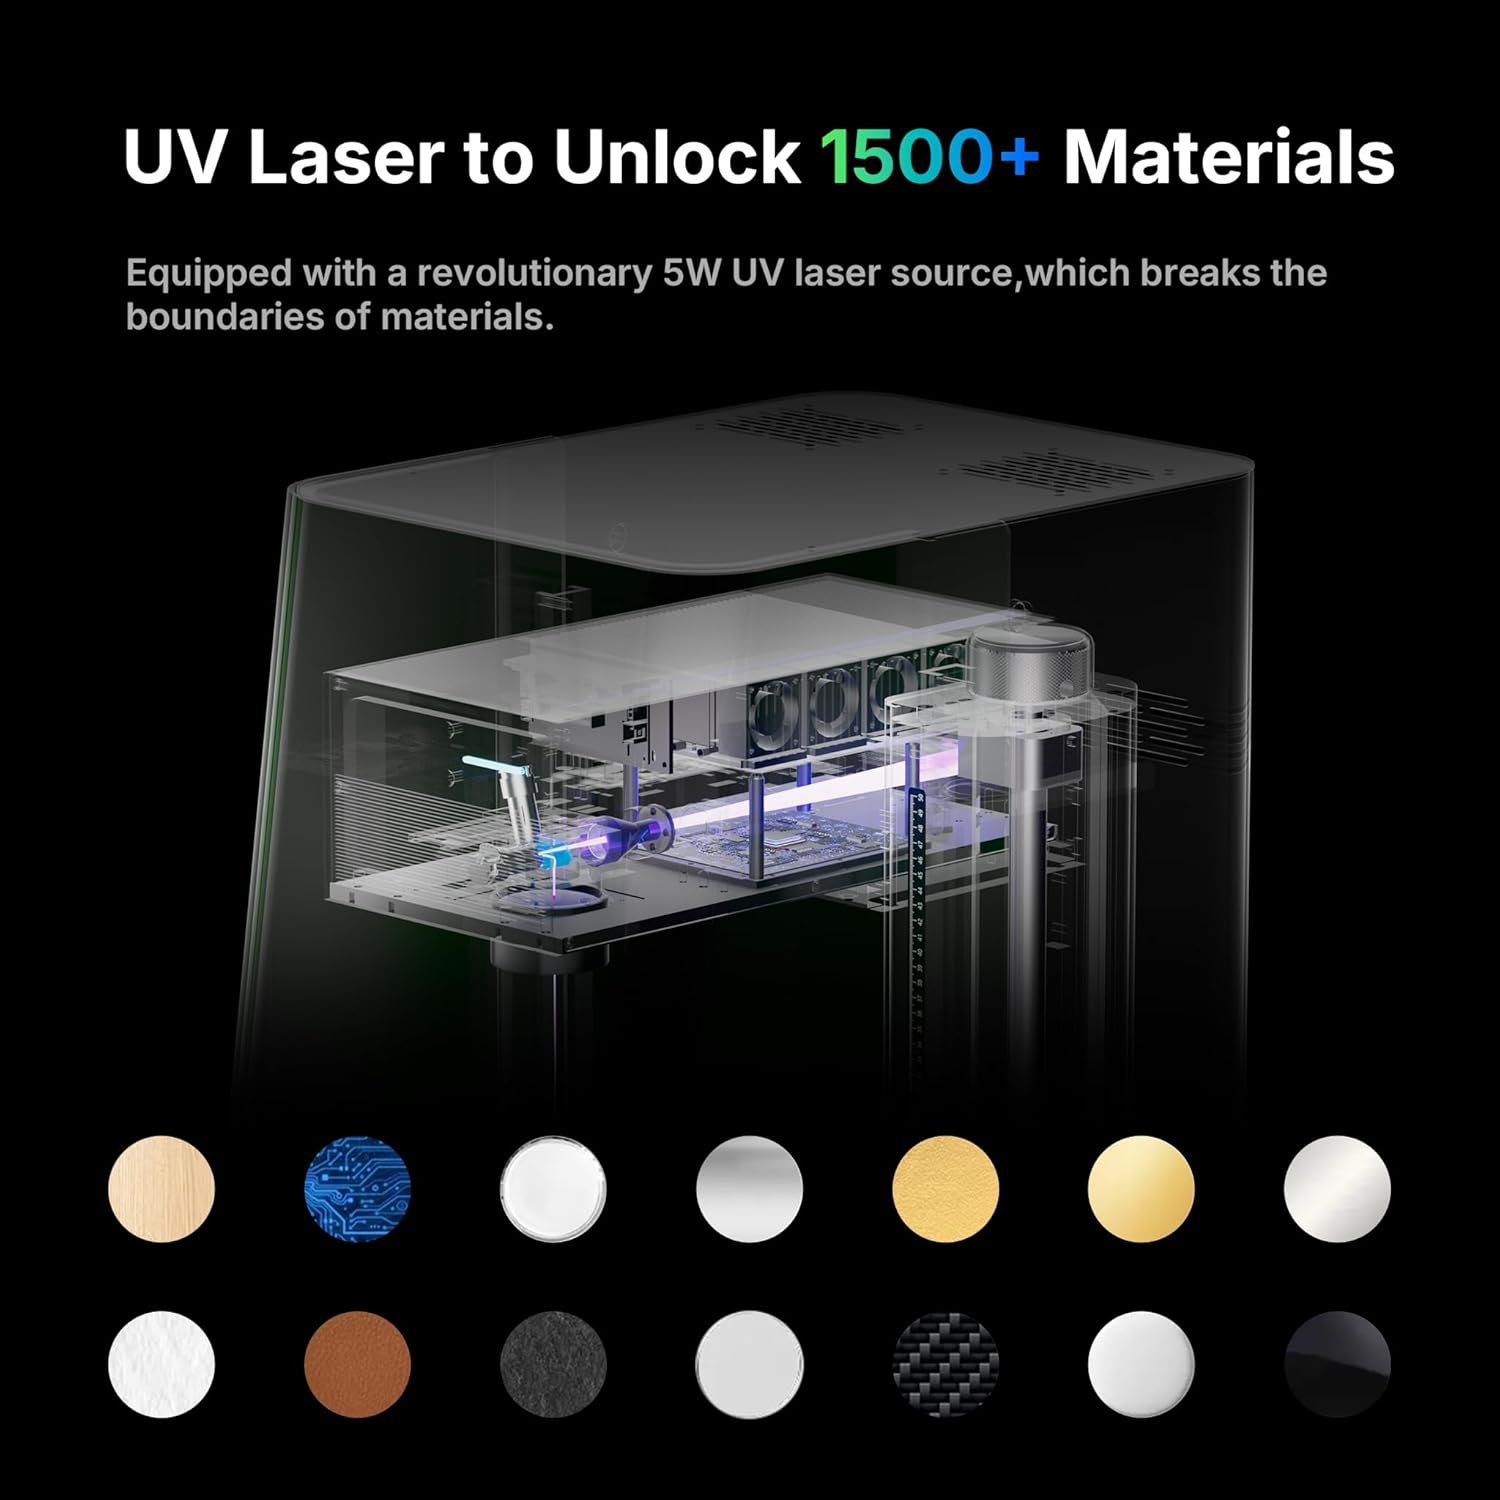
Figure 6: The versatility of the UV laser, capable of engraving over 1500 types of materials.
5.4 Funzionalità avanzate
- 3D Internal Engraving: The Omni X supports 3D internal engraving, allowing for intricate designs within transparent materials.
- Batch Marking: The machine can automatically generate and mark QR codes/barcodes in sequence without manual input, ideal for small-batch production.
- Slider Extension: The 150x400mm working area with slider extension allows for engraving larger items or multiple items in a batch.
6. Manutenzione
Regular maintenance ensures the longevity and optimal performance of your ComMarker X UV Engraving Machine.
6.1 Pulizia
- Prima di procedere alla pulizia, assicurarsi che la macchina sia spenta e scollegata.
- Pulire delicatamente le superfici esterne con un panno morbido e asciutto.
- Periodically clean the work platform and lens with a lint-free cloth and appropriate lens cleaning solution to remove dust and debris.
- The machine offers 99.72% dust isolation, but regular cleaning of the internal components (if accessible and safe) is recommended by a qualified technician.
6.2 Aggiornamenti software
Regularly check for and install remote OTA (Over-The-Air) software updates to ensure you have the latest features and performance enhancements.
7. Risoluzione Dei Problemi
Questa sezione affronta i problemi più comuni che potresti incontrare e le loro possibili soluzioni.
7.1 Problemi comuni e soluzioni
- La macchina non si accende:
- Verificare che il cavo di alimentazione sia collegato saldamente sia alla macchina sia alla presa di corrente.
- Assicurarsi che la presa di corrente sia funzionante. - Il laser non funziona:
- Verify that the smart cover is fully closed. The machine will not operate if the cover is open.
- Check software settings to ensure the laser power is not set to zero.
- Ensure the emergency stop button is not engaged. - Engraving quality is poor or inconsistent:
- Re-run the auto-focus procedure to ensure correct focal distance.
- Pulire la lente laser da polvere o detriti.
- Adjust engraving parameters (speed, power) for the specific material being used.
- Ensure the material is flat and securely placed on the work platform. - Software not connecting to machine:
- Check the data cable connection between the machine and your computer.
- Restart both the machine and the software.
- Ensure the correct drivers are installed (if applicable). - Protezione contro il surriscaldamento: The machine features overheat protection. If the temperature reaches a warning value, the device automatically stops working to prevent damage. Allow the machine to cool down before resuming operation.
If you encounter issues not listed here or cannot resolve a problem, please contact ComMarker customer support.
8. Specifiche
| Caratteristica | Specificazione |
|---|---|
| Produttore | ComMarker |
| Numero di modello | Omni X |
| Tipo di laser | UV Laser |
| Potenza laser | 6 Watt |
| Lunghezza d'onda | 355 nm |
| Metodo di raffreddamento | Raffreddamento ad aria |
| Velocità di marcatura | 0 - 10000mm/s |
| Precisione dell'incisione | 0.0019mm |
| Sistema di messa a fuoco | Auto-Focus with LiDAR Ranging System |
| Area di lavoro | 150 x 400mm (with slide extension) |
| Voltage | 110V |
| Peso dell'articolo | 60 libbre |
| Dimensioni del prodotto | 19 x 13 x 27 pollici |
| Classe laser | PRODOTTO LASER DI CLASSE 1 |
| Modalità di funzionamento | Automatico |
9. Garanzia e supporto
9.1 Informazioni sulla garanzia
The ComMarker X 6W UV Engraving Machine Omni X comes with a Garanzia del produttore di 1 anniLa presente garanzia copre i difetti di materiali e fabbricazione in condizioni di normale utilizzo. Si prega di conservare la prova d'acquisto per eventuali reclami in garanzia.
9.2 Assistenza clienti
For technical assistance, troubleshooting, or warranty inquiries, please contact ComMarker customer support through their official websito o le informazioni di contatto fornite con il prodotto. Puoi anche visitare il Negozio ComMarker su Amazon per risorse aggiuntive.


