1. Introduzione
This manual provides essential information for the safe and effective use of your VEVOR Squat and Rowing Machine. Please read and understand all instructions before assembly and operation. Keep this manual for future reference.
2. Informazioni sulla sicurezza
- Consultare un medico prima di iniziare qualsiasi programma di esercizi.
- Assicurarsi che tutti i componenti siano ben assemblati e serrati prima di ogni utilizzo.
- Non superare la capacità di peso massima di 300 libbre (136 kg).
- Tenere i bambini e gli animali domestici lontani dalla macchina durante il funzionamento.
- Utilizzare la macchina su una superficie piana e stabile.
- Indossare calzature e abbigliamento sportivo adeguati.
- Interrompere immediatamente l'attività fisica se si avverte dolore, vertigini o fastidio.
- Inspect the machine for any damage or wear before each use. Do not use if damaged.
3. Cosa c'è nella scatola
Disimballare con cura tutti i componenti e assicurarsi di aver ricevuto i seguenti articoli:
- 1 x Squat Machine (main frame components)
- 1 x Counter (without battery, without wire)
- 1 x Manuale utente (questo documento)
- 2 x Open-End Wrenches
- 3 x Pull Pins
- 1 x Buffer Pad
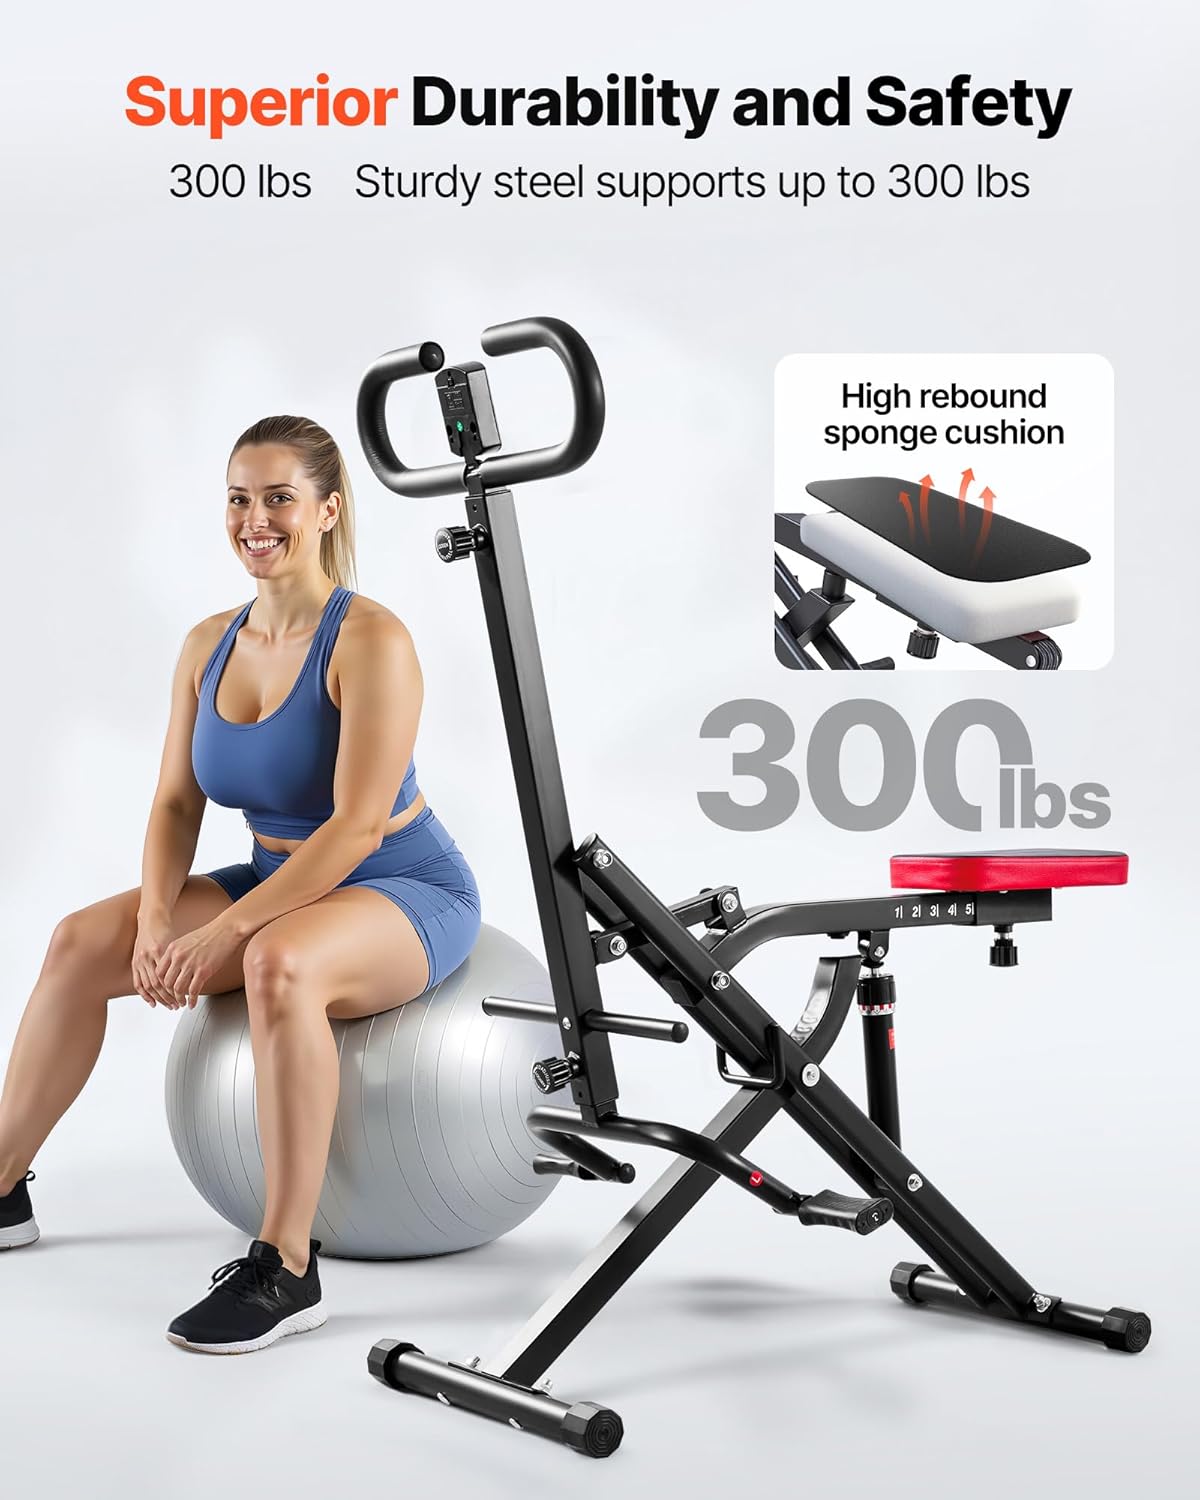
Figura 1: Tutti i componenti inclusi nella confezione.
4. Istruzioni di montaggio
Follow these steps to assemble your VEVOR Squat and Rowing Machine. For a visual guide, please refer to the installation video below.
Video 1: Step-by-step installation guide for the VEVOR Squat Machine.
- Fissare il telaio principale: Connect the two main frame sections using the provided bolts and wrenches. Ensure they are securely fastened.
- Install the Hydraulic Cylinder: Secure the hydraulic resistance cylinder to the designated points on the main frame.
- Assemble the Seat Mechanism: Attach the seat support arm to the main frame, ensuring the adjustment mechanism is correctly aligned.
- Montare il sedile: Place the padded seat onto the seat support arm and secure it with the appropriate fasteners.
- Fissare il manubrio: Insert the handlebar assembly into the top of the main frame and secure it with the provided pin and knob.
- Installare i poggiapiedi: Attach the footrests to the lower part of the frame.
- Connect the Counter: Mount the LCD counter onto the handlebar assembly.

Figure 2: Assembling the main frame components.
5. Istruzioni per l'uso
5.1 Adjusting the Seat Length
The seat length can be adjusted across 5 levels to accommodate users of various heights and to target different muscle groups. To adjust, locate the spring turnbuckle beneath the seat, pull it out, slide the seat to your desired position (1-5), and release the turnbuckle to lock it in place.

Figure 3: Seat length adjustment mechanism.
5.2 Regolazione della resistenza
The machine is equipped with a 12-level adjustable hydraulic cylinder to customize your workout intensity. Rotate the knob on the hydraulic cylinder to increase or decrease resistance. Higher numbers indicate greater resistance.

Figure 4: Hydraulic resistance adjustment.
5.3 Using the LCD Counter
The built-in LCD counter tracks your workout progress in real-time. It displays metrics such as time, count (reps), and estimated calories burned. Use the button on the counter to cycle through display modes or reset values.

Figure 5: LCD counter display.
5.4 Esecuzione degli esercizi
The VEVOR Squat and Rowing Machine is designed to facilitate deep squats and rowing movements, engaging glutes, legs, core, and upper body muscles. Maintain proper form throughout your workout. Keep your back straight, engage your core, and control the movement both on the way down and up.
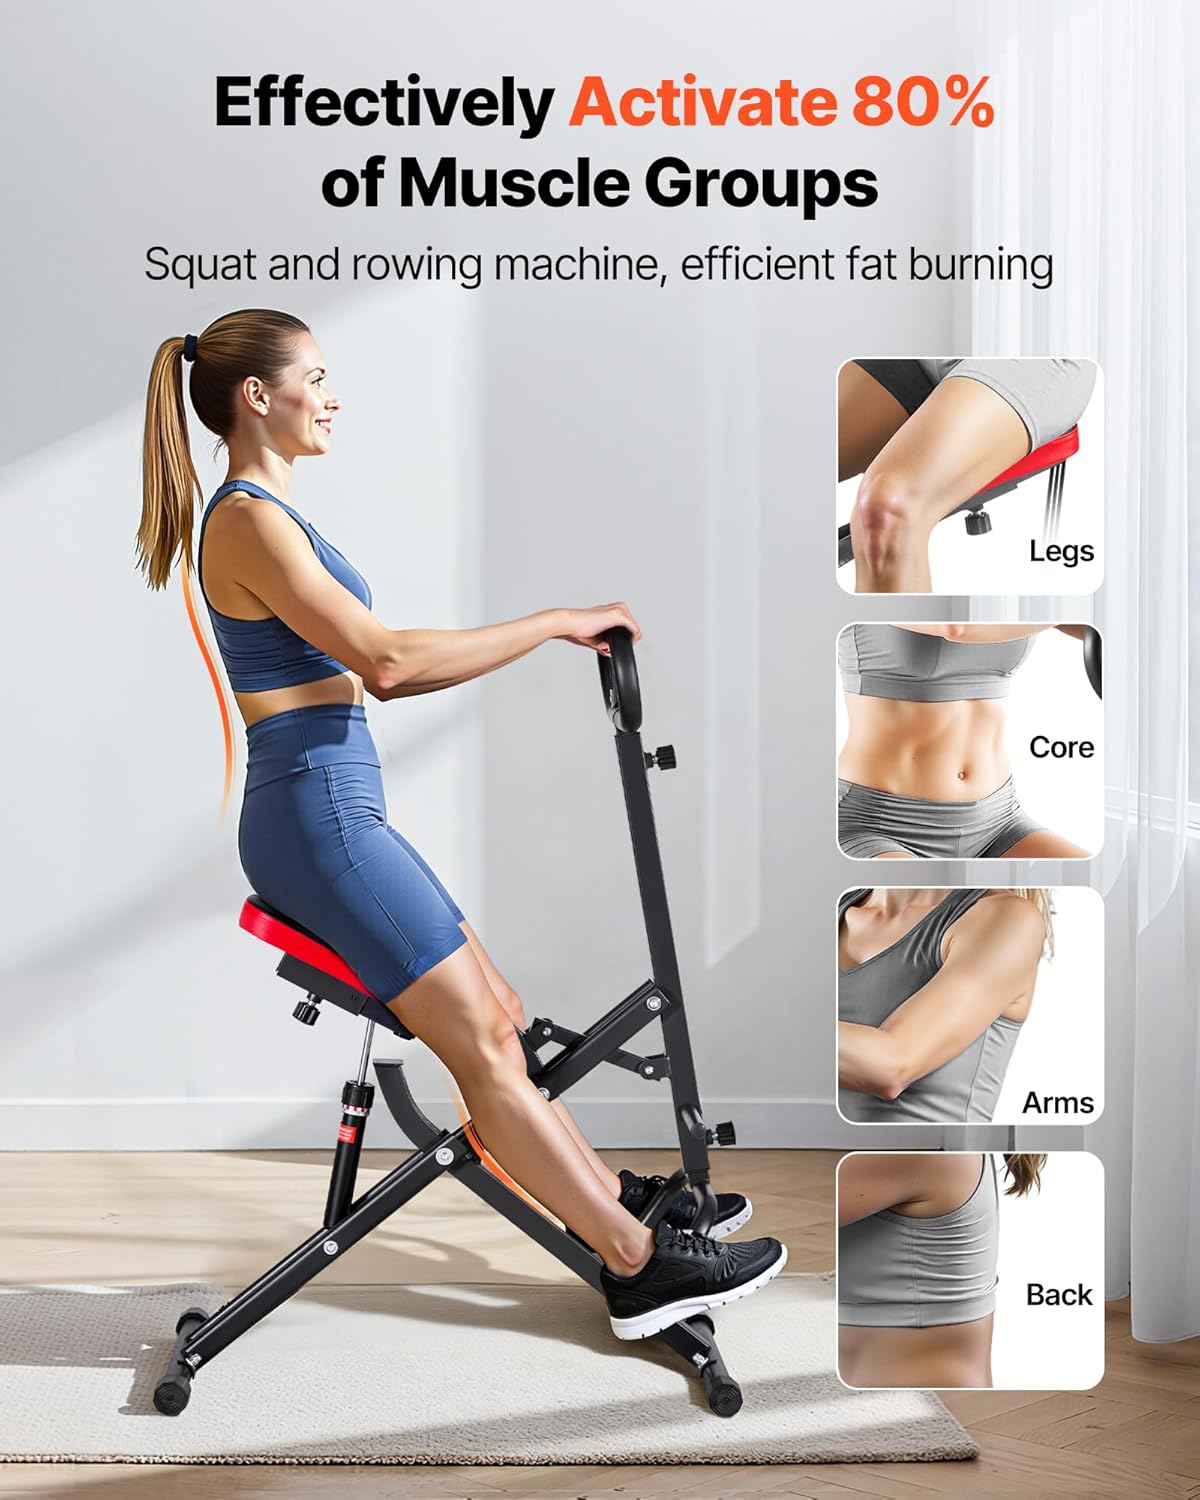
Figure 6: Proper exercise form on the machine.
6. Manutenzione
- Pulizia: Pulisci la macchina con adamp Dopo ogni utilizzo, pulire con un panno per rimuovere sudore e polvere. Evitare detergenti abrasivi.
- Ispezione: Controllare regolarmente tutti i bulloni, i dadi e le parti mobili per verificarne il serraggio e l'usura. Serrare eventuali elementi di fissaggio allentati.
- Lubrificazione: The hydraulic cylinder is maintenance-free. No additional lubrication is required for the main moving parts.
7. Conservazione
The VEVOR Squat and Rowing Machine features a foldable design for convenient storage. To fold, lift the handle grip up and rotate the machine to collapse the frame. This compact footprint allows for easy storage in closets, corners, or under beds, making it ideal for small spaces.

Figure 7: Foldable design for space-saving storage.
8. Risoluzione Dei Problemi
- La macchina sembra instabile: Ensure the machine is on a flat surface. Check all bolts and nuts for tightness.
- Resistenza non variabile: Verify that the hydraulic cylinder adjustment knob is correctly engaged and rotated to the desired level.
- LCD Counter not working: Check if the counter requires batteries (though typically battery-free for this model, verify connections). Ensure it is properly mounted.
9. Specifiche
| Caratteristica | Specificazione |
|---|---|
| Nome del modello | Macchina per squat |
| Marca | VEVOR |
| Colore | Nero |
| Materiale | Acciaio legato |
| Meccanismo di resistenza | Idraulico |
| Peso massimo raccomandato | 300 libbre |
| Peso dell'articolo | 25.8 libbre |
| Numero di livelli di resistenza | 12 |
| Dimensioni della confezione dell'articolo L x P x A | 36.61 x 11.02 x 8.27 pollici |
| Item Dimensions LxWxH (Unfolded) | 22.83 x 35.43 x 44.09 pollici |

Figura 8: Dimensioni e specifiche del prodotto.
10. Garanzia e supporto
Per informazioni sulla garanzia o supporto tecnico, fare riferimento ai dettagli di contatto forniti con l'acquisto o visitare il sito ufficiale VEVOR websito. Conserva la ricevuta d'acquisto come prova d'acquisto.


