1. Introduzione
Thank you for choosing the OLIGHT Goshawk 1600 Underneath Mounted Rechargeable Bike Light Bundle with Gober 2 Safety Light. This manual provides detailed instructions for the safe and effective use, installation, and maintenance of your new lighting system. Please read this manual thoroughly before operation and retain it for future reference.
The Goshawk 1600 is a powerful bike headlight designed for optimal visibility and safety, featuring both low and high beam options. The Gober 2 is a versatile safety light offering multiple color and mode settings for enhanced visibility from various angles.
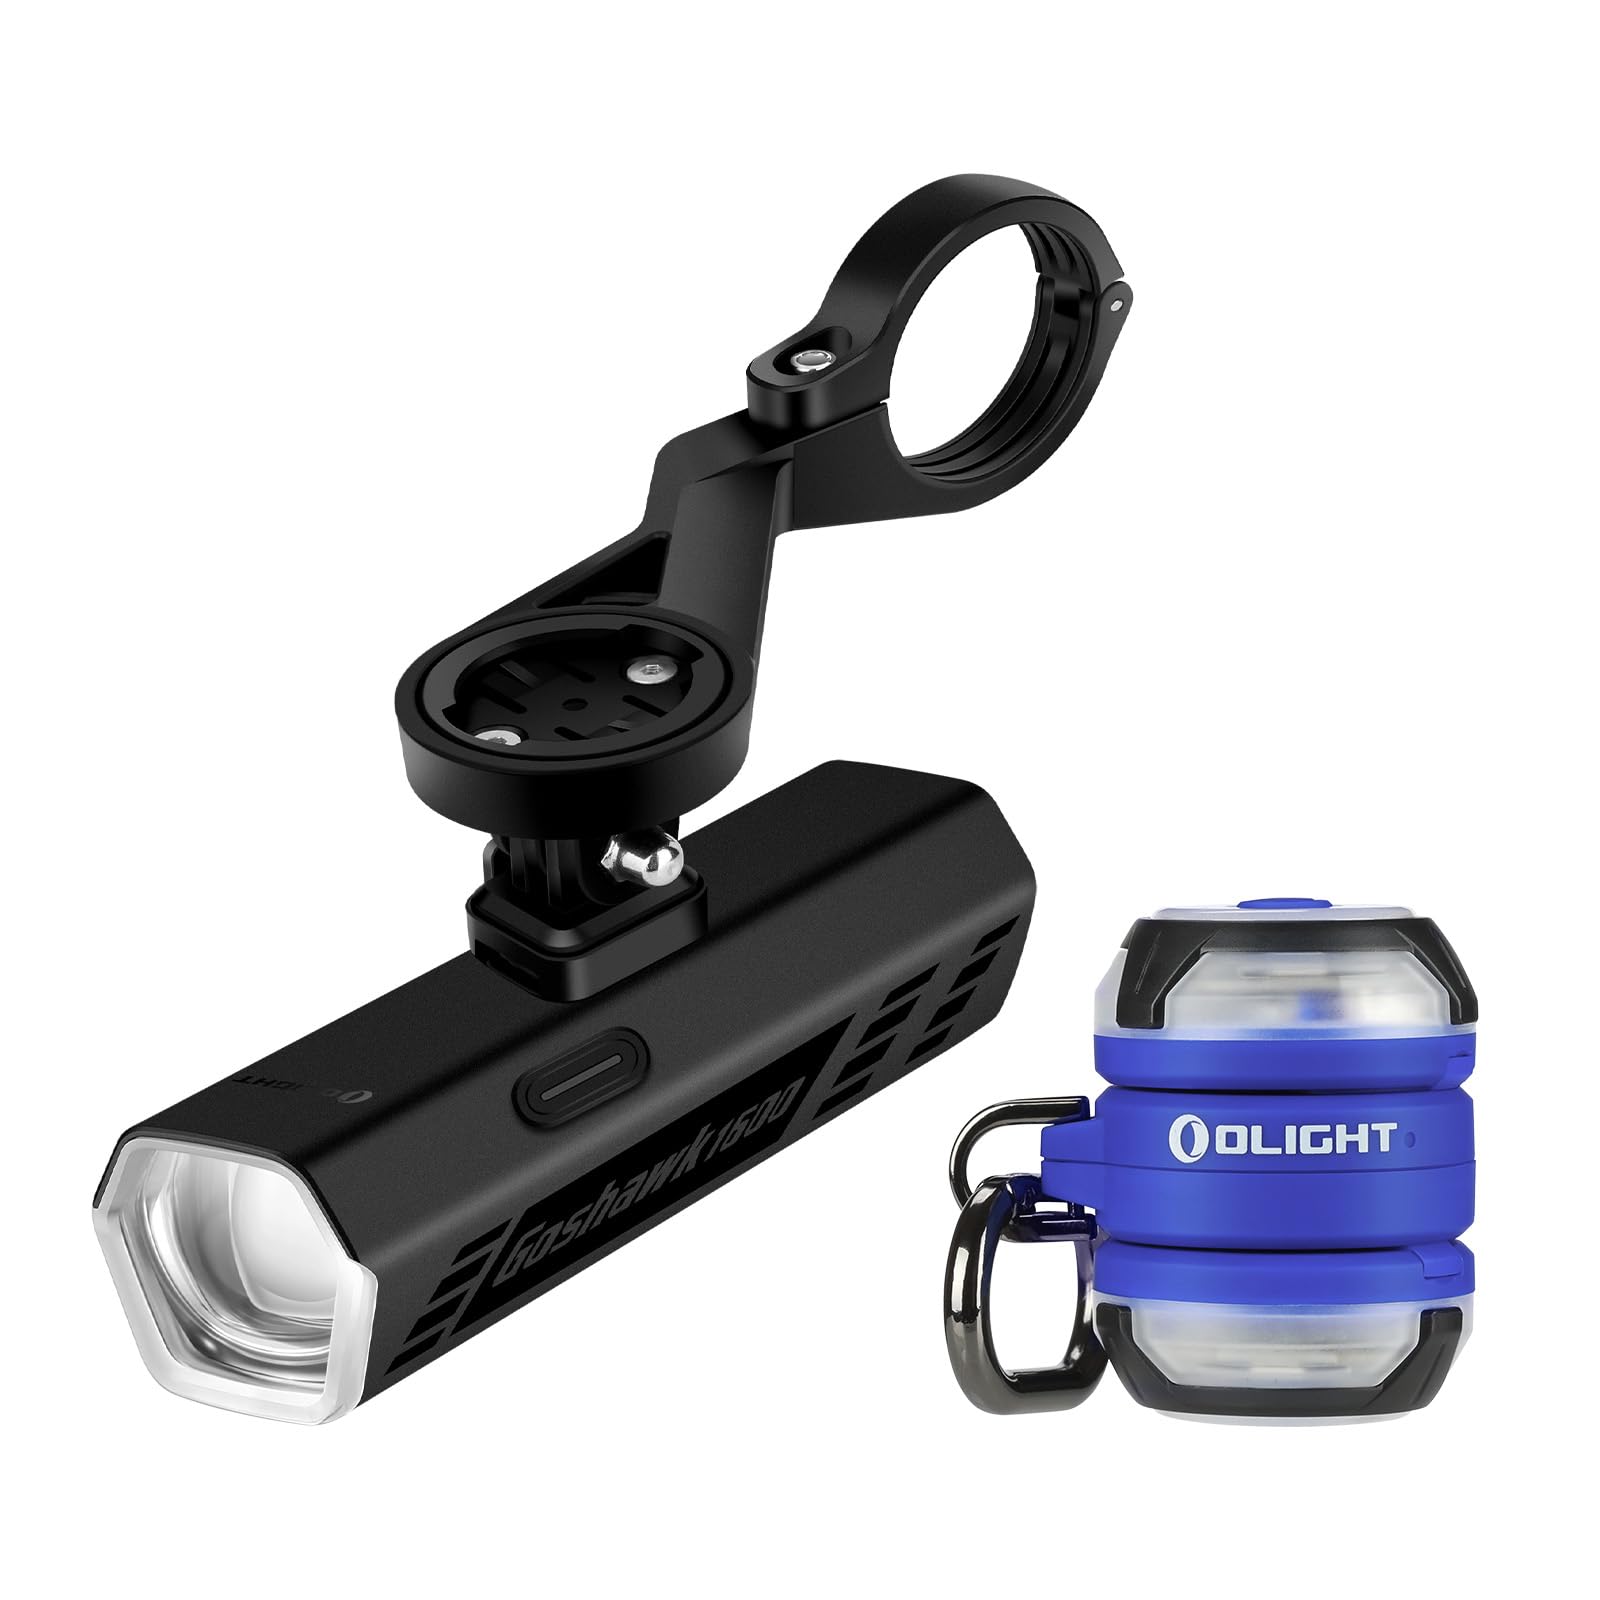
Image 1.1: OLIGHT Goshawk 1600 and Gober 2 components.
2. Contenuto della confezione
- Goshawk 1600 Bike Light
- Under-bar Mounting System
- Controllo remoto senza fili
- Gober 2 Safety Light (x2)
- Cavo di ricarica USB
- Manuale d'uso
3. Goshawk 1600 Bike Light
3.1. Installazione
The Goshawk 1600 features a sleek under-bar mounting design to keep your handlebar clear.
- Fissare il supporto: Secure the under-bar mounting system to your bicycle's handlebar. Ensure it is tightened firmly to prevent movement during rides.
- Install the Goshawk 1600: Slide the Goshawk 1600 light onto the quick-release system of the mount until it clicks securely into place.
- Posiziona la luce: Adjust the angle of the light to ensure optimal illumination of your path without causing glare to oncoming traffic.

Image 3.1: Under-bar mounting system for Goshawk 1600.

Image 3.2: Goshawk 1600 mounted on a bicycle.
3.2. Funzionamento
The Goshawk 1600 offers powerful illumination and convenient control.
- Accensione/spegnimento: Press and hold the main button on the light or the remote control to turn the light on or off.
- Commutazione della modalità: Short press the main button or the mode button on the remote to cycle through different brightness modes.
- Fascio anabbagliante: Features a sharp cut-off line to prevent glare for oncoming traffic.
- Abbagliante: Provides extended coverage and distance for dark paths and fast-paced rides.
- Telecomando: Use the remote to instantly activate the brightest mode or change settings. The light remembers your last used setting.

Image 3.3: Goshawk 1600 Low Beam vs. High Beam.
3.3. Ricarica
The Goshawk 1600 is rechargeable. Connect the provided USB charging cable to the charging port on the light and a suitable USB power source. The indicator light will show charging status.
4. Gober 2 Safety Light
4.1. Installazione e utilizzo
The Gober 2 is designed for versatile attachment to enhance your visibility.
- Base magnetica: Securely attach the Gober 2 to any metal surface.
- Clip per zaino: Use the integrated clip for easy mounting on MOLLE gear, straps, or loops on backpacks, clothing, or pet collars.
- Tracciatore d'aria Tag Slot: Insert your Air Tracker Tag (not included) to track your gear.

Image 4.1: OLIGHT Gober 2 Safety Light.

Image 4.2: Two Gober 2 lights in use.
4.2. Funzionamento
The Gober 2 offers multiple lighting options for various scenarios.
- Accensione/spegnimento: Press and hold the single button to turn the light on or off.
- Commutazione della modalità: Short press the button to cycle through 4 modes: constant-on, flash, sync flash, and SOS.
- Impostazioni colore: The Gober 2 has 6 color settings: red, green, blue, white, RGB chase, and alert. Refer to the specific product packaging for instructions on changing colors.
- Wireless Synchronization: Two Gober 2 lights can synchronize wirelessly. Change the mode or color on one, and the other will follow instantly.

Image 4.3: Gober 2 versatile lighting modes.

Image 4.4: Gober 2 simple control.
4.3. Ricarica
The Gober 2 is rechargeable via its USB port. Connect it to a USB power source using the provided cable. A charging indicator will show when the battery is full.
5. Manutenzione
- Pulizia: Pulisci le luci con un panno morbido eamp panno. Non usare detergenti abrasivi o solventi.
- Magazzinaggio: Store the lights in a cool, dry place when not in use. For prolonged storage, ensure the batteries are partially charged (around 50%) to maintain battery health.
- Cura della batteria: Recharge the lights regularly, even if not used frequently, to prevent deep discharge and extend battery life.
6. Risoluzione Dei Problemi
- La luce non si accende: Assicurarsi che la batteria sia carica. Collegare a una fonte di alimentazione e controllare l'indicatore di carica.
- Remote Control Not Working (Goshawk 1600): Check if the remote's battery needs replacement. Ensure the remote is paired with the light (refer to specific pairing instructions if provided with the remote).
- Emissione di luce fioca: La batteria potrebbe essere scarica. Ricaricare la luce.
- Funzionamento intermittente: Check for loose connections or debris in the charging port. Ensure the light is securely mounted.
Se i problemi persistono, contattare l'assistenza clienti OLIGHT.
7. Specifiche
Goshawk 1600 Bike Light
| Caratteristica | Dettaglio |
|---|---|
| Uscita massima | 1600 lumen |
| Tipo di raggio | Low Beam (cut-off), High Beam |
| Controllare | Integrated Button, Wireless Remote |
| Montaggio | Under-bar Quick-release |
| Ricaricabile | SÌ |
Gober 2 Safety Light
| Caratteristica | Dettaglio |
|---|---|
| Impostazioni colore | Red, Green, Blue, White, RGB Chase, Alert |
| Modalità | Constant-on, Flash, Sync Flash, SOS |
| Montaggio | Magnetic Base, Backpack Clip |
| Caratteristiche speciali | Wireless Sync, Air Tracker Tag Fessura |
| Ricaricabile | SÌ |
8. Garanzia e supporto
OLIGHT products are manufactured with high-quality materials and craftsmanship. This product comes with a Garanzia a vita, reflecting OLIGHT's commitment to quality and customer satisfaction.
For warranty claims, technical support, or any questions regarding your OLIGHT Goshawk 1600 and Gober 2 system, please visit the official OLIGHT webo contattare direttamente il servizio clienti. Conservare la ricevuta d'acquisto per la convalida della garanzia.
OLIGHT Customer Service: www.olightstore.com/contact-us


