Introduzione
Thank you for choosing the Haier X9 Series HW100-B14387U1-S Front Load Washing Machine. This manual provides essential information for the safe and efficient operation, installation, and maintenance of your appliance. Please read it thoroughly before using the washing machine and keep it for future reference.
Informazioni sulla sicurezza
Always follow basic safety precautions when using electrical appliances to reduce the risk of fire, electric shock, or injury. This appliance is intended for household use only. Do not allow children to play with the appliance. Ensure the appliance is properly grounded. Do not touch the power plug with wet hands. Do not install the appliance in a damp place or where it may be exposed to rain.
Impostare
1. Disimballaggio
Carefully remove all packaging materials, including the polystyrene base and any protective films. Remove the transport bolts located at the rear of the machine before use. Failure to do so will cause severe vibration and damage.
2. Installazione
- Approvvigionamento idrico: Collegare il tubo di alimentazione a un rubinetto dell'acqua fredda con filettatura da 3/4 di pollice. Assicurarsi che i collegamenti siano ben serrati per evitare perdite.
- Drenaggio: Position the drain hose correctly into a standpipe or over the edge of a sink, ensuring it is securely fastened to prevent displacement during operation. The drain hose should not be submerged in water.
- Collegamento elettrico: Collegare l'apparecchio a una presa elettrica con messa a terra. Assicurarsi che il volumetagLa tensione e la frequenza corrispondono alle specifiche riportate sulla targhetta. Non utilizzare prolunghe o adattatori multipli.
- Livellamento: Adjust the adjustable feet at the bottom of the washing machine to ensure it is perfectly level. A level machine reduces vibration and noise during operation.

Image: The Haier washing machine properly installed in a modern laundry room setting.
3. Primo utilizzo
Before washing clothes for the first time, run a complete wash cycle without laundry and detergent to clean the drum and remove any manufacturing residues.
Istruzioni per l'uso
1. Pannello di controllo finitoview
The washing machine features a digital display and touch controls for easy program selection and function activation.

Immagine: Un dettaglio view of the washing machine's digital display and touch control panel.
2. Caricamento della biancheria
Open the door and load laundry into the drum. Do not overload the machine; ensure there is enough space for clothes to tumble freely. The machine has a 10 kg capacity, ideal for large loads.
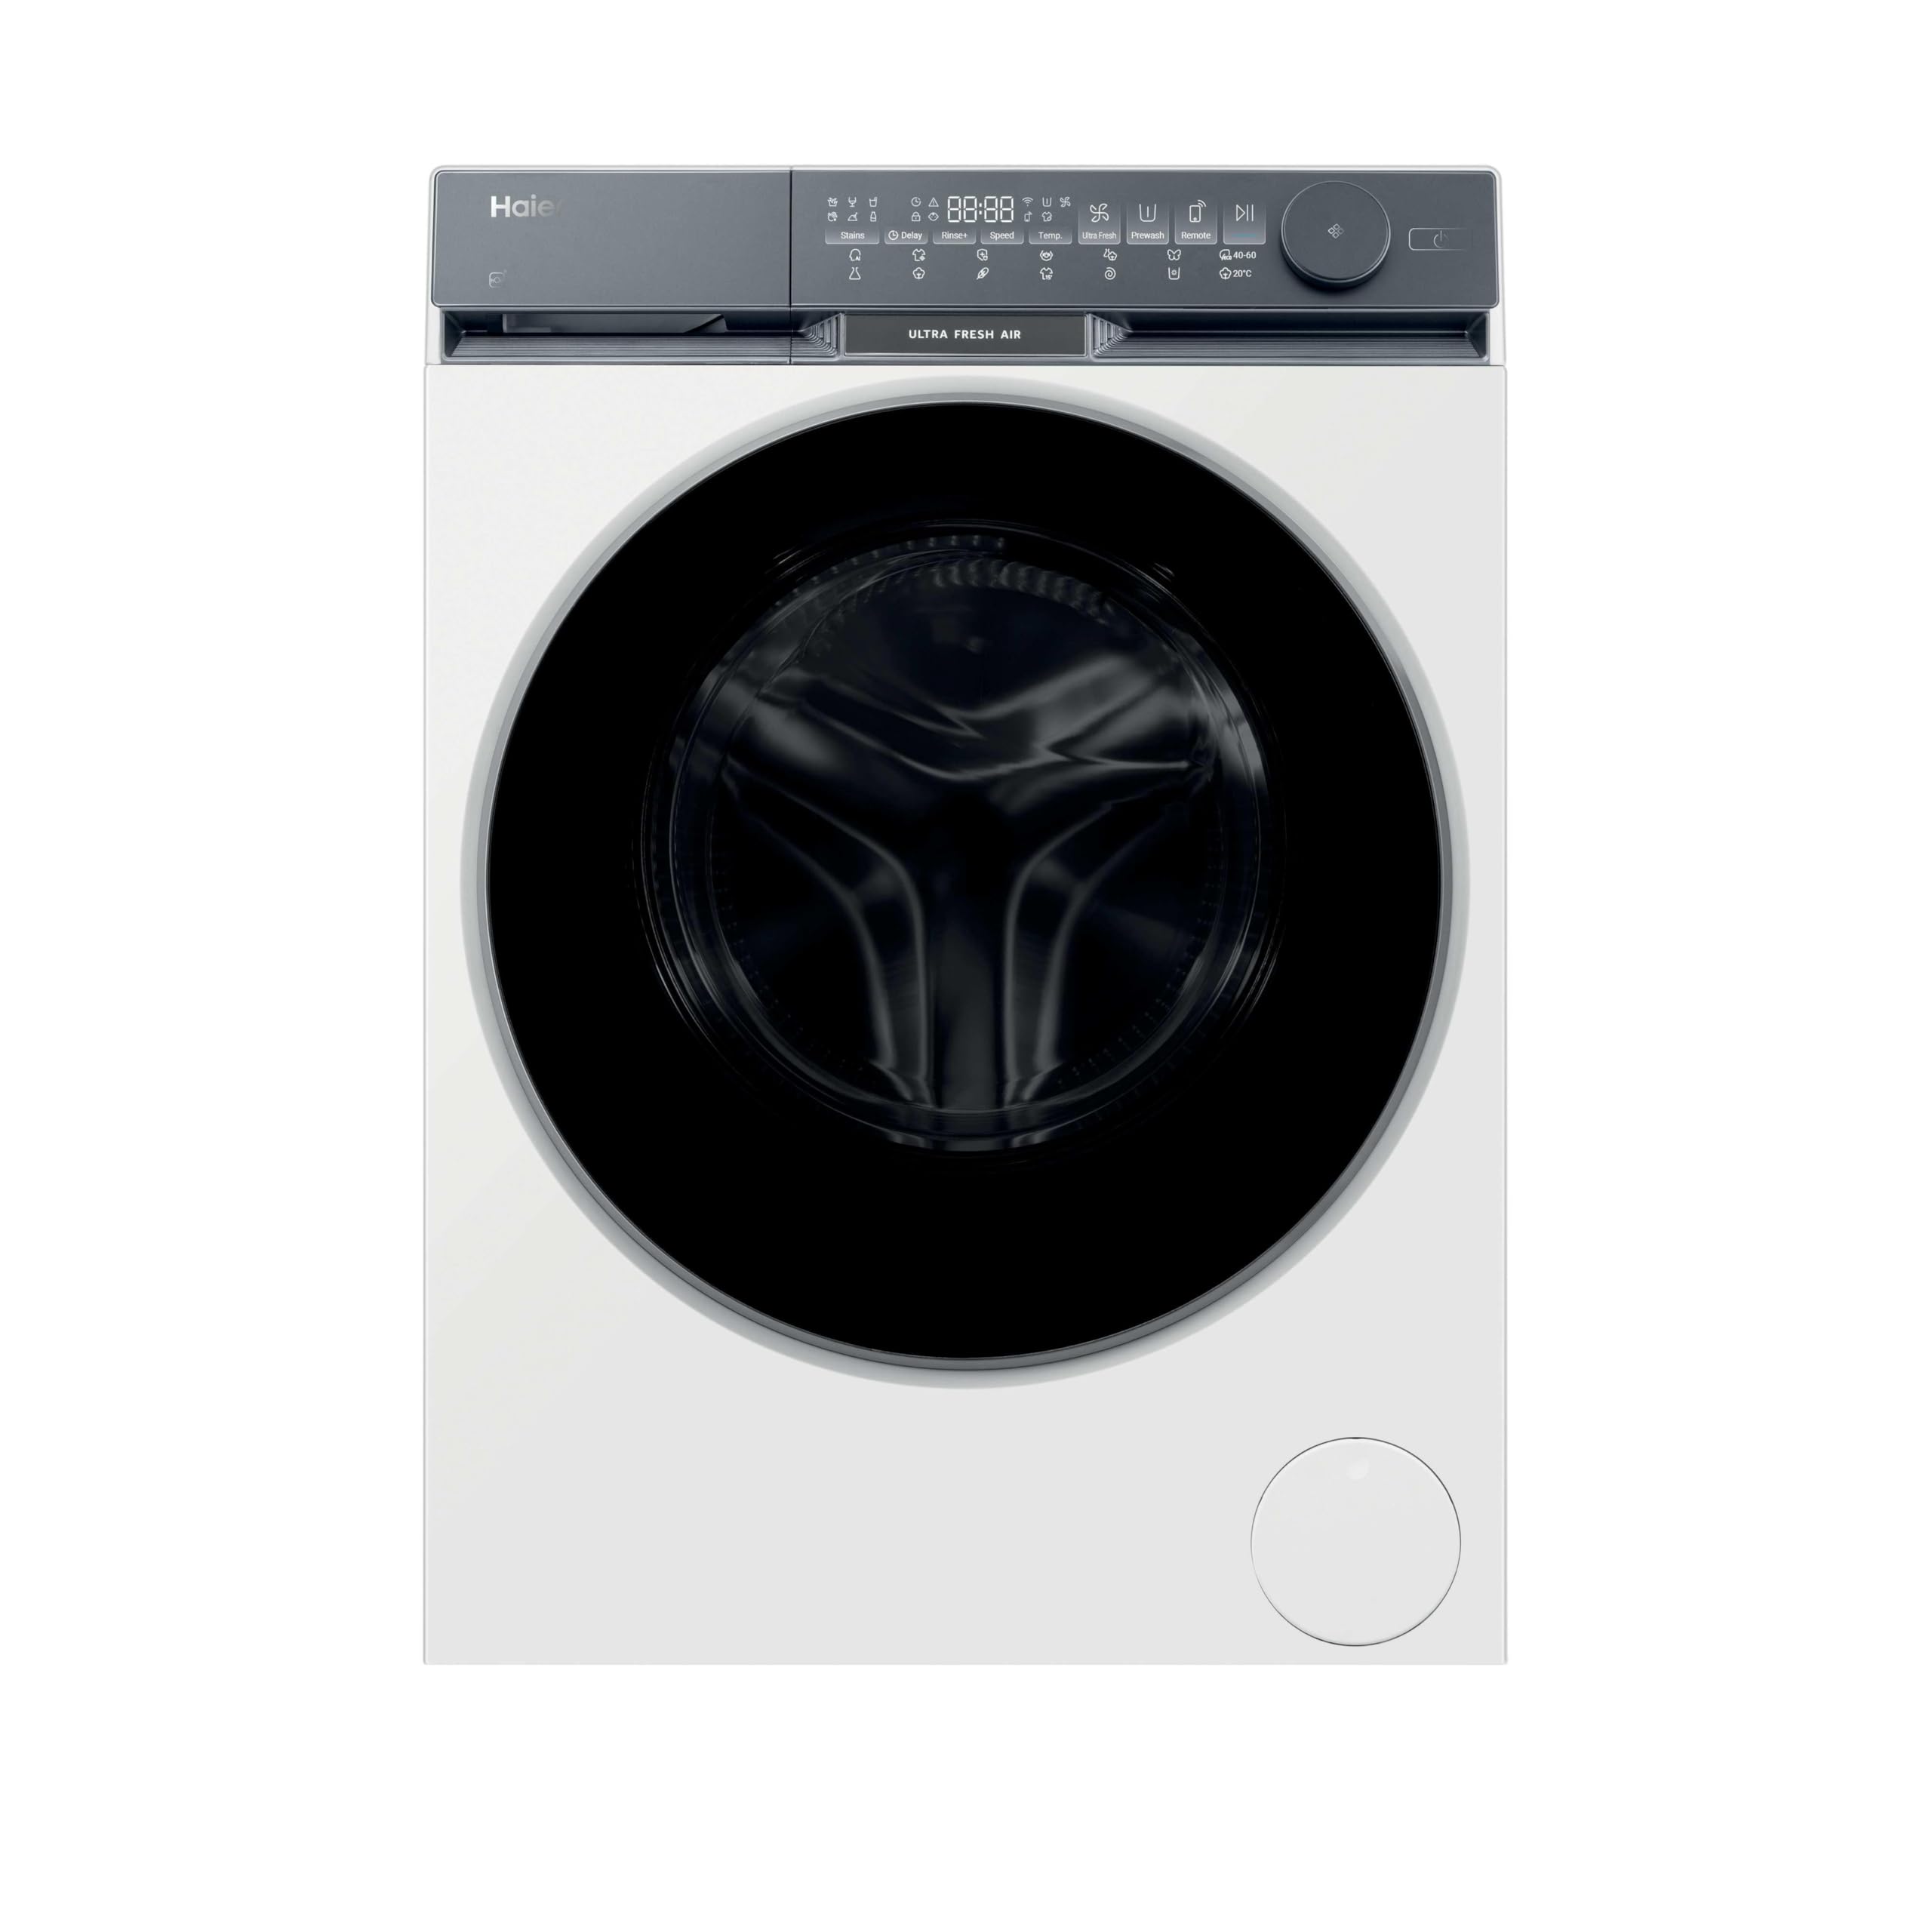
Image: The front-load washing machine with its door open, showing laundry inside the drum.
3. Aggiunta di detersivo
Pull out the detergent dispenser drawer and add the appropriate amount of detergent and fabric softener to the designated compartments. Refer to your detergent packaging for dosage recommendations.
4. Selezione di un programma
Turn the program selector knob or use the touch controls to choose the desired wash program. Available programs include:
- Cotton 20°: For cotton items at a low temperature.
- Antiallergico: Designed to remove allergens from fabrics.
- IA intelligente: Automatically adjusts wash settings based on load detection.
- Aggiorna: Uses micro-steam to refresh garments, remove wrinkles, and reduce allergens in 20 minutes without detergent.
- Super Quick 15': Ciclo di lavaggio veloce per capi leggermente sporchi.
5. Funzioni speciali
Migliora il tuo ciclo di lavaggio con queste funzioni:
- Funzione vapore: Provides deeper cleaning and helps reduce wrinkles and allergens.
- Aria ultra fresca: Keeps laundry fresh for up to 12 hours after the cycle finishes by automatically ventilating the drum, preventing odors and humidity.
- Partenza ritardata: Set a delayed start time for your wash cycle.
- Macchie: Optimized settings for effective stain removal.

Image: Steam being generated inside the washing machine drum during a cycle, illustrating the steam function.
6. Avvio del ciclo di lavaggio
Premere il pulsante Avvio/Pausa per avviare il programma selezionato. Il display mostrerà il tempo rimanente.
Manutenzione
Una manutenzione regolare garantisce prestazioni ottimali e prolunga la durata della lavatrice.
1. Pulizia del tamburo
Run a drum clean cycle periodically (if available) or a hot wash with a cup of white vinegar or a specialized washing machine cleaner to prevent odor and mold buildup.

Immagine: un primo piano view of the clean, stainless steel interior of the washing machine drum.
2. Pulizia del distributore del detersivo
Remove the detergent dispenser drawer and rinse it under running water to remove any detergent residue. Clean the housing of the drawer with a brush.
3. Pulizia del filtro
Locate the drain pump filter, usually at the bottom front of the machine. Place a shallow container underneath to catch any water. Unscrew the filter, clean out any lint or debris, and then securely re-screw it.
4. Pulizia esterna
Pulire le superfici esterne della lavatrice con un panno morbido eamp panno. Evitare detergenti abrasivi o solventi.
Risoluzione dei problemi
Se riscontri problemi con la lavatrice, consulta la tabella seguente per i problemi più comuni e le relative soluzioni.
| Problema | Possibile causa | Soluzione |
|---|---|---|
| La macchina non si avvia | Cavo di alimentazione scollegato; Sportello non chiuso correttamente; Programma non selezionato; Pulsante di avvio non premuto. | Check power connection; Close door firmly; Select a program; Press Start button. |
| Nessun apporto di acqua | Rubinetto dell'acqua chiuso; Tubo di ingresso dell'acqua piegato; Filtro dell'acqua bloccato. | Aprire il rubinetto dell'acqua; raddrizzare il tubo; pulire il filtro di ingresso dell'acqua. |
| Vibrazioni/rumore eccessivi | Bulloni di trasporto non rimossi; Macchina non in piano; Bucato distribuito in modo non uniforme. | Rimuovere i bulloni di trasporto; Regolare i piedini di livellamento; Ridistribuire il bucato nel cestello. |
| Perdita d'acqua | Inlet/drain hose loose; Detergent dispenser overflowing; Drain pump filter loose. | Tighten hose connections; Do not overfill detergent dispenser; Secure drain pump filter. |
| Risultati di lavaggio scadenti | Incorrect program/temperature; Insufficient detergent; Overloading. | Select appropriate program; Use correct detergent dosage; Reduce load size. |
Se il problema persiste dopo aver provato queste soluzioni, contattare l'assistenza clienti.
Specifiche
Key technical specifications for the Haier HW100-B14387U1-S washing machine:
| Caratteristica | Specificazione |
|---|---|
| Numero di modello | HW100-B14387U1-S |
| Capacità | 10 chilogrammi |
| Dimensioni (AxLxP) | Dimensioni: 85 x 59.5 x 59.3 cm |
| Peso | 71 kg |
| Classe di efficienza energetica | A -30% (Exceeds Class A requirements by 30%) |
| Velocità di rotazione massima | 1400 giri al minuto |
| Livello di rumore (centrifuga) | 69 dB |
| Tipo di motore | Motore a movimento diretto |
| Caratteristiche speciali | Ultra Fresh Air, Steam Function, Refresh Program, Anti-Allergy, Automatic KG Detector, Touch Controls |
Per informazioni dettagliate sull'energia, consultare il database ufficiale EPREL dell'UE: https://eprel.ec.europa.eu/qr/2224520

Image: The EU Energy Label for the Haier HW100-B14387U1 washing machine, showing its A-30% efficiency rating.
Garanzia e supporto
Informazioni sulla garanzia
This product comes with a standard manufacturer's warranty. Please refer to the warranty card included with your appliance or visit the official Haier websito per termini e condizioni dettagliati. Conservare la ricevuta d'acquisto come prova d'acquisto per eventuali reclami in garanzia.
Assistenza clienti
Per assistenza tecnica, pezzi di ricambio o richieste di assistenza, contattare l'assistenza clienti Haier. Le informazioni di contatto sono disponibili sul sito ufficiale Haier. websito o nella documentazione fornita con l'apparecchio.
- Ufficiale Websito: https://www.haier-europe.com
- E-mail: sat.haier@haier-europe.com
- Telefono: +34902100330