1. Introduzione
This instruction manual provides detailed guidance for installing and operating your BrickBling LED Lighting Kit, specifically designed for the Lego Bugatti Chiron Pur Sport Hypercar model 42222. This kit allows you to illuminate your model, enhancing its display and bringing it to life with dynamic lighting effects.
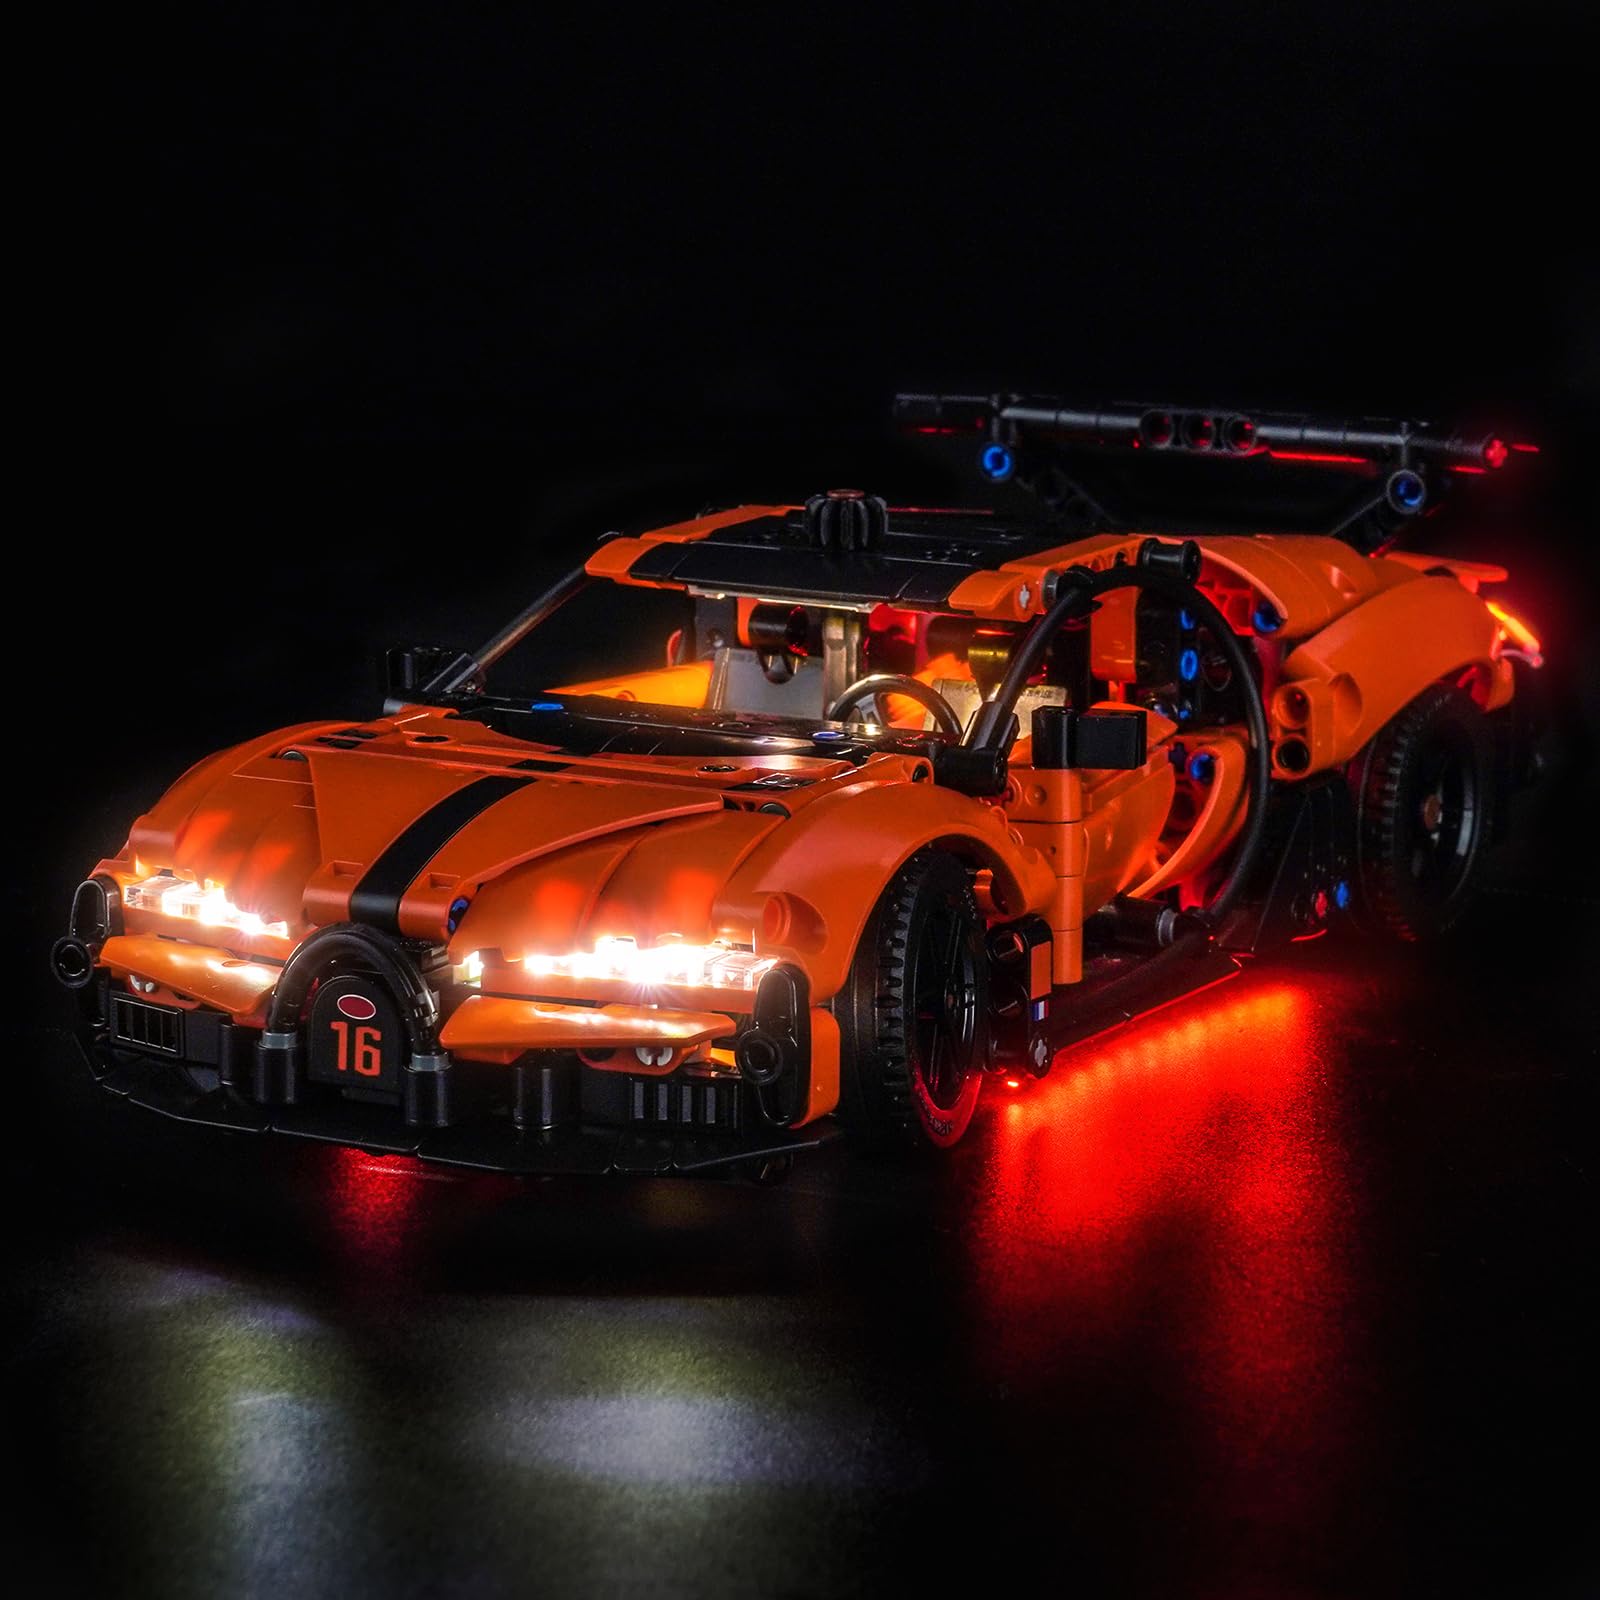
Image: The BrickBling LED Lighting Kit installed on the Lego Bugatti Chiron Pur Sport Hypercar, showcasing its illuminated features in a dark environment.
Please read these instructions carefully before installation to ensure a smooth and safe setup process. The Lego model itself is not included with this lighting kit.
2. Contenuto della confezione
Before you begin, please verify that all components listed below are present in your package. If any parts are missing or damaged, please contact customer support.

Image: A visual representation of the package contents, illustrating the different types of LED light strips, connecting cables, expansion board, and power cable.
- LED Light Strips (White and Red)
- Striscia LED bianco caldo
- Connecting Cables (various lengths)
- Scheda di espansione
- Power Cable (USB connector and Battery Compartment)
Note: The Lego Bugatti Chiron Pur Sport Hypercar model 42222 is not included in this lighting kit and must be purchased separately.
3. Configurazione e installazione
The BrickBling LED Lighting Kit is designed for easy integration with your Lego model. For detailed, step-by-step installation instructions, please refer to our online resources.

Image: This kit does not include a paper manual. Please visit the manufacturer's website (details on packaging) to access comprehensive PDF and video installation guides.
L'installazione va oltreview:
- Access Online Instructions: Individuare il website address provided on your product packaging. Log in or enter the required product code to access the digital PDF and video installation guides.
- Prepara il tuo modello: Carefully disassemble necessary sections of your Lego Bugatti Chiron Pur Sport Hypercar model as indicated in the online instructions to integrate the lighting components.
- Install LED Strips and Cables: Follow the step-by-step guide to strategically place the LED light strips and route the connecting cables within your model. Ensure all cable connectors fit perfectly and are securely seated.
- Connect to Expansion Board: Attach the connecting cables to the expansion board as directed.
- Collegamento elettrico: Connect the main power cable to the expansion board.
- Reassemble Model: Carefully reassemble your Lego model, ensuring no wires are pinched or damaged.
Opzioni di alimentazione:
Your lighting kit offers flexible power options:
- Alimentazione USB: Use the provided USB cable to connect to a power bank, wall charger, USB socket, laptop, or any other compatible USB device.
- Potenza della batteria: Utilize the battery compartment (batteries not included) for portable operation. Ensure correct battery polarity when inserting.
4. Istruzioni per l'uso
Once the lighting kit is fully installed and connected to a power source, your Lego Bugatti Chiron Pur Sport Hypercar model will illuminate.

Image: A visual comparison demonstrating the significant enhancement provided by the lighting kit, transforming the model from unlit to dynamically illuminated.
- Accensione: Connect the power cable to your chosen power source (USB or battery box). The lights will activate automatically.
- Spegni: Disconnect the power cable from the power source to turn off the lights.
- Display: Position your illuminated model in a prominent location to fully appreciate its enhanced aesthetic. The bright illumination helps create a captivating display.

Image: Discover Dynamic Lighting: The BrickBling Speed Racer series brings dynamic lighting for an exciting presentation, as shown with the illuminated model on display.
5. Manutenzione
Proper care and maintenance will ensure the longevity and optimal performance of your BrickBling LED Lighting Kit.
- Pulizia: Gently wipe LED strips and wires with a dry, soft cloth to remove dust. Avoid using liquids or abrasive cleaners.
- Gestione: Avoid excessive bending, twisting, or pulling of the wires and LED strips, as this can cause damage to the internal components.
- Magazzinaggio: When not in use for extended periods, store the kit in a dry, cool environment, away from direct sunlight and extreme temperatures.
- Cura della batteria: If using the battery compartment, remove batteries during long periods of inactivity to prevent potential leakage and damage.

Immagine: Primo piano views of the lighting components, emphasizing exceptional light, effortless integration, first-class quality, durability, and high safety standards.
6. Risoluzione Dei Problemi
If you encounter any issues with your lighting kit, please refer to the following troubleshooting tips:
- Luci non funzionanti:
- Ensure the power source (USB or batteries) is correctly connected and functional.
- Check all cable connectors to ensure they are firmly seated into the expansion board and LED strips.
- If using the battery box, verify that batteries are inserted with correct polarity and are not depleted.
- Lights Are Dim:
- Se si utilizzano batterie, sostituirle con batterie nuove.
- If using USB, ensure your power source (e.g., power bank, wall adapter) provides sufficient power output.
- Luci individuali non funzionanti:
- Carefully inspect the specific light strip and its connection for any visible damage or loose contact.
- Ensure the wire is not pinched or cut within the Lego model.
For more detailed troubleshooting steps or if the issue persists, please consult the online video or PDF instructions available on the manufacturer's websito.
7. Informazioni sulla sicurezza
Your safety is important. Please observe the following safety guidelines:
- The lighting kit is constructed with high-quality copper wires, designed for heat and burn resistance, ensuring a safer user experience.
- Ensure all electrical connections are made correctly to avoid short circuits.
- Keep small components of the kit away from young children to prevent choking hazards.
- Questo prodotto è consigliato a persone dai 15 anni in su.
- Do not attempt to modify or alter the components of the lighting kit, as this may void any potential warranty and create safety risks.
8. Specifiche
| Caratteristica | Dettaglio |
|---|---|
| Dimensioni del prodotto (L x P x A) | Dimensioni: 14.5 x 13.9 x 2.7 cm |
| Peso | 173 grammi |
| Produttore | BrickBling |
| Numero modello articolo | DE02-42222-P105901 |
| Marca | BrickBling |
| Manufacturer Recommended Minimum Age | 15 years (180 months) |
| Materiale | Copper (for wires) |
| Obiettivo educativo | Pensiero creativo |
| Numero di pezzi | 1 (referring to the kit) |
| Tema | Auto |
| Caratteristica speciale | Facile da riporre |
| Fonte di alimentazione | Battery and USB |
| Tipo di batteria | Non incluso |
| Componenti inclusi | Instructions (digital) |
9. Garanzia e supporto
Informazioni sulla garanzia:
Specific warranty details for the BrickBling LED Lighting Kit are not provided within this manual or the product specifications. For comprehensive warranty information, please refer to the official BrickBling websito o contattare direttamente il servizio clienti.
Assistenza clienti:
For any questions, technical assistance, or further support regarding the installation and operation of your lighting kit, please utilize the following resources:
- Istruzioni in linea: Access detailed PDF and video installation guides on the manufacturer's website, as indicated on your product packaging. These resources provide step-by-step visual and textual instructions.
- Contatto del produttore: If you require further assistance, please reach out to BrickBling customer service through their official websito.


